icon
Knowledge base - Picnie
Features

icon picker
Template Editor

Unleash your creativity with the Template Editor! 🎨
💡 This section is your go-to guide for designing stunning project templates that perfectly match your vision. Learn how to customize layouts, colors, fonts, and more. Whether you're a design pro or just starting out, our Template Editor will help you craft projects that stand out and make an impact. Let's bring your ideas to life!

Introduction:

Picnie's template editor is a powerful feature that empowers users to customize templates with their brand colors, logos, and content, enabling the generation of images at scale. In this step-by-step guide, we will walk you through the process of using Picnie's template editor, making it easy for you to create stunning images tailored to your needs.

Step 1: Logging into Picnie

Begin by logging into the Picnie dashboard using your email and password, or you can conveniently use Google login for quick access.
Template Editor full video v1 - Made with Clipchamp.00_00_21_21.Still001.png

Step 2: Creating a New Project

After logging in, you can create a new project or select an existing one from the list, depending on your requirements.
Template Editor full video v1 - Made with Clipchamp.00_00_27_09.Still002.png

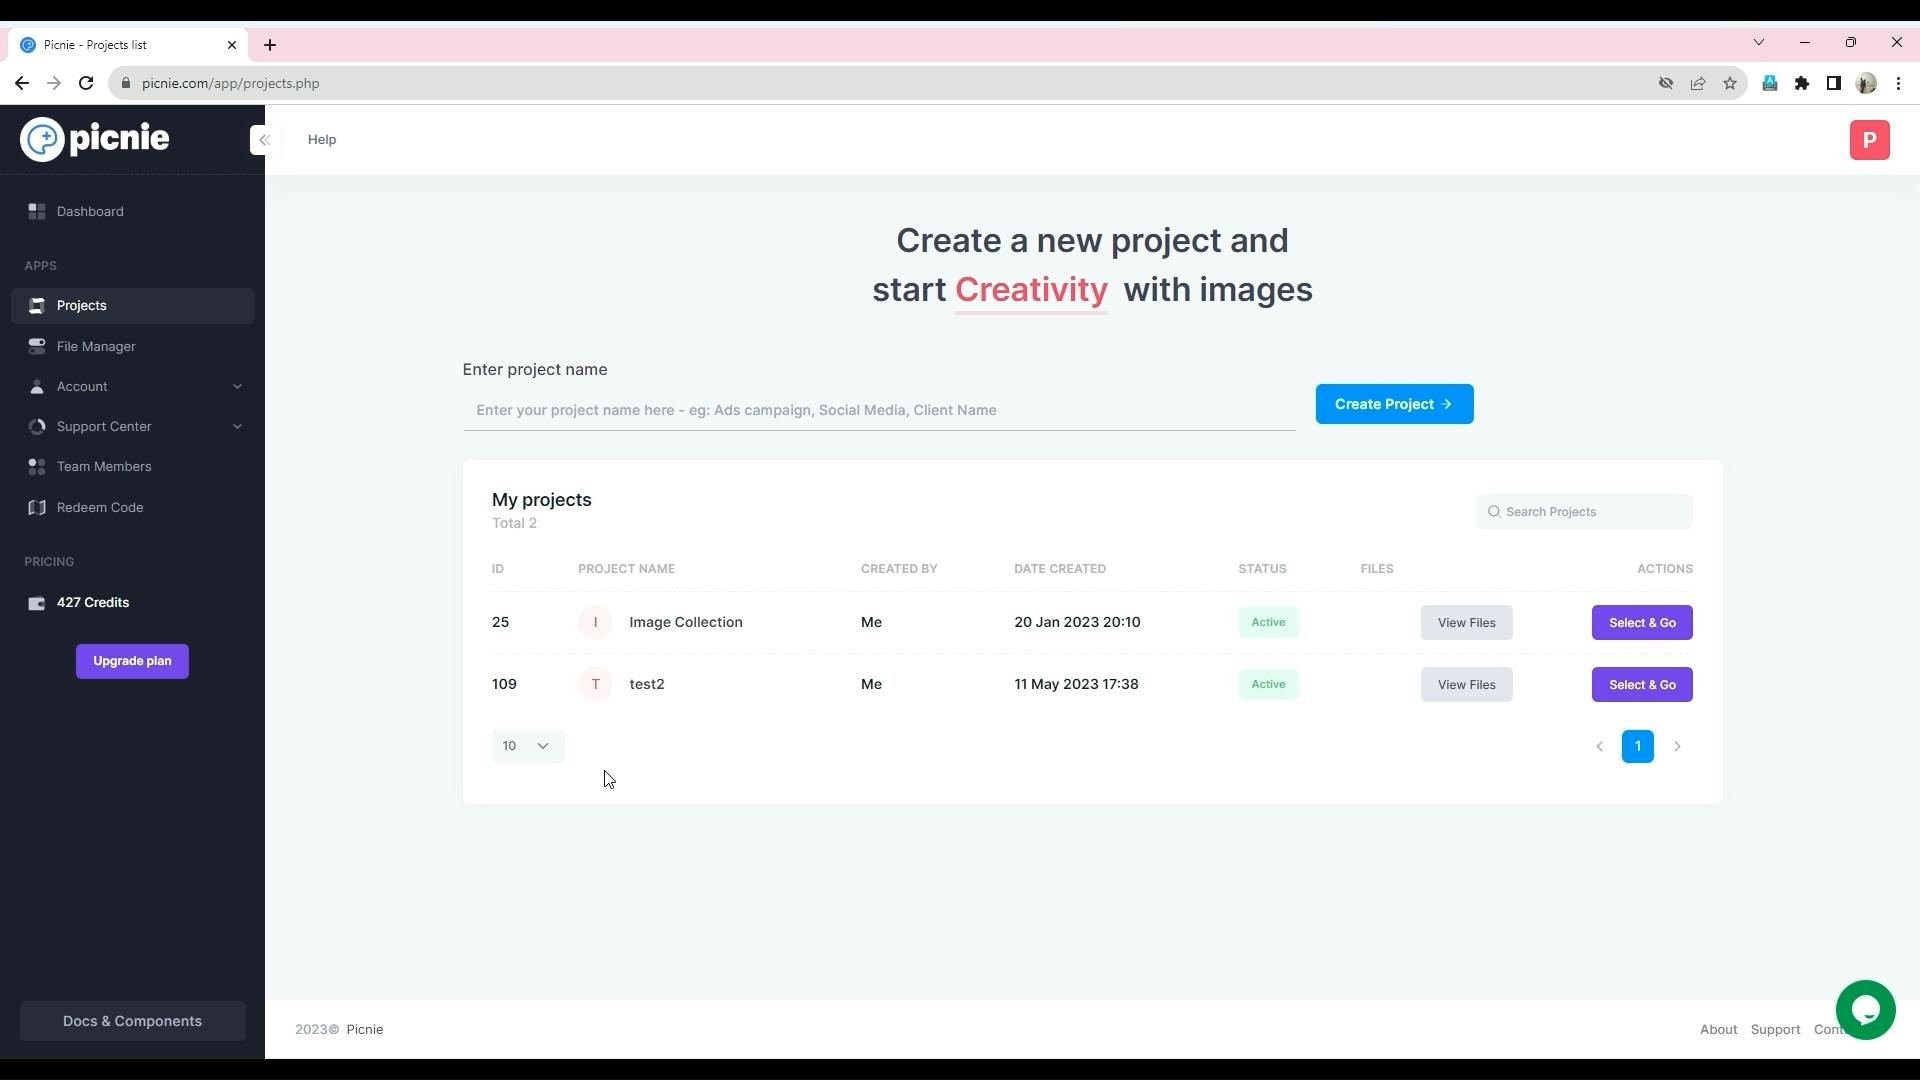
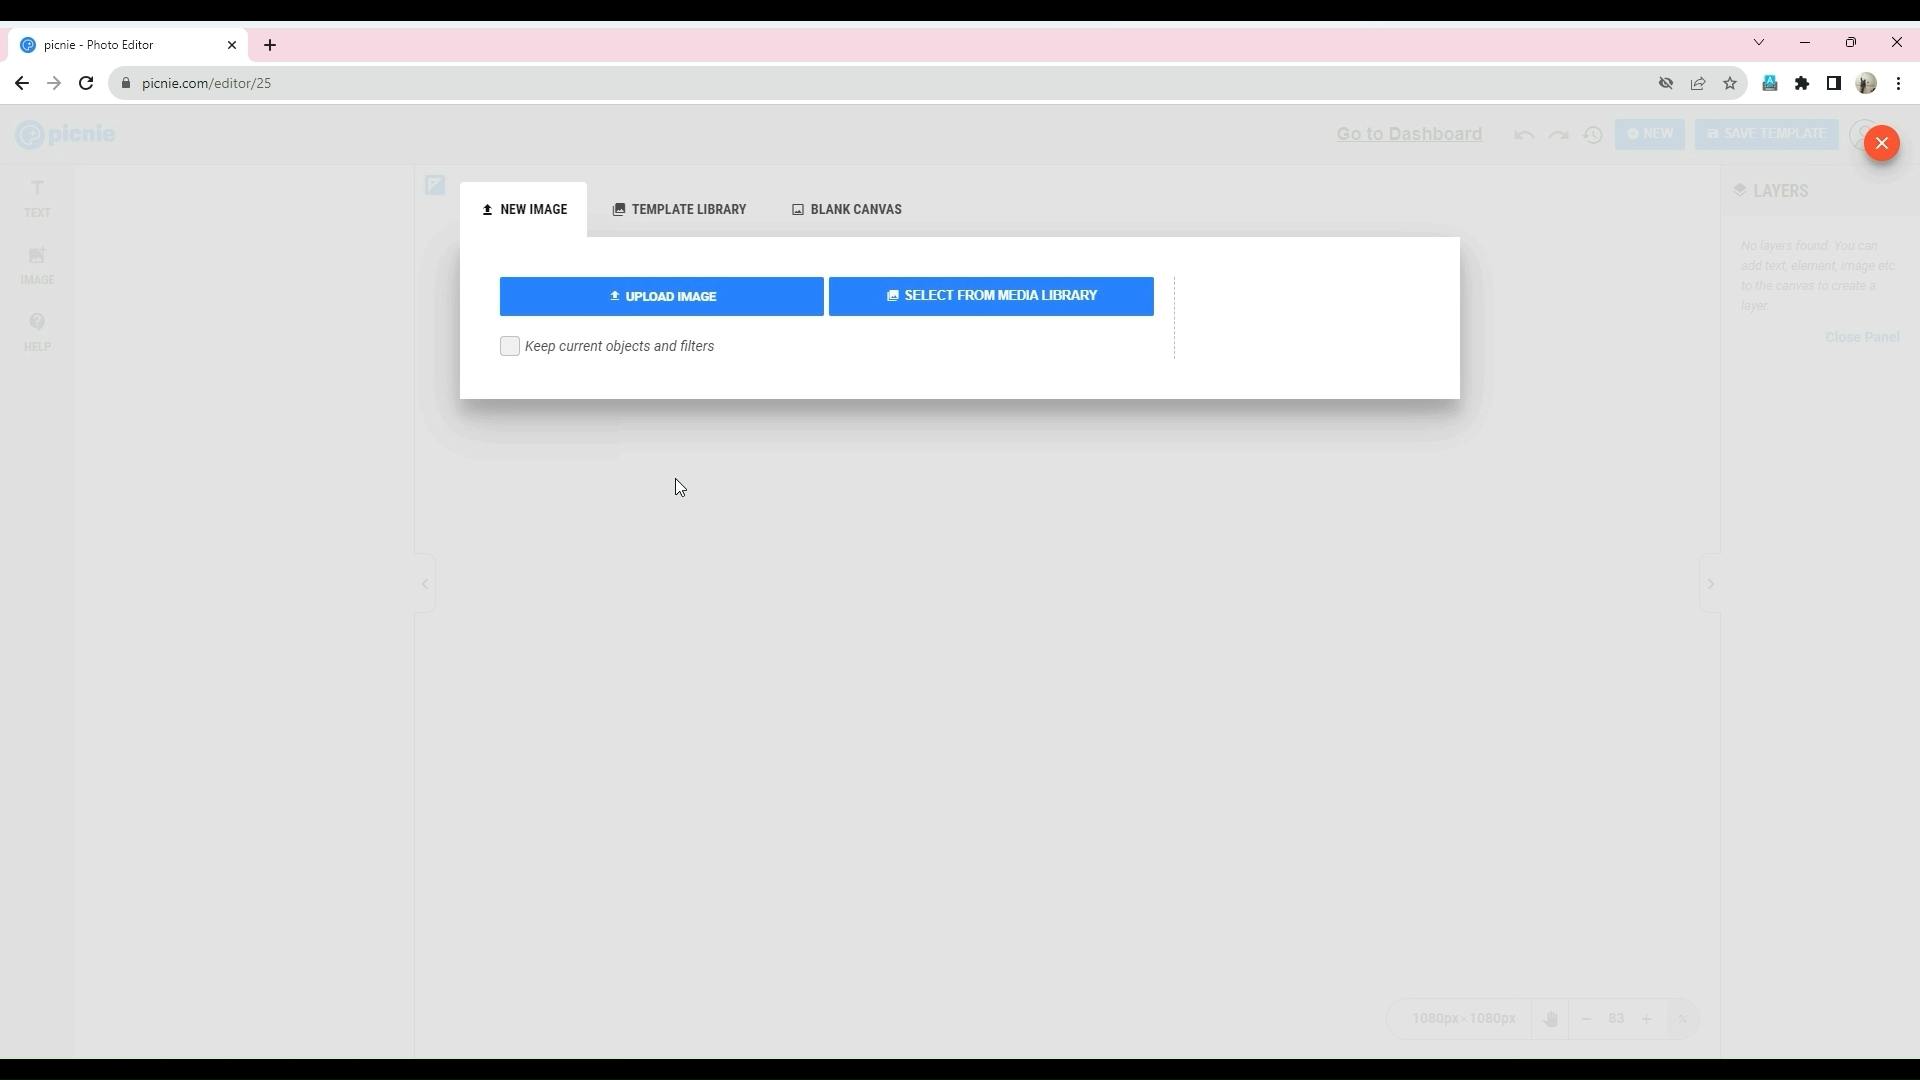
Step 3: Accessing the Image Generation Tool

To start customizing templates, focus on the "Image Generation Tool" available in the list of tools offered by Picnie. Click on it to proceed.
Template Editor full video v1 - Made with Clipchamp.00_00_37_03.Still003.png

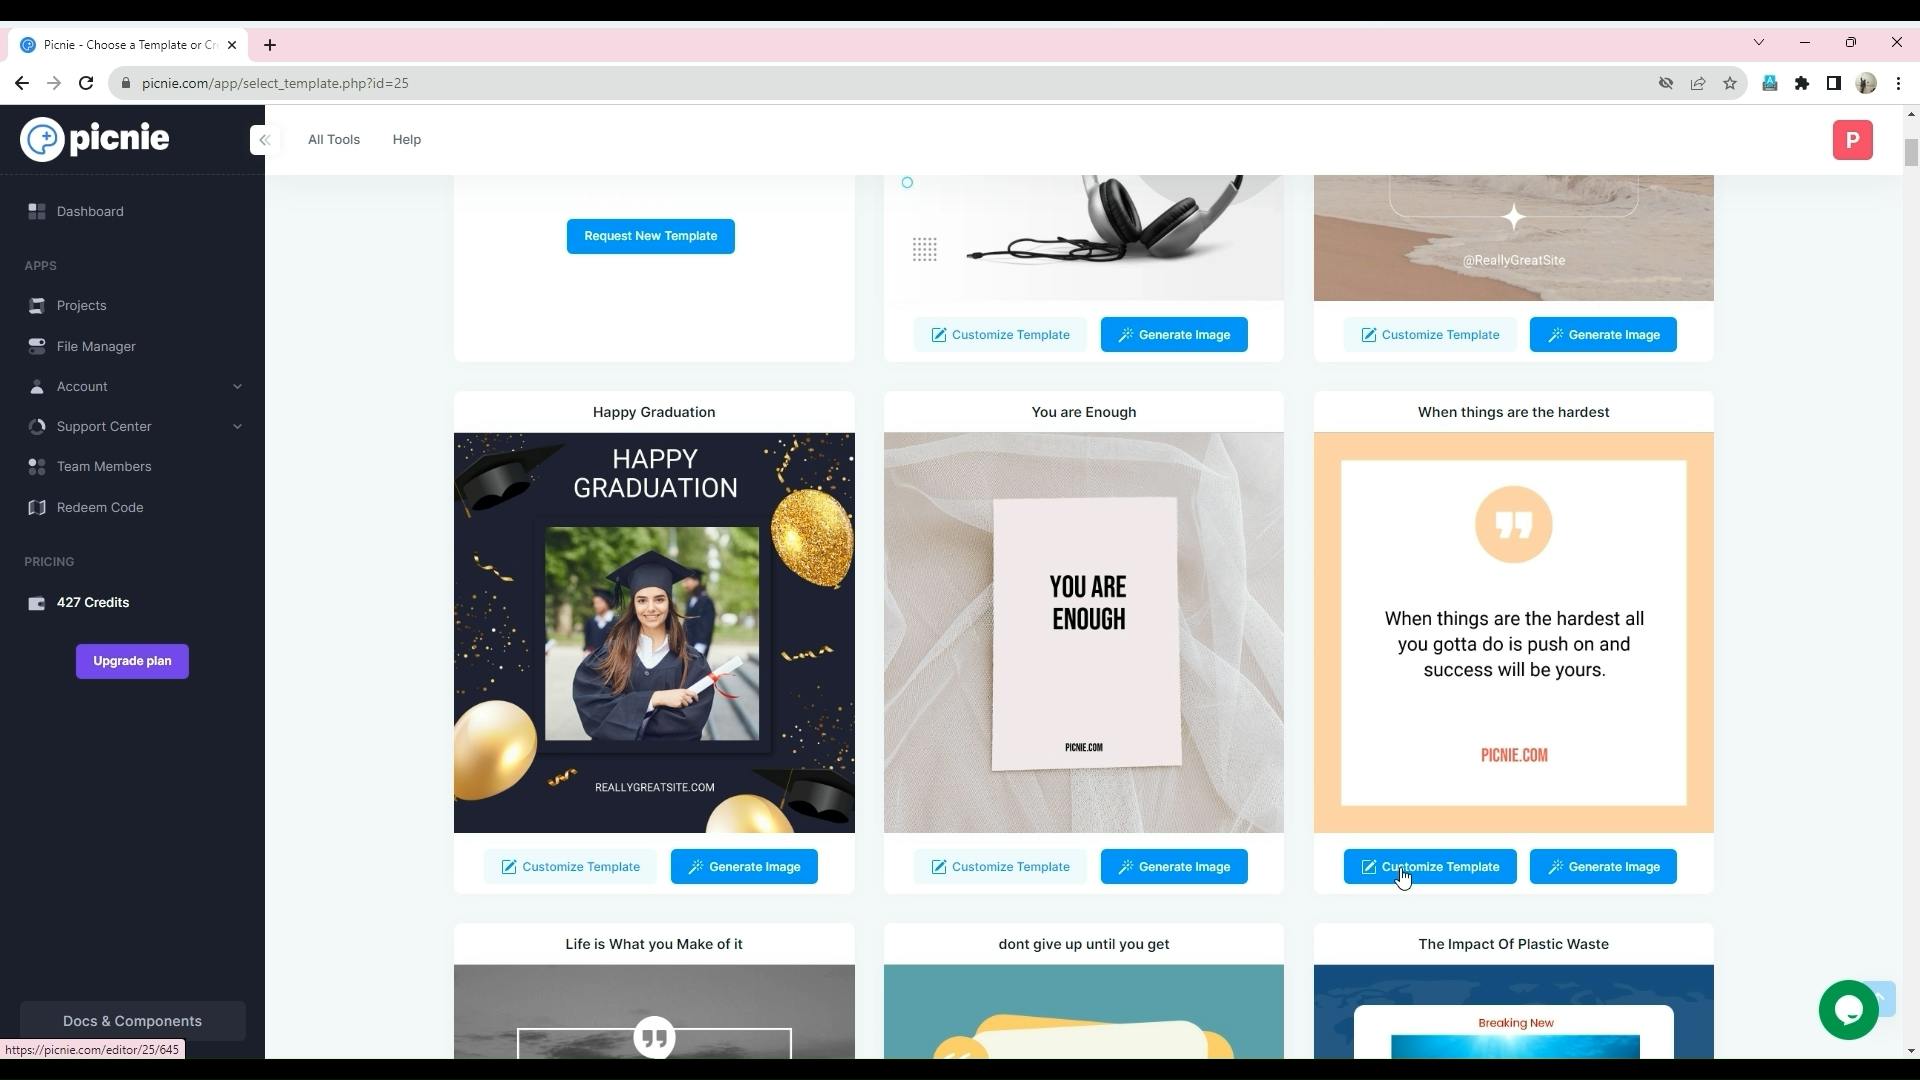
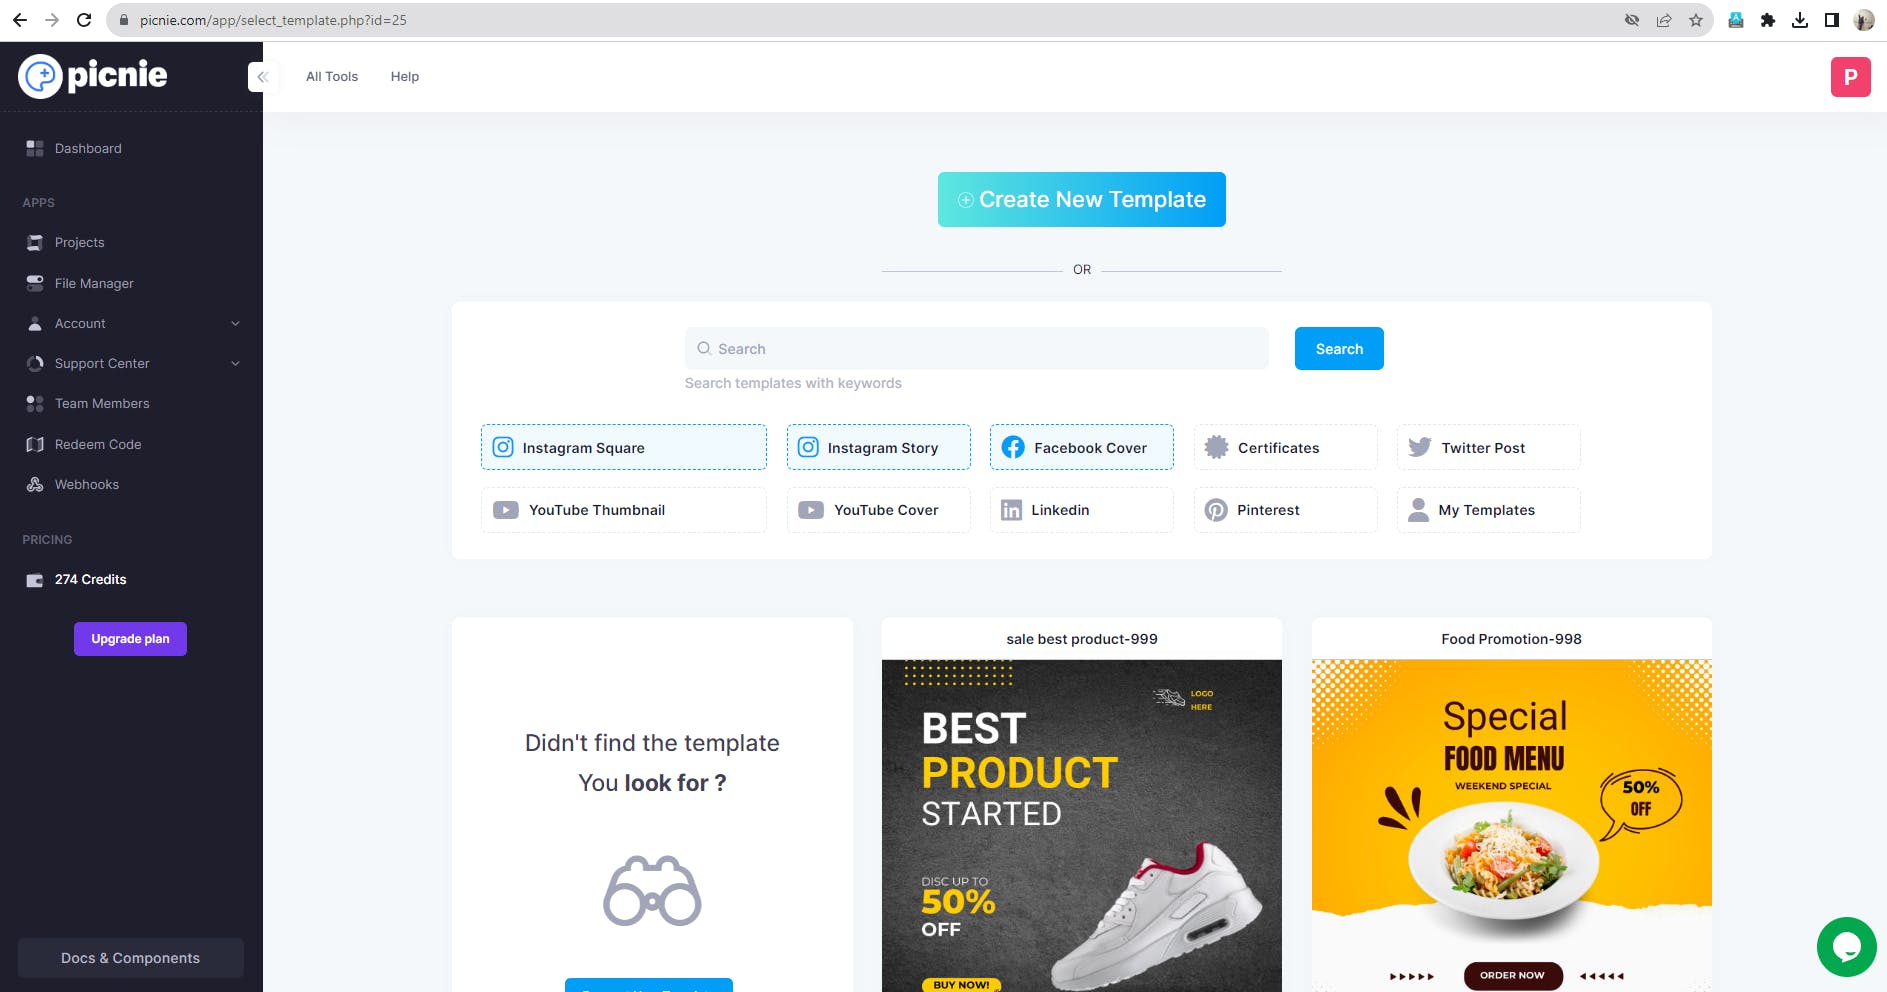
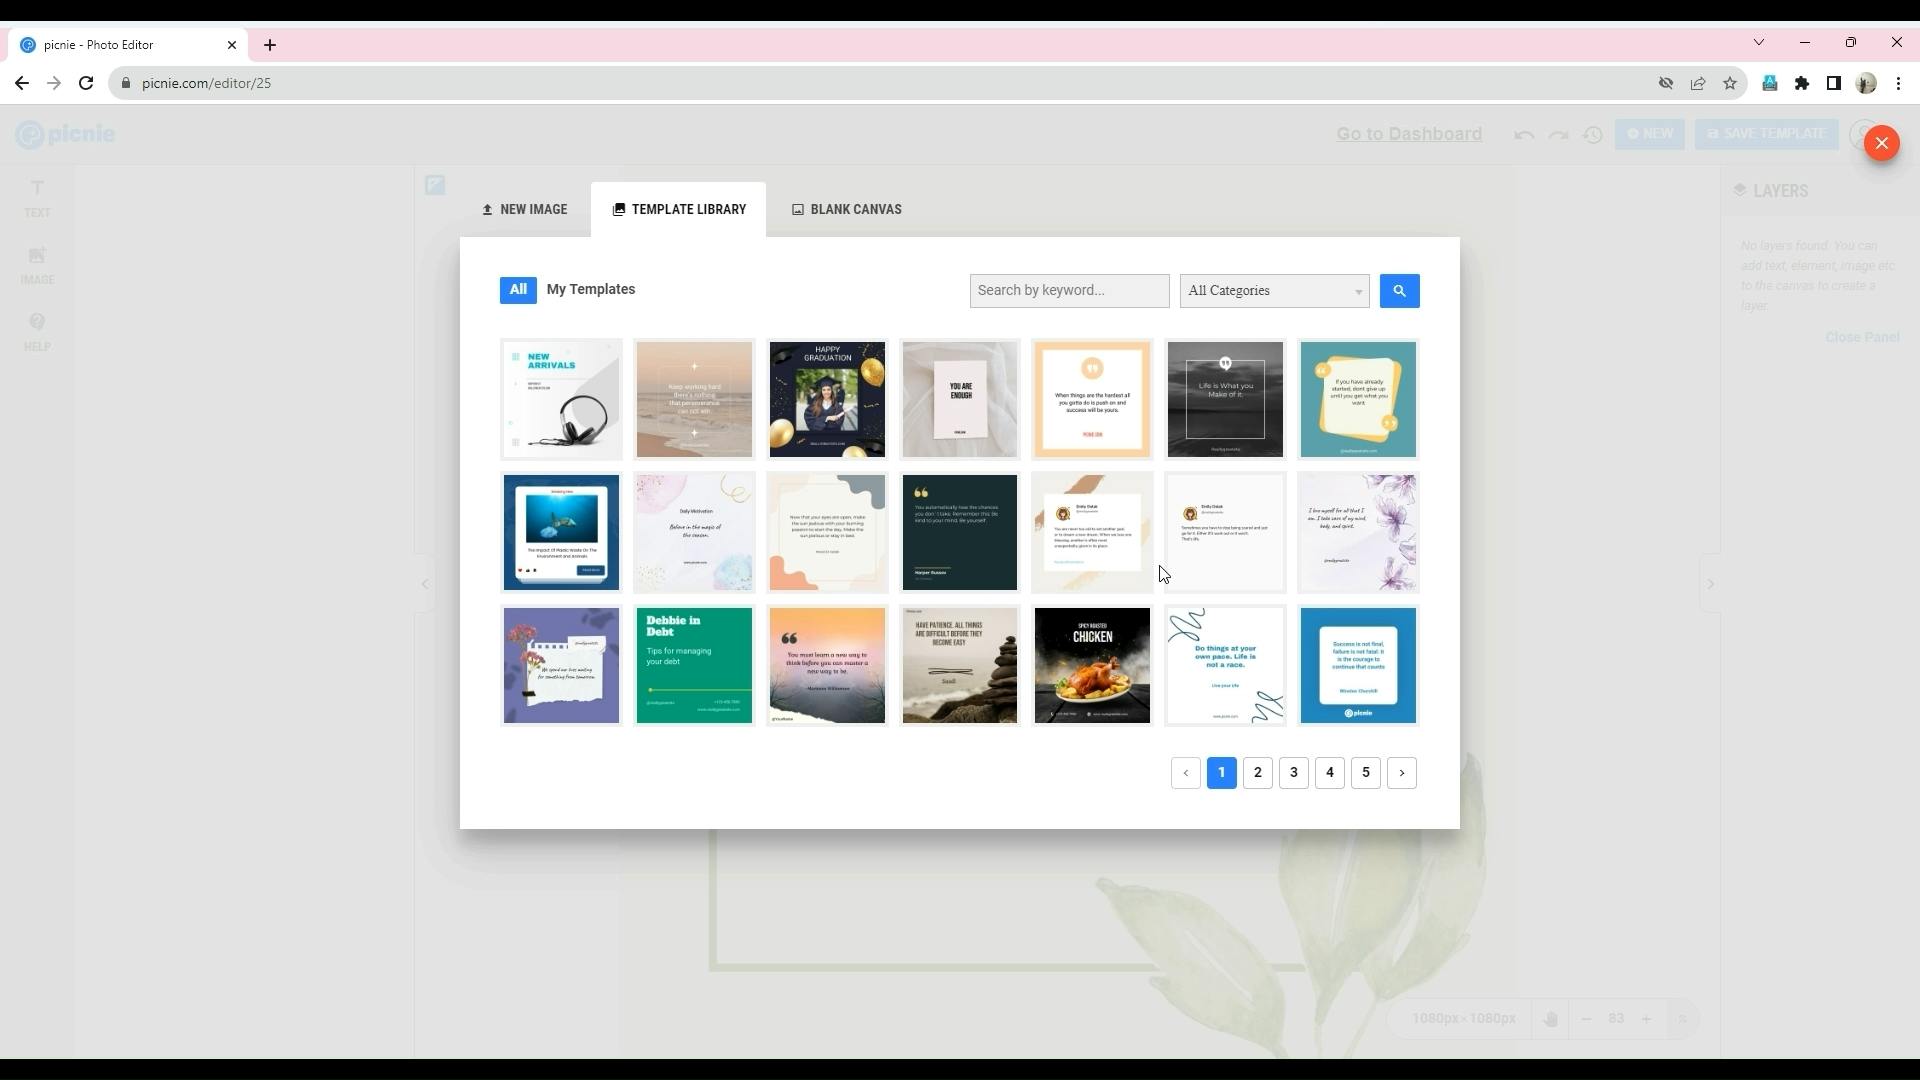
Step 4: Choosing a Template

Within the Image Generation Tool, you will find a variety of stunning templates. Select a template that aligns with your project's objectives and click on it to begin customization.
Template Editor full video v1 - Made with Clipchamp.00_00_57_12.Still004.png

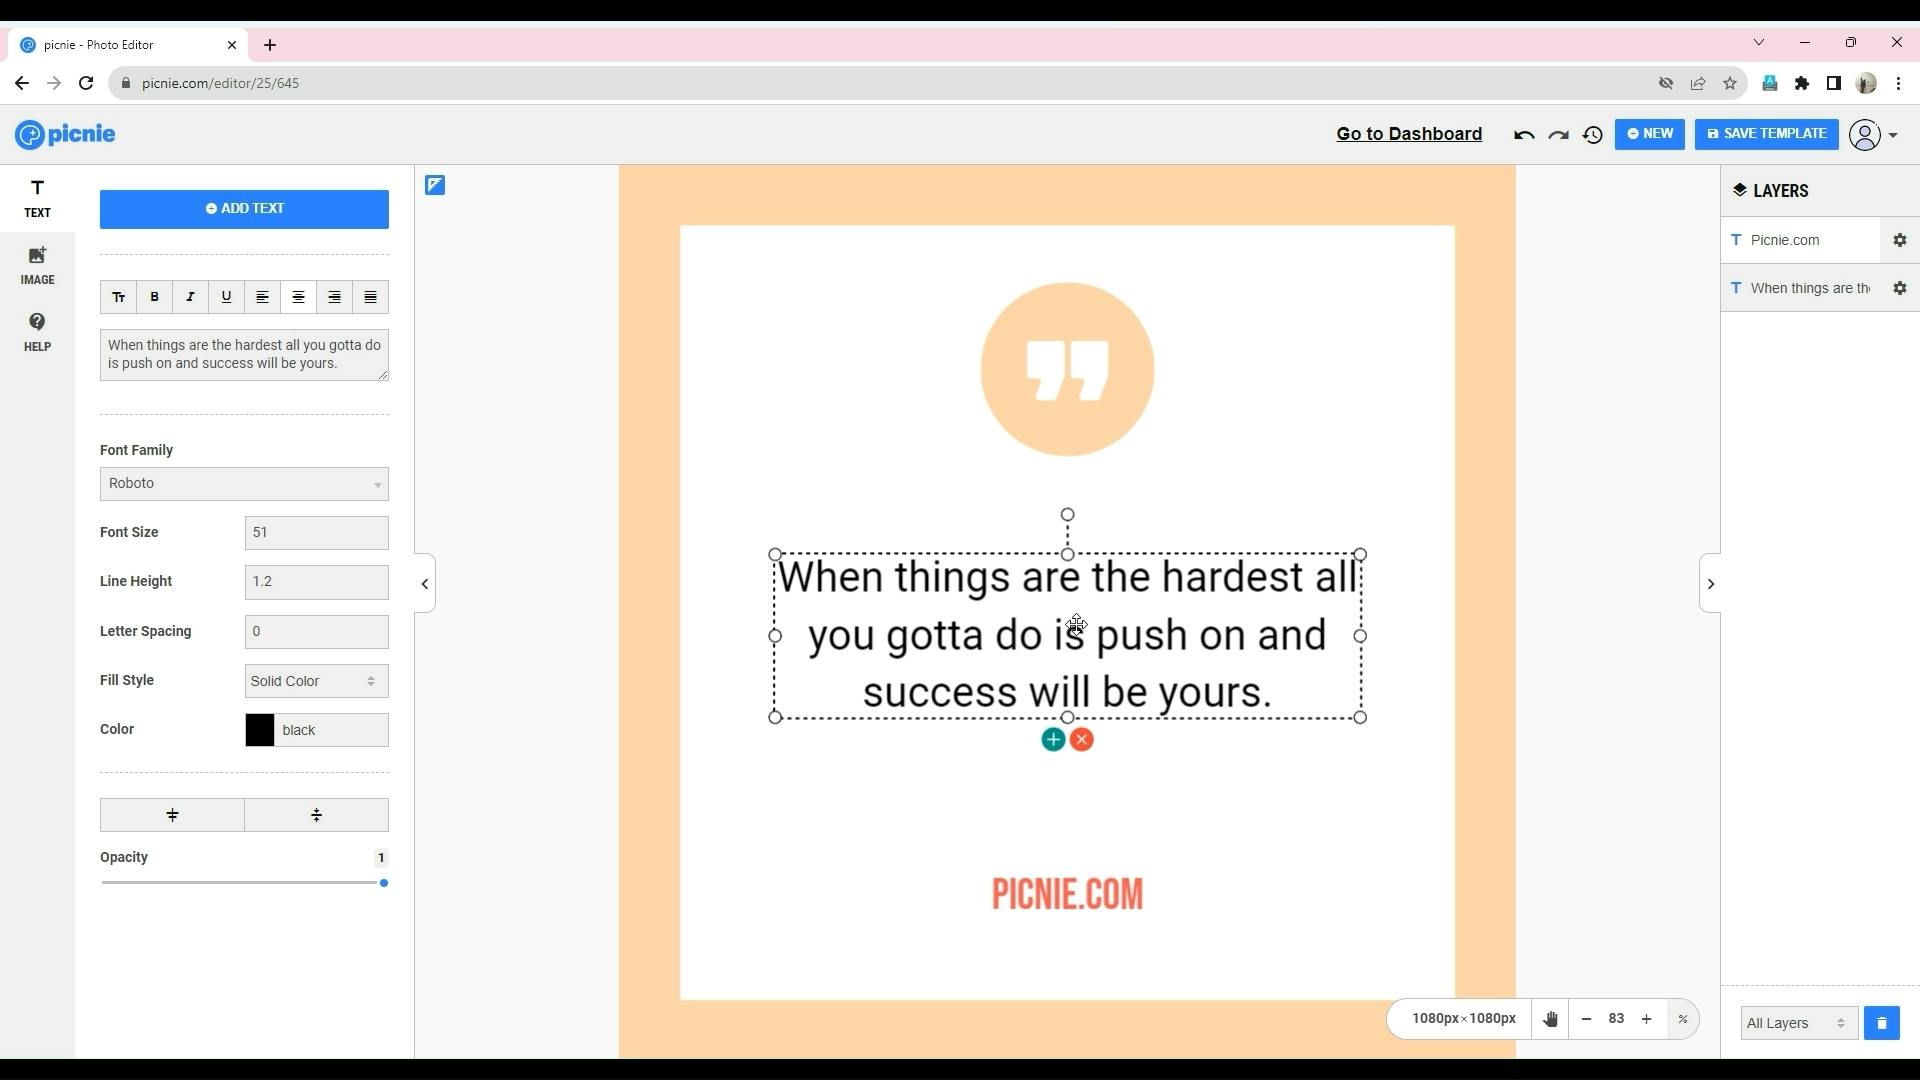
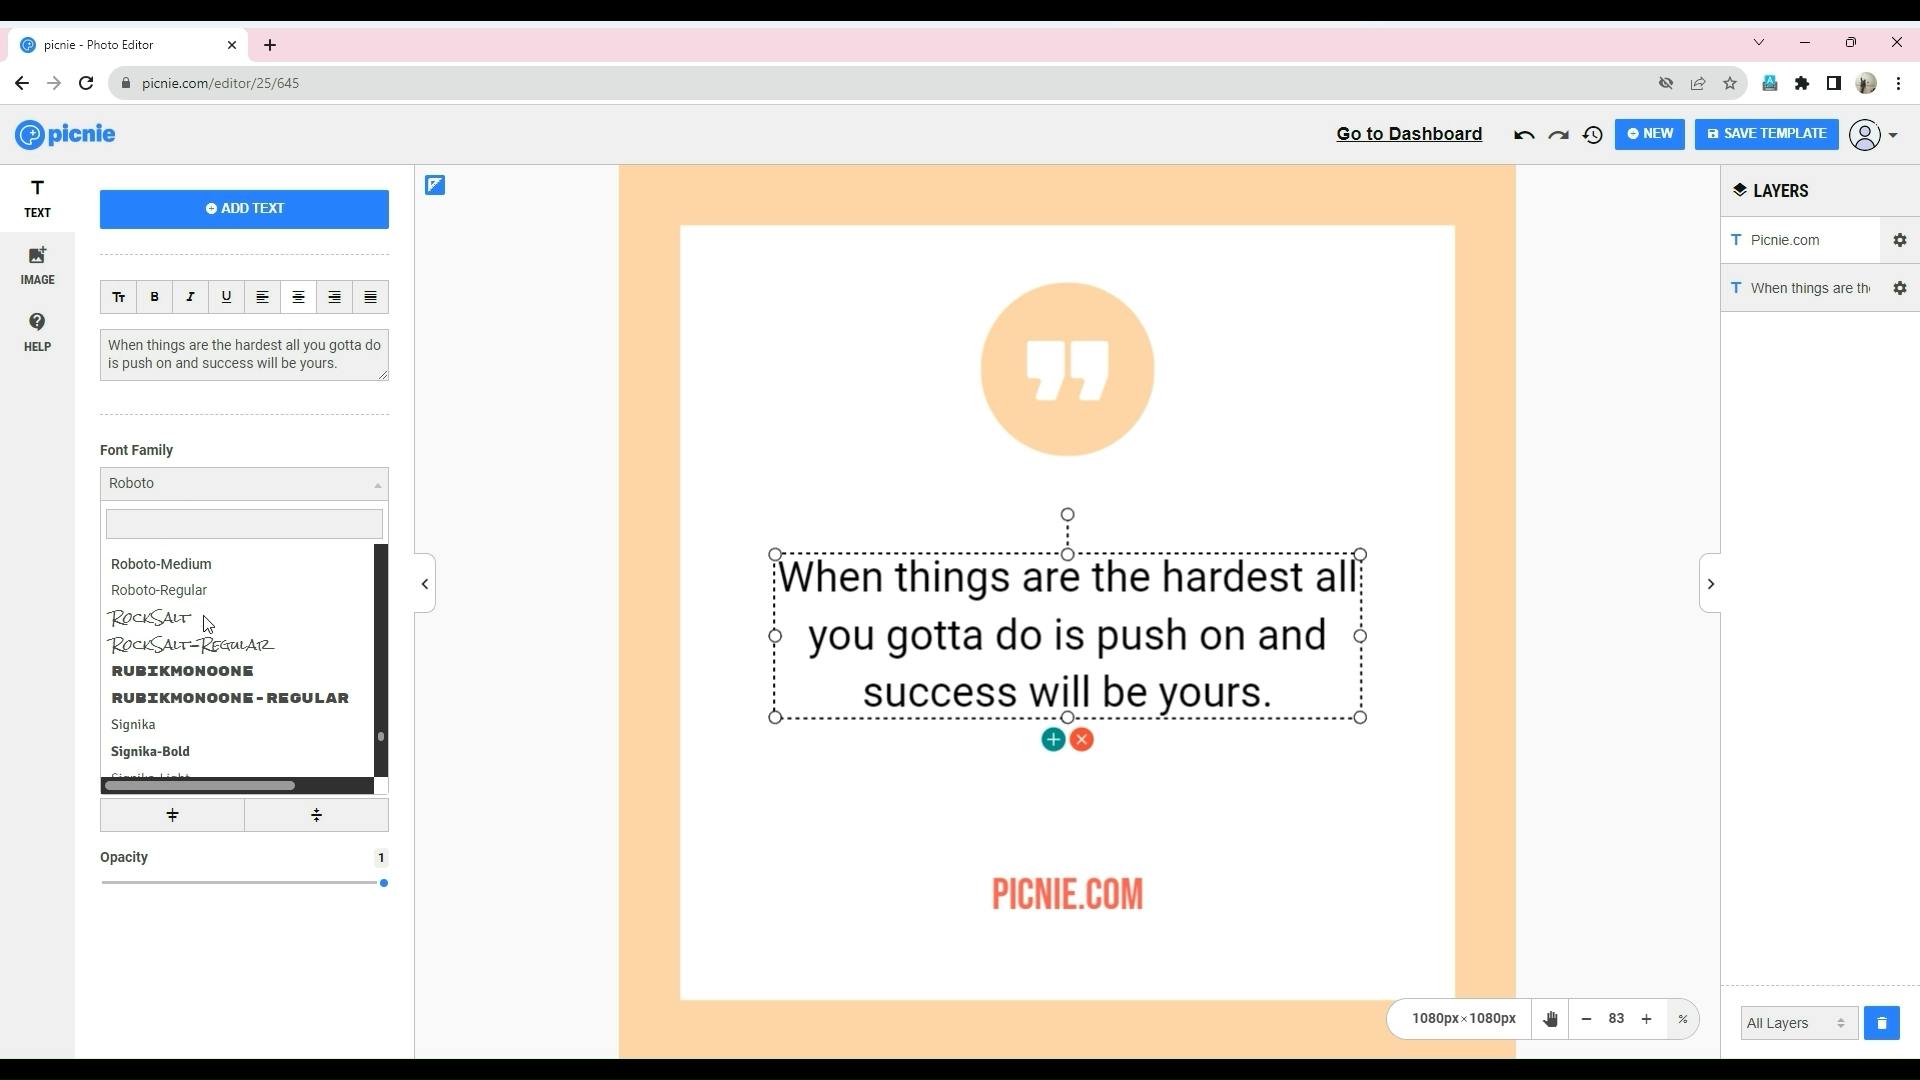
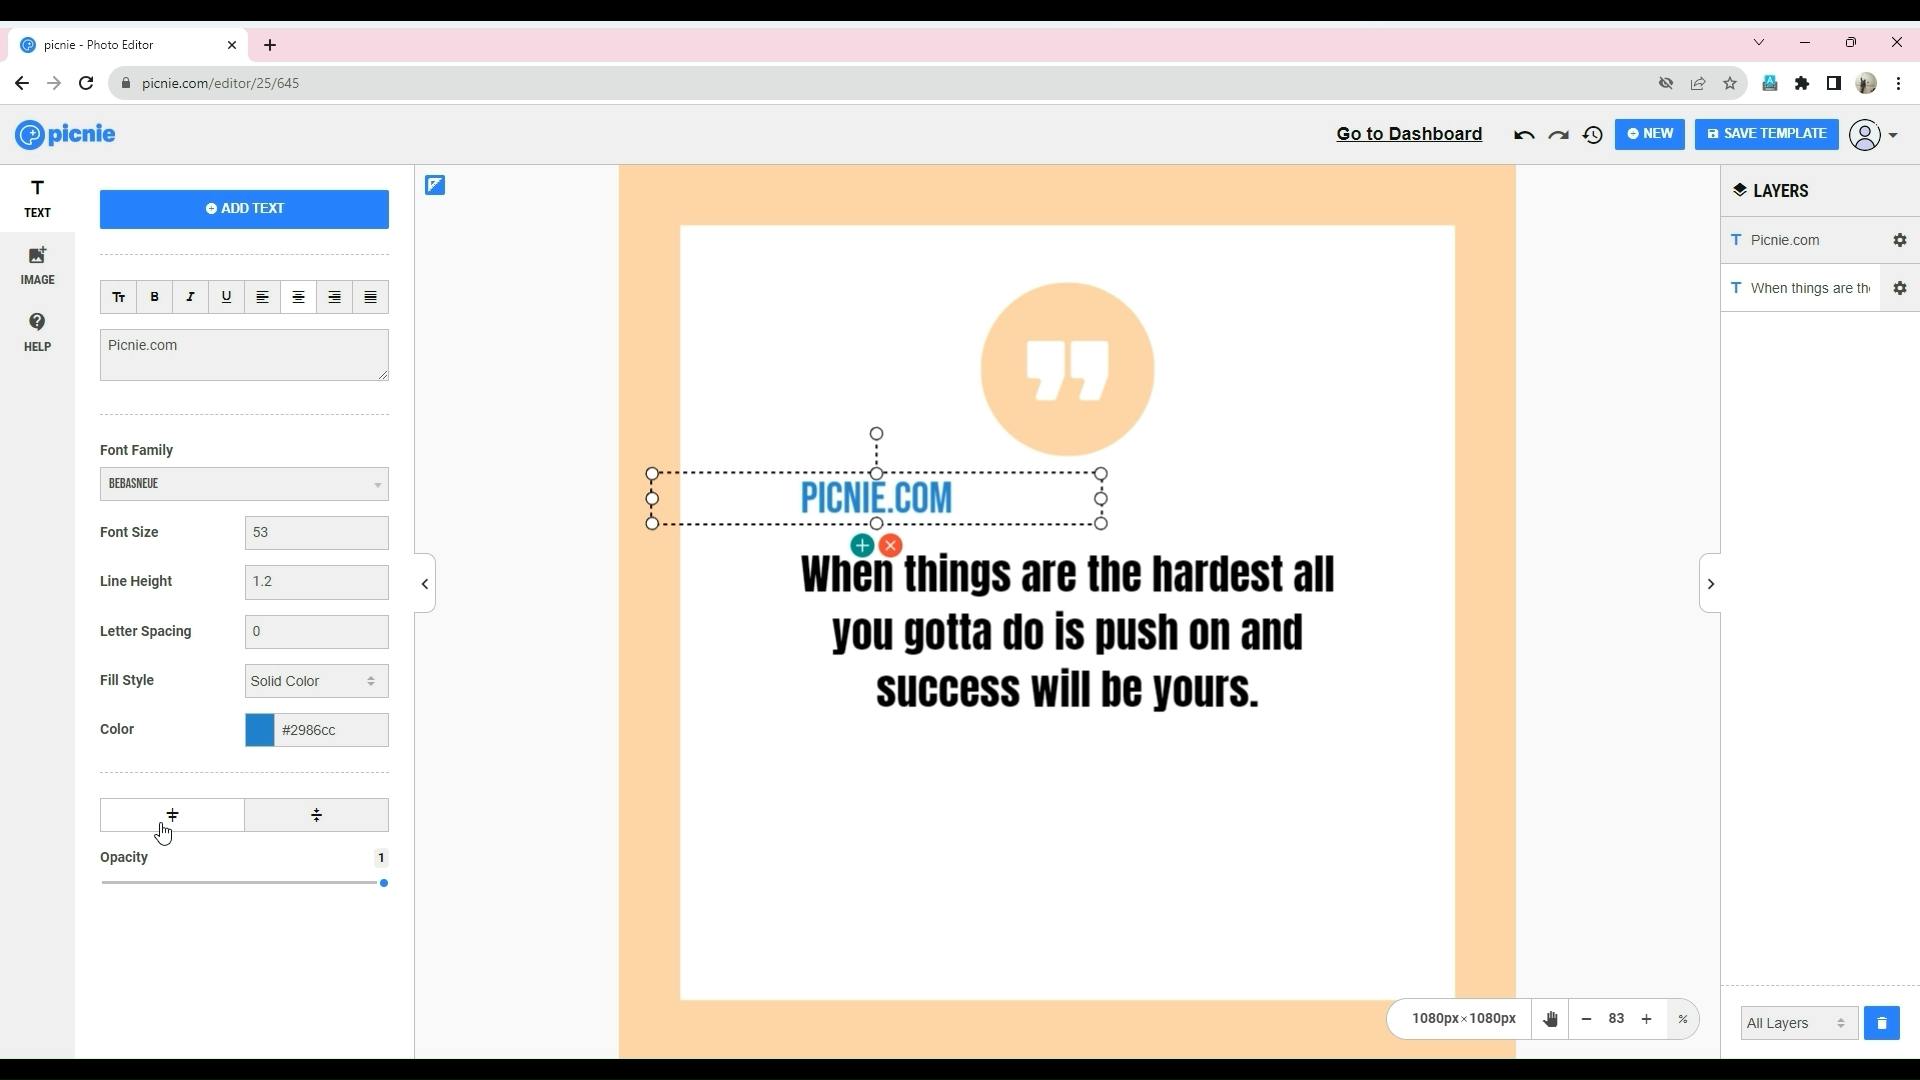
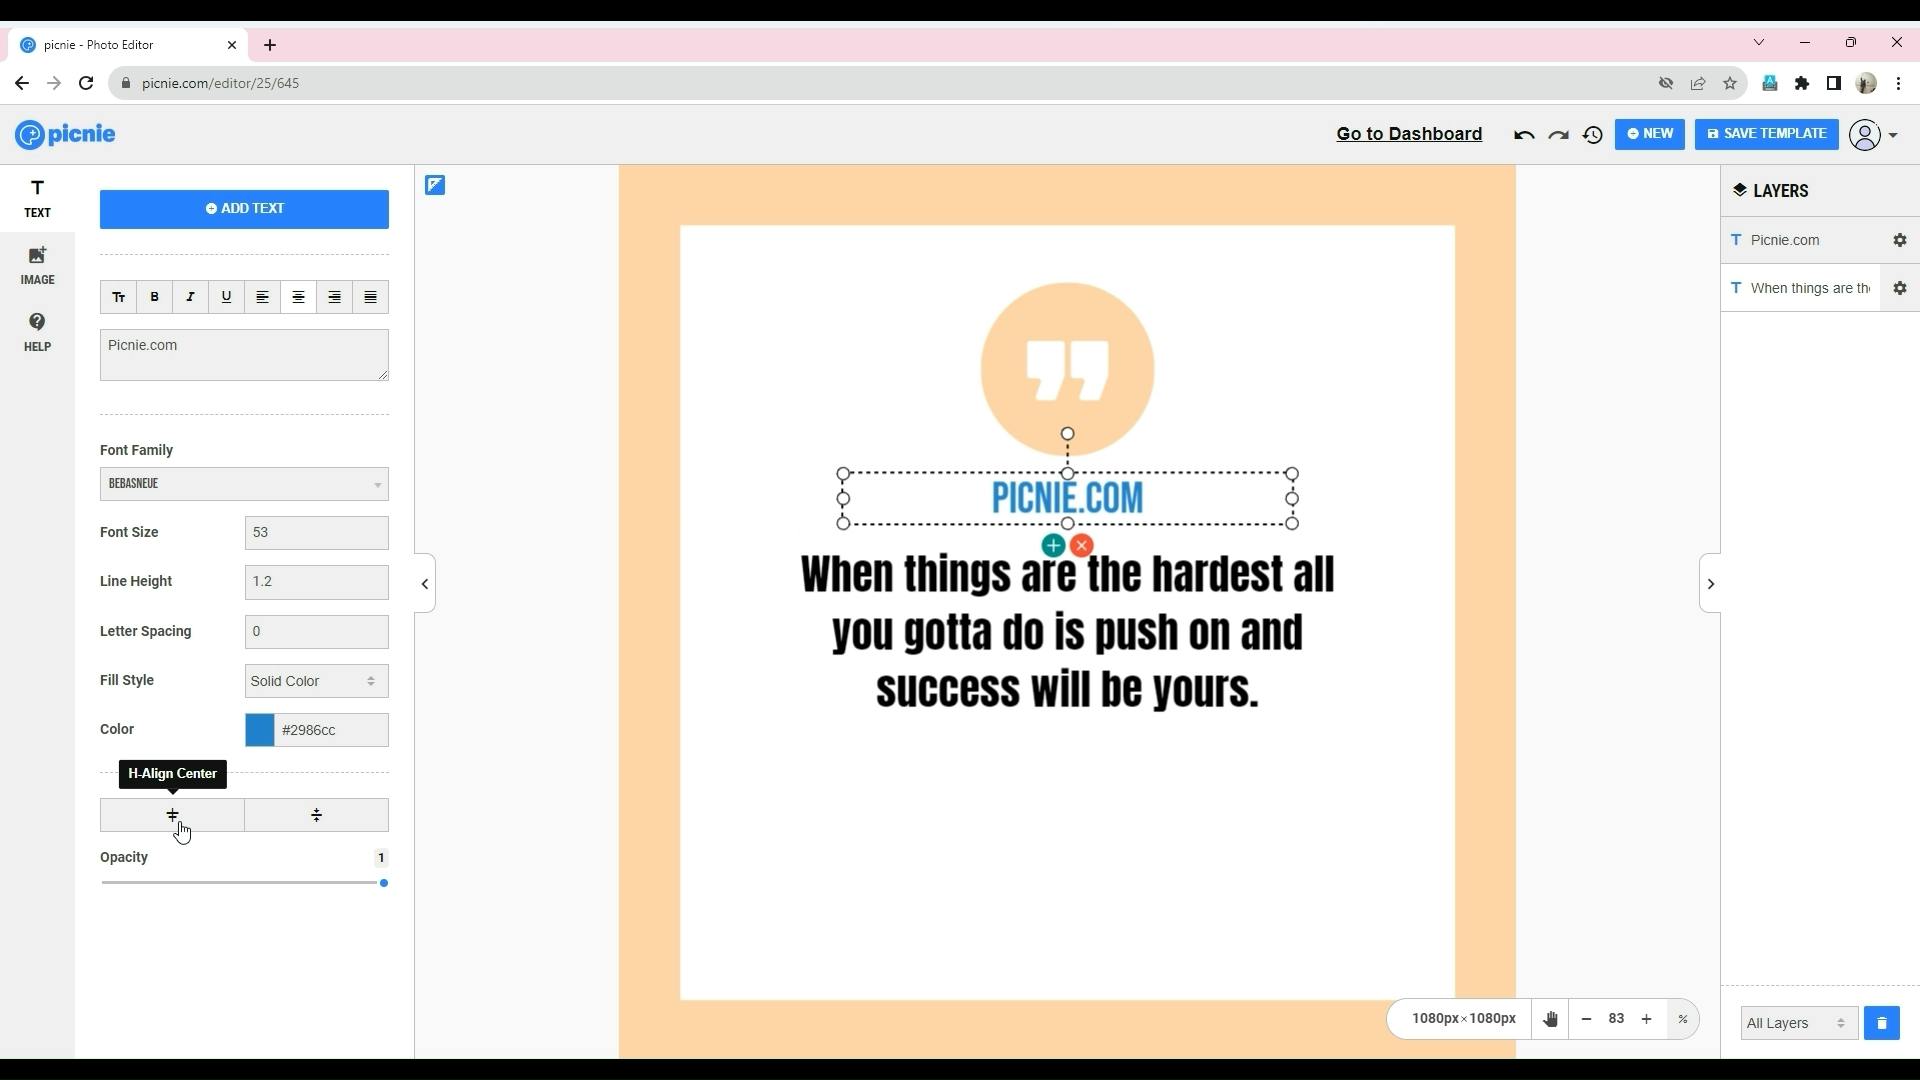
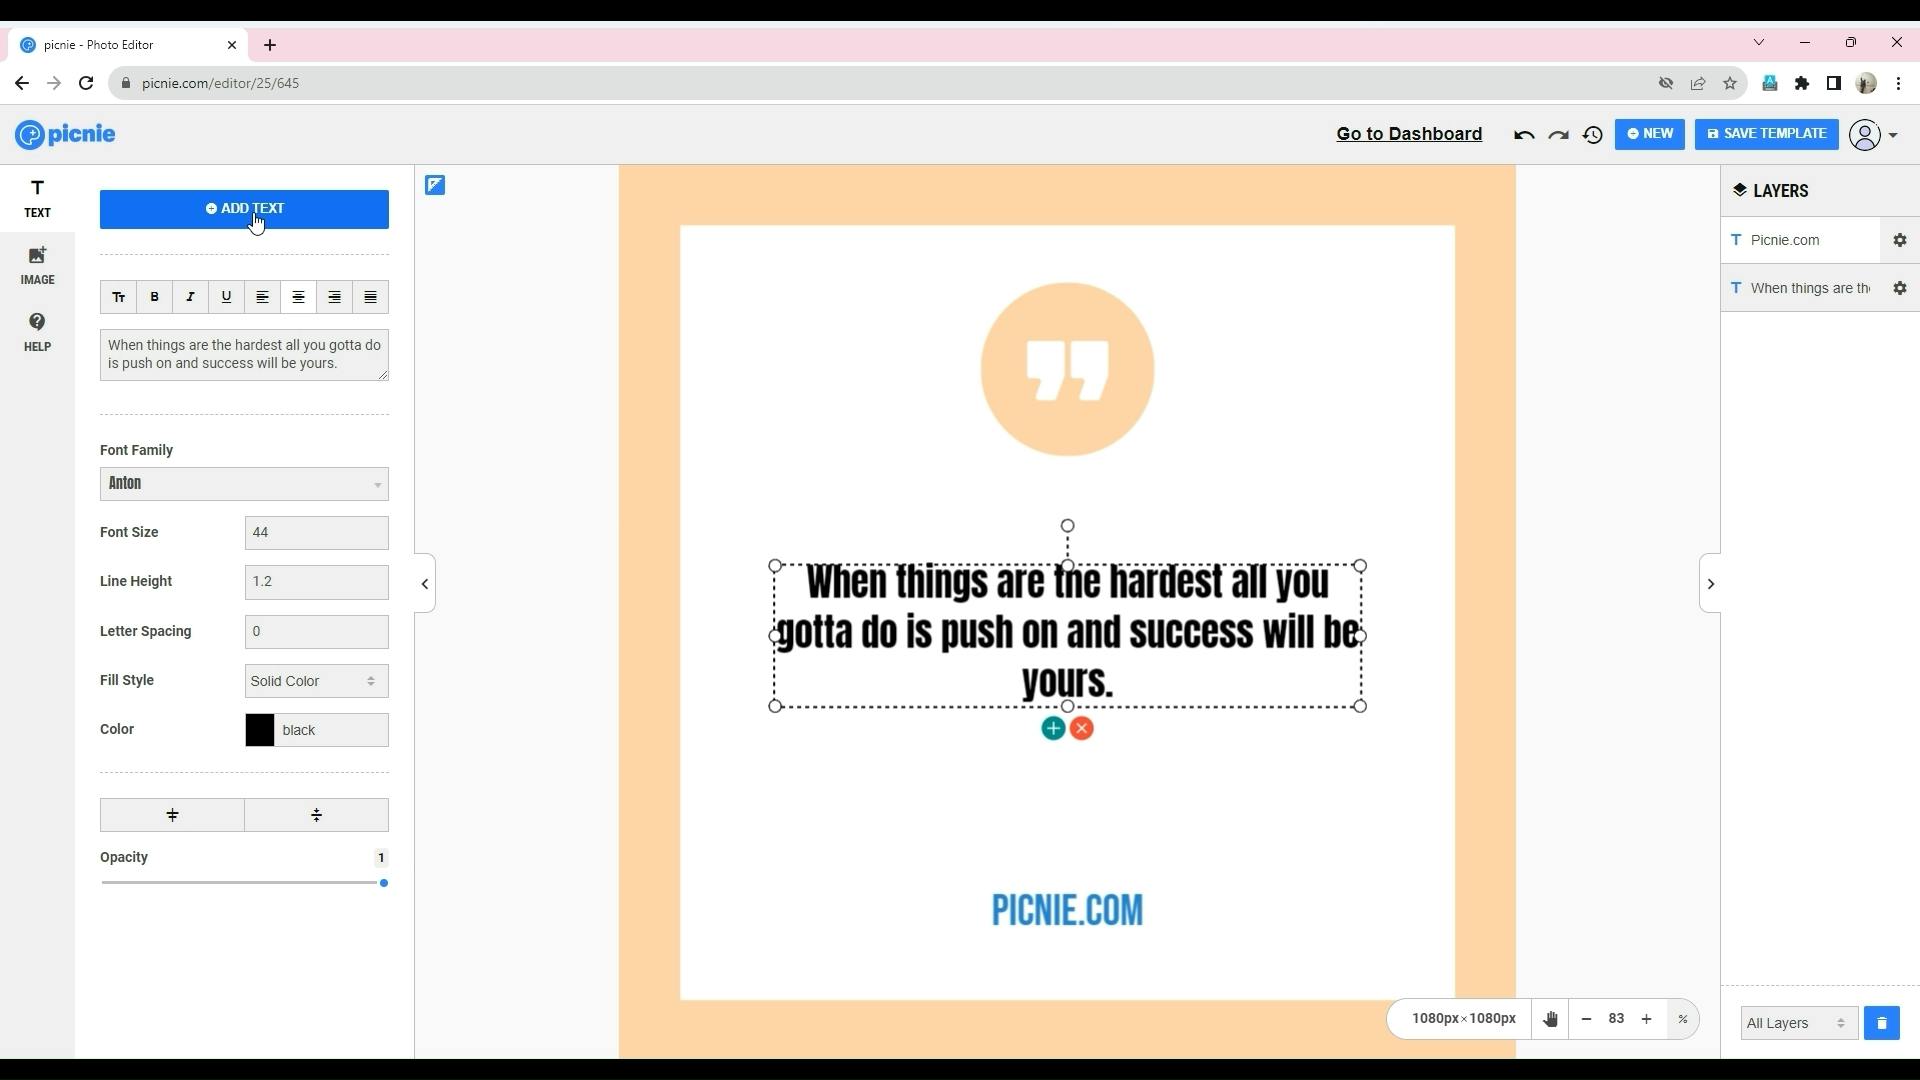
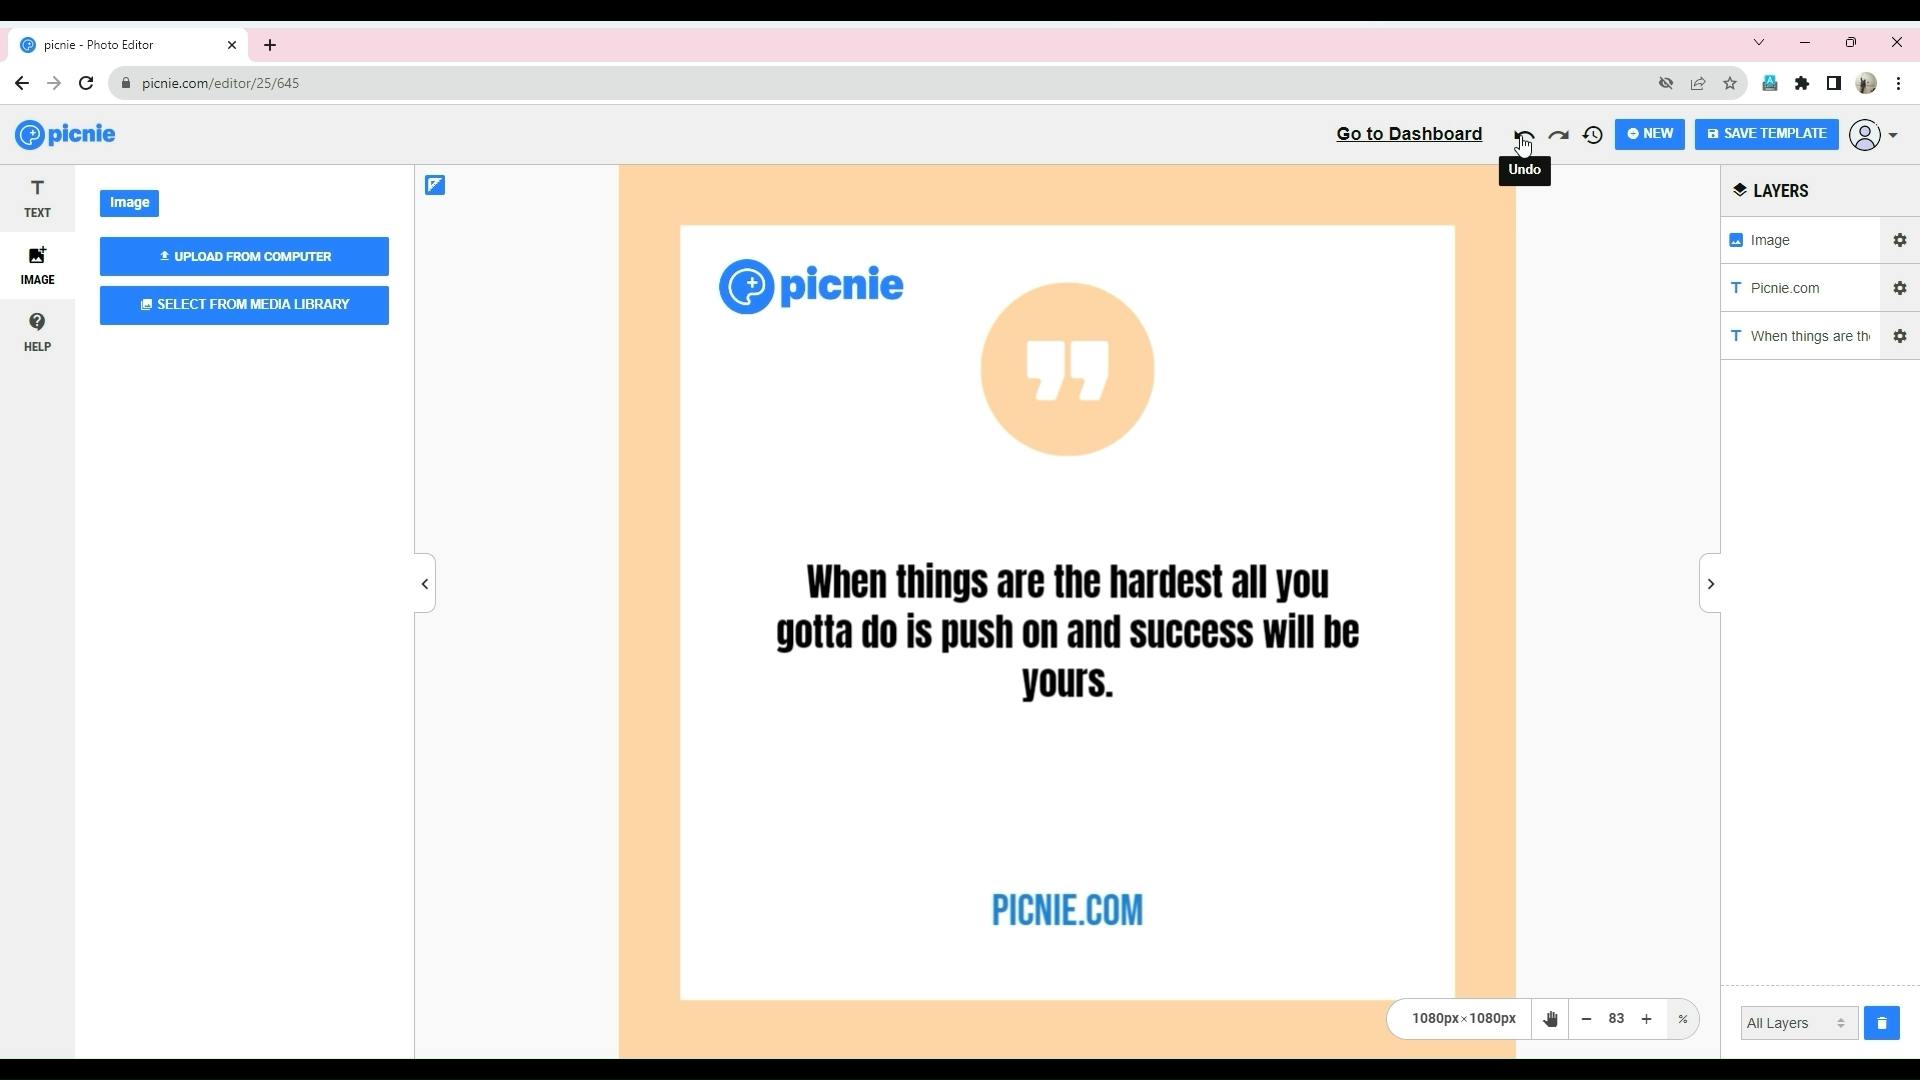
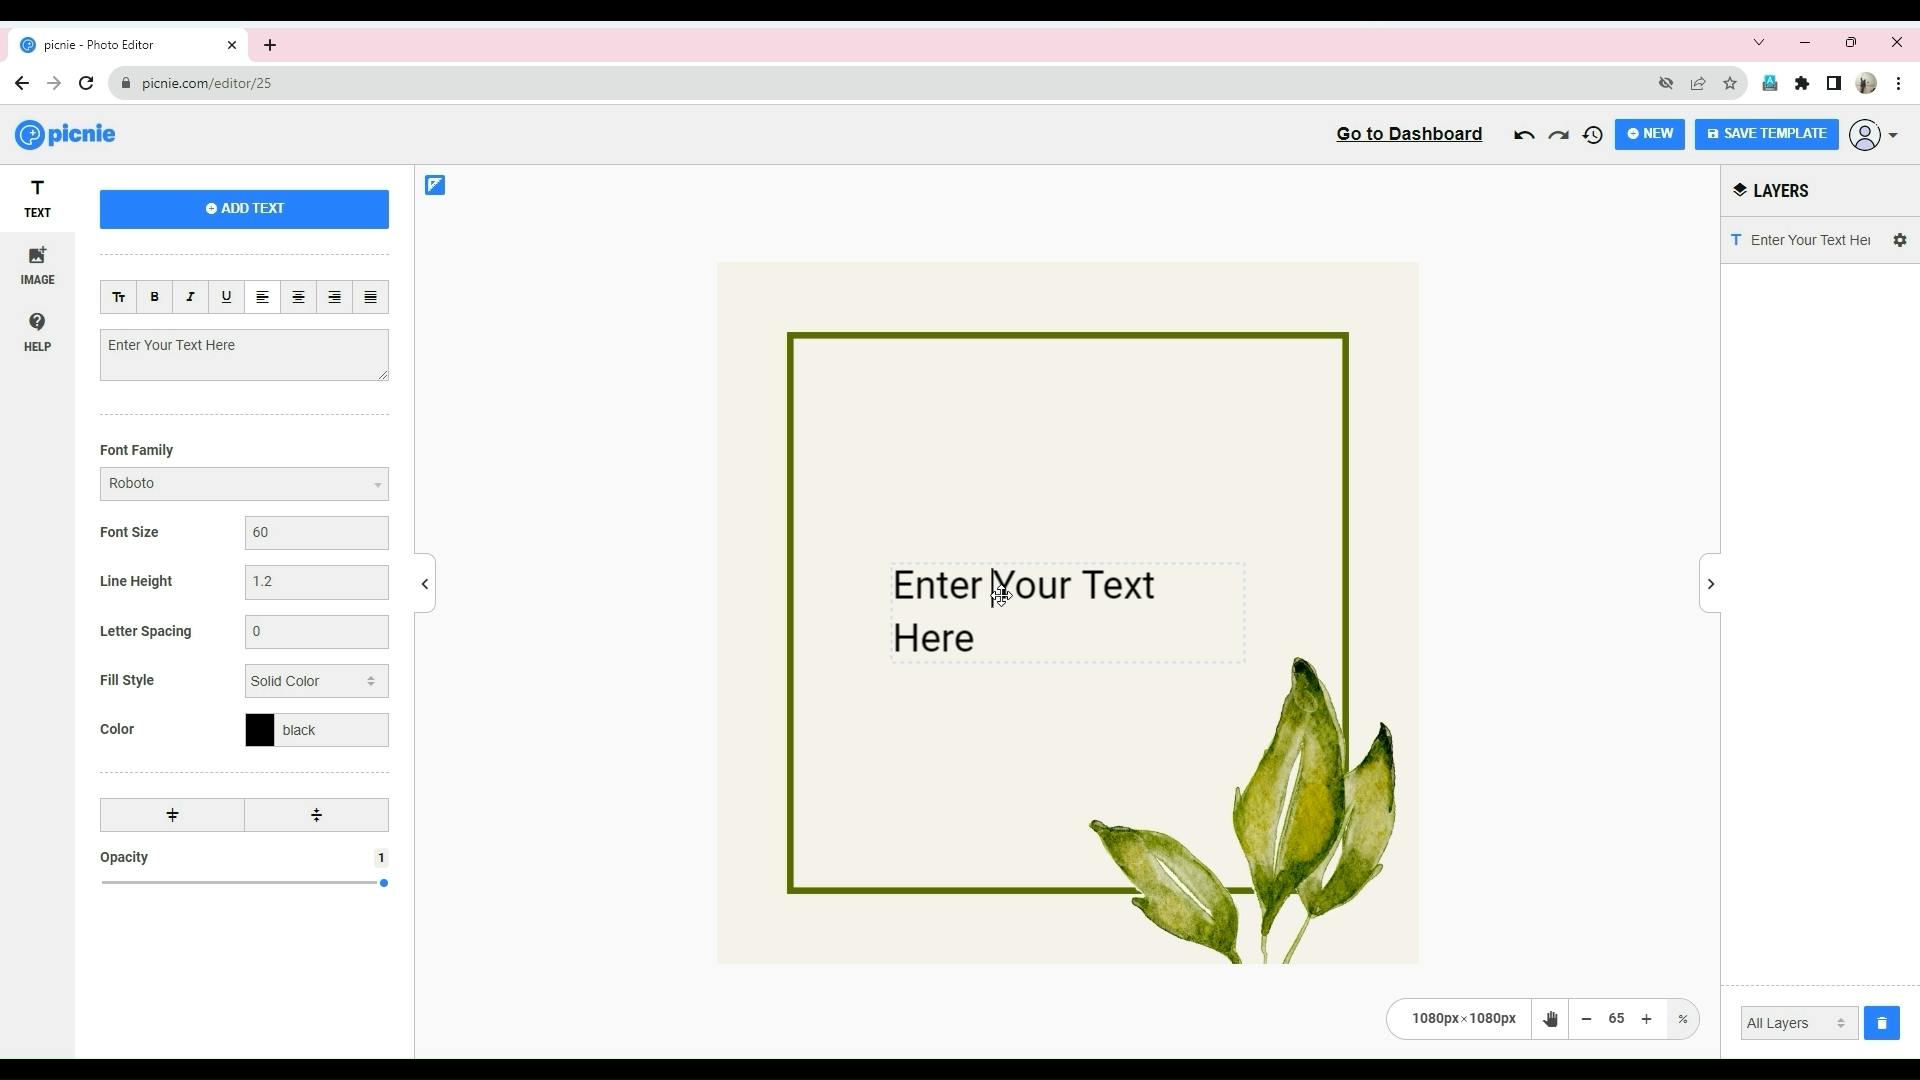
Step 5: Customizing the Template

Customizing existing templates:
Start by selecting a text element within the template to reveal the left sidebar with customization options.
Template Editor full video v1 - Made with Clipchamp.00_01_03_21.Still005.png
Change the font family by choosing from the available fonts.
Template Editor full video v1 - Made with Clipchamp.00_01_10_00.Still006.png
If your desired font is not available, you can request the Picnie team to add it.
Select other text elements and change their colors as needed. You can choose from the color panel or enter a color hash code.
Template Editor full video v1 - Made with Clipchamp.00_01_38_21.Still007.png
Explore text alignment options, including left, center, right, and justify.
Template Editor full video v1 - Made with Clipchamp.00_01_57_27.Still008.png
Use direct alignment buttons for horizontal and vertical alignment.
Template Editor full video v1 - Made with Clipchamp.00_02_12_16.Still009.png
Adjust text element positions by dragging them on the background.
Template Editor full video v1 - Made with Clipchamp.00_02_14_26.Still010.png
To add more text fields, click on the background and select "Add Text" from the left sidebar. Default text will be added, which you can modify.
Template Editor full video v1 - Made with Clipchamp.00_02_33_09.Still011.png
Use the "Add" and "Remove" buttons to duplicate or delete text fields.
Template Editor full video v1 - Made with Clipchamp.00_02_53_04.Still013.png

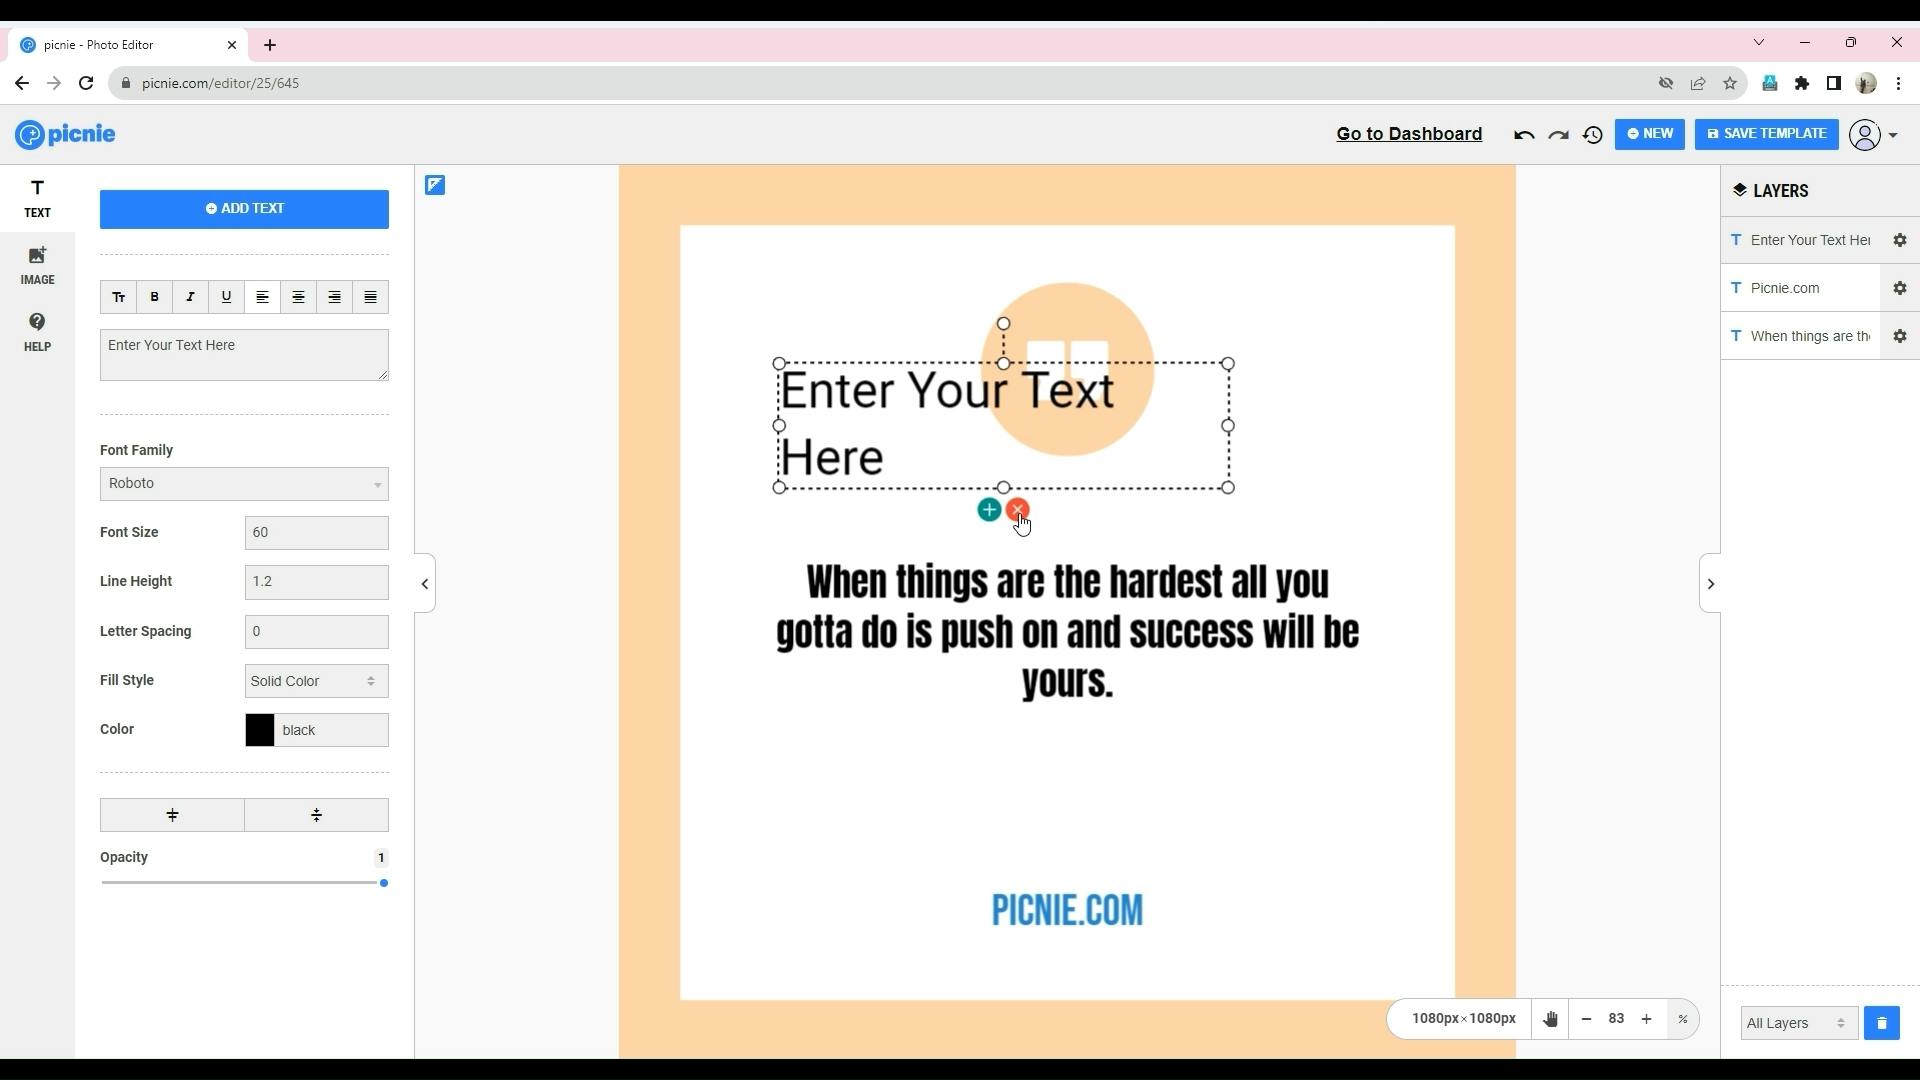
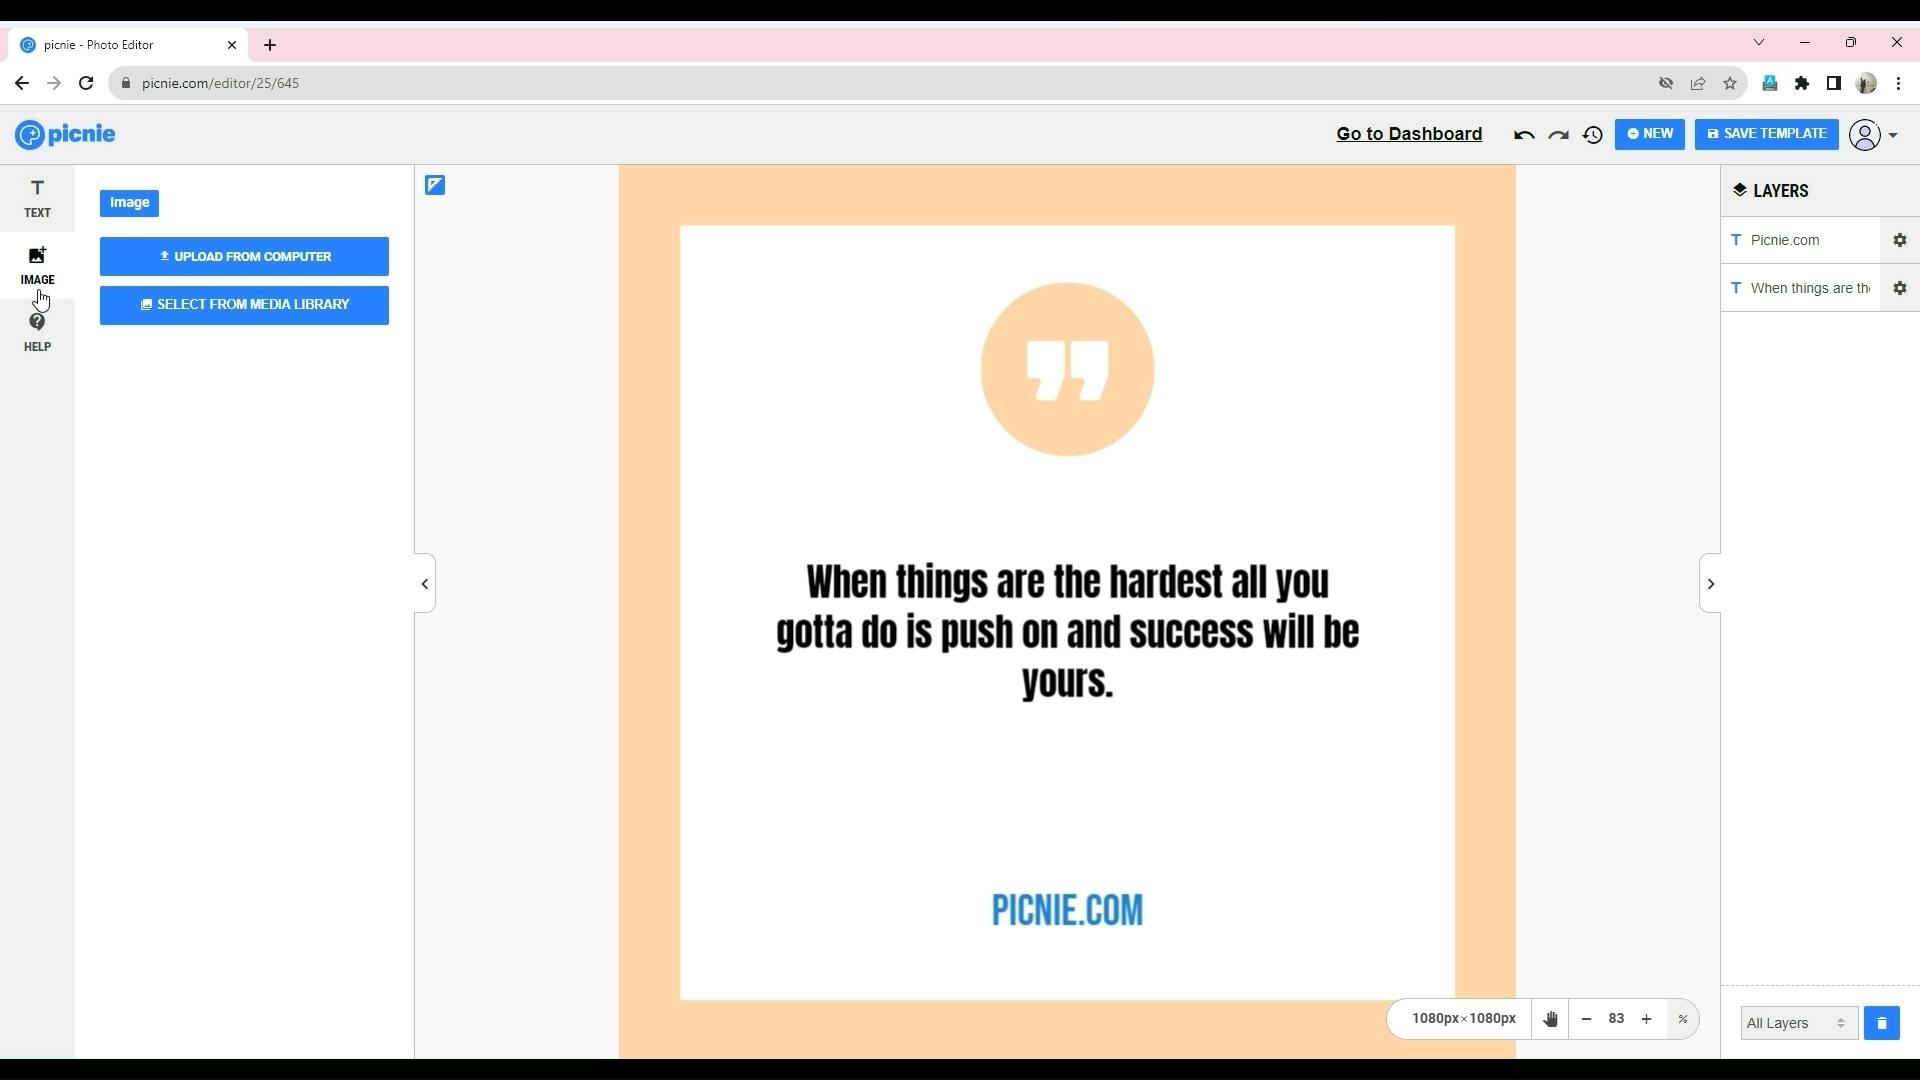
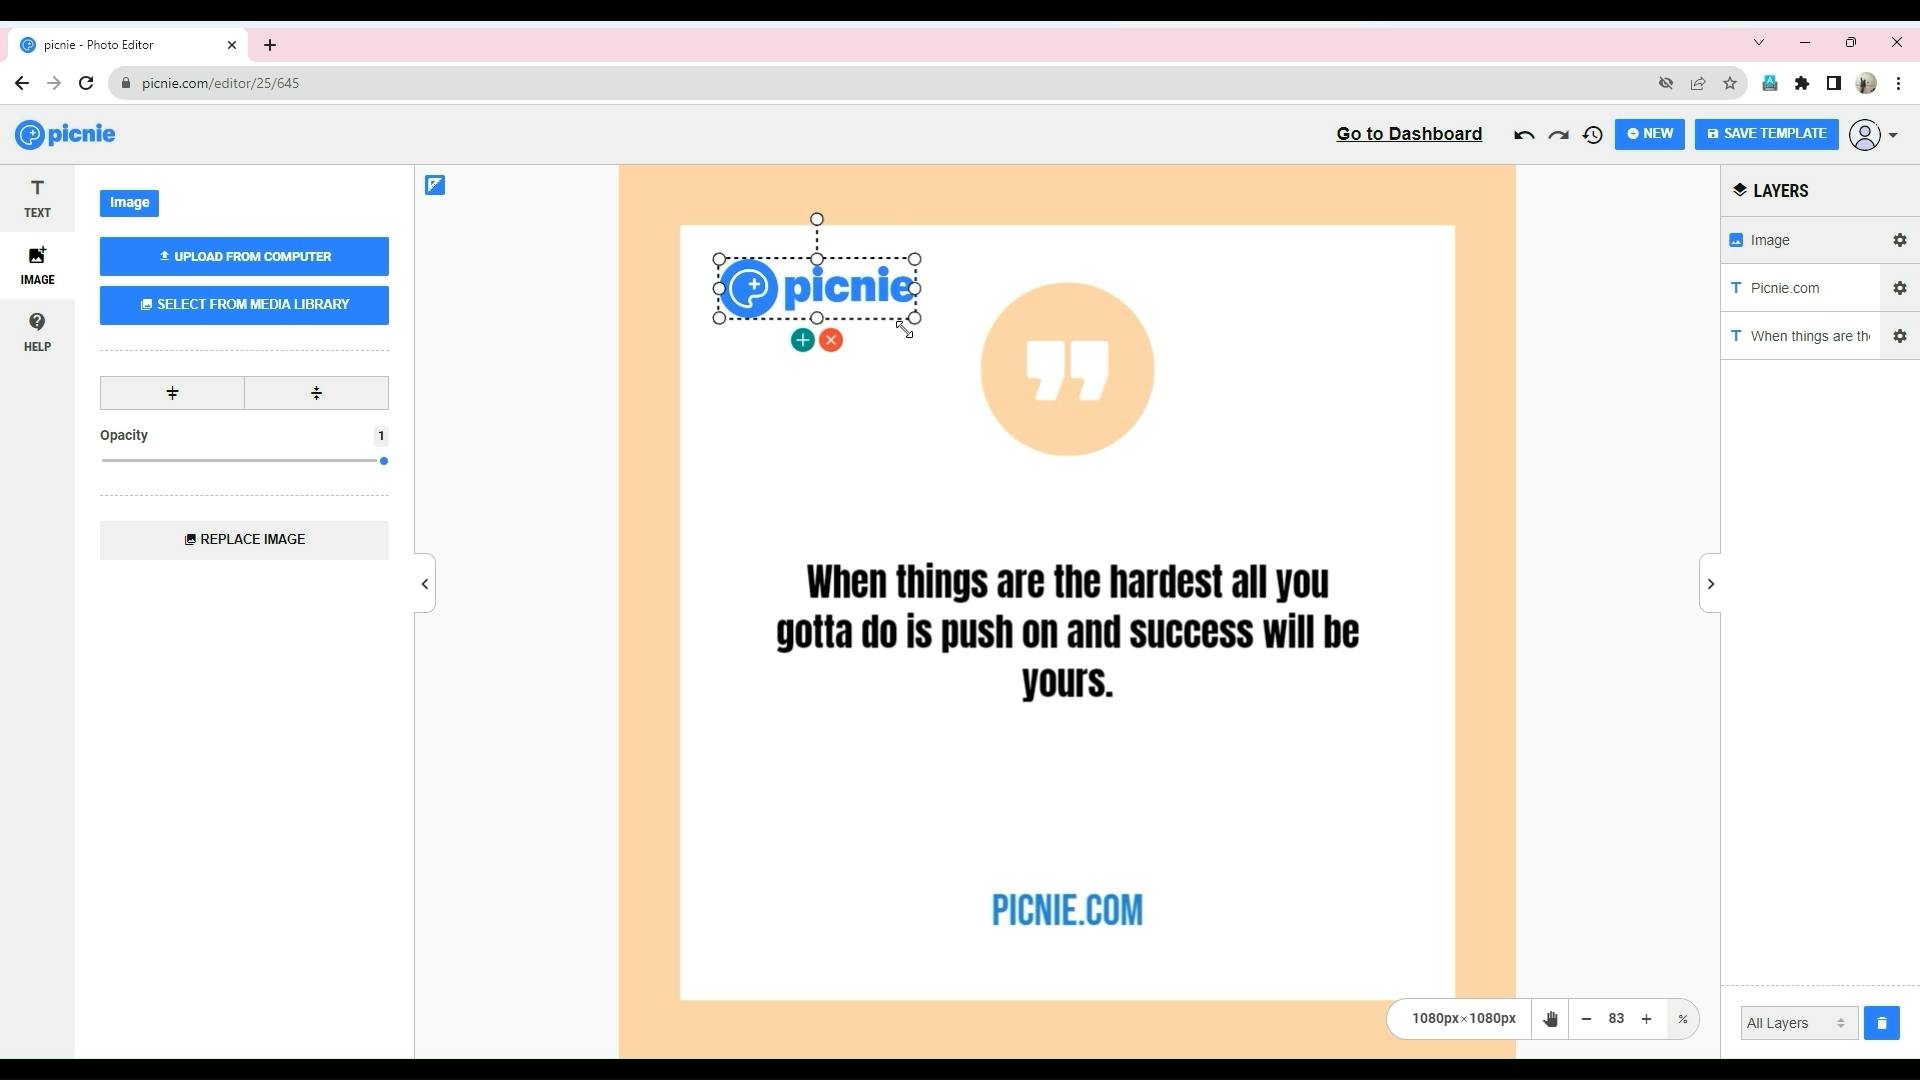
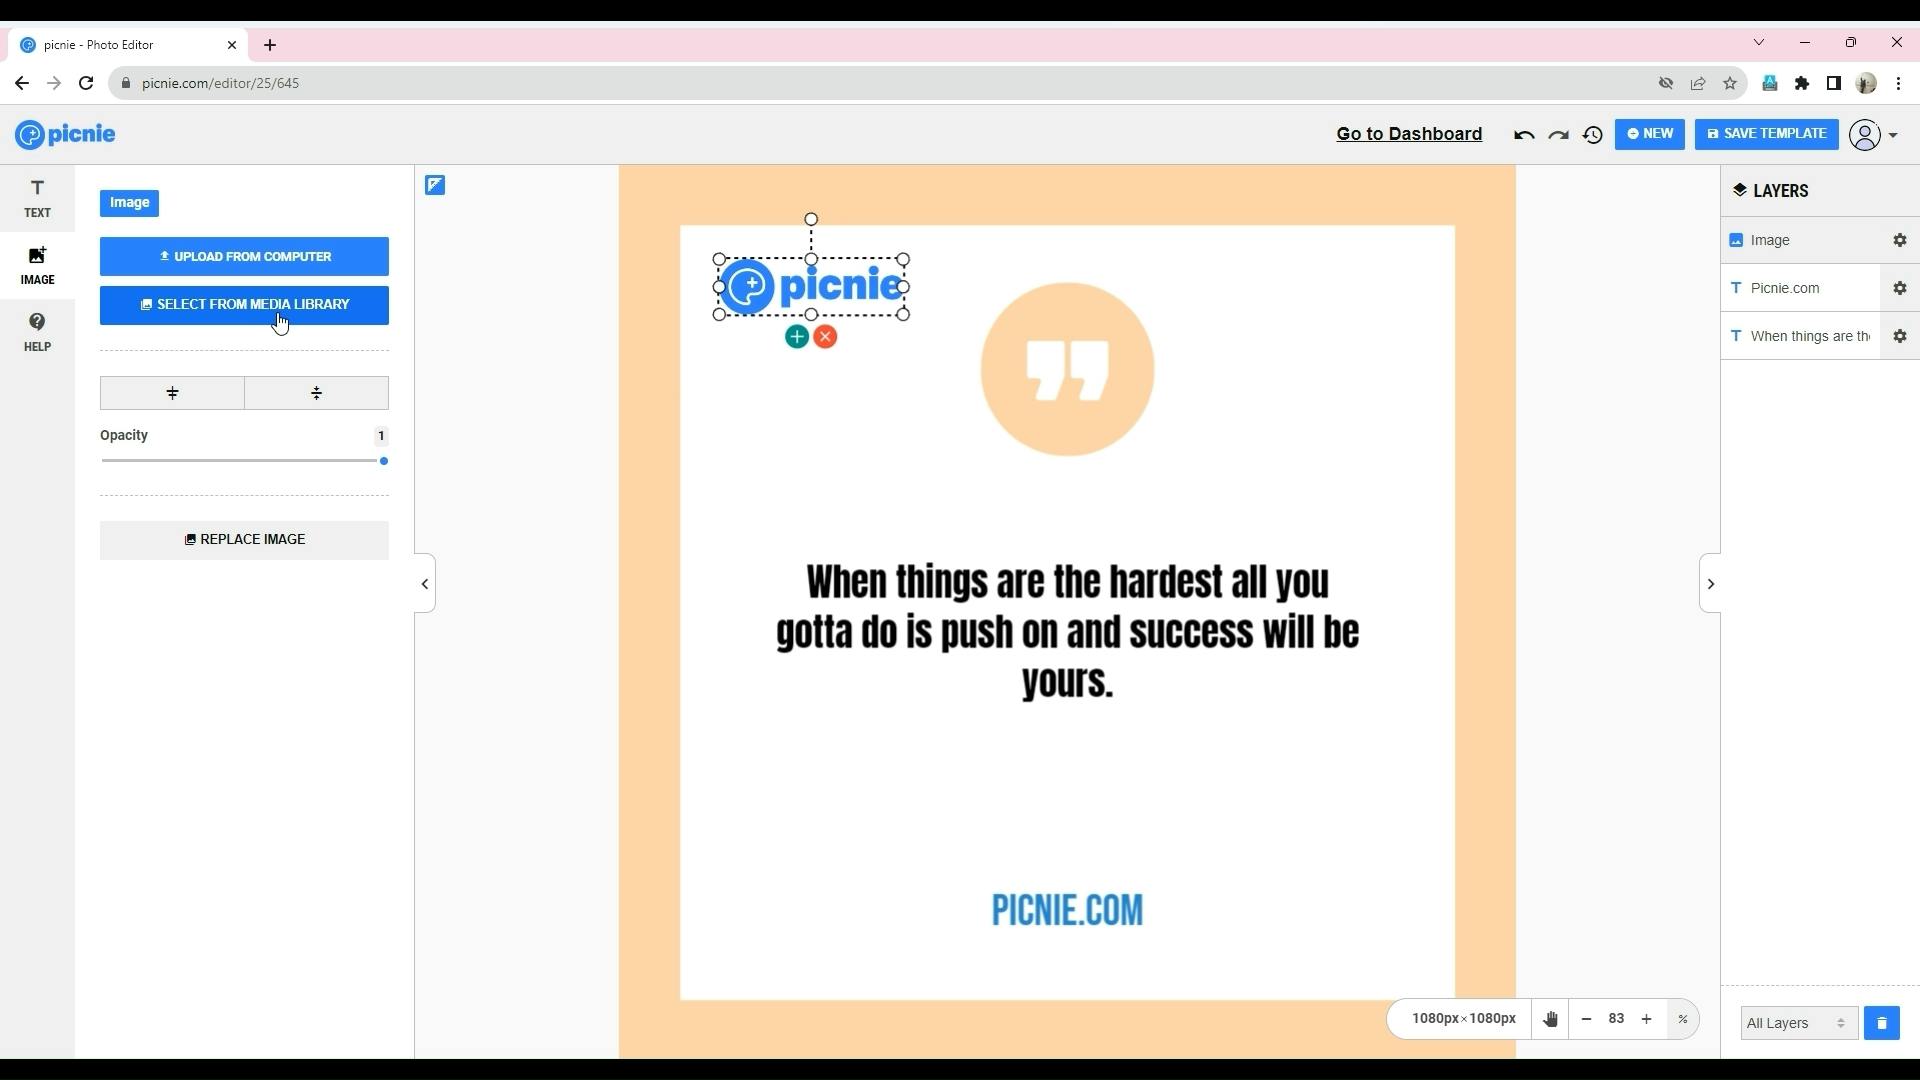
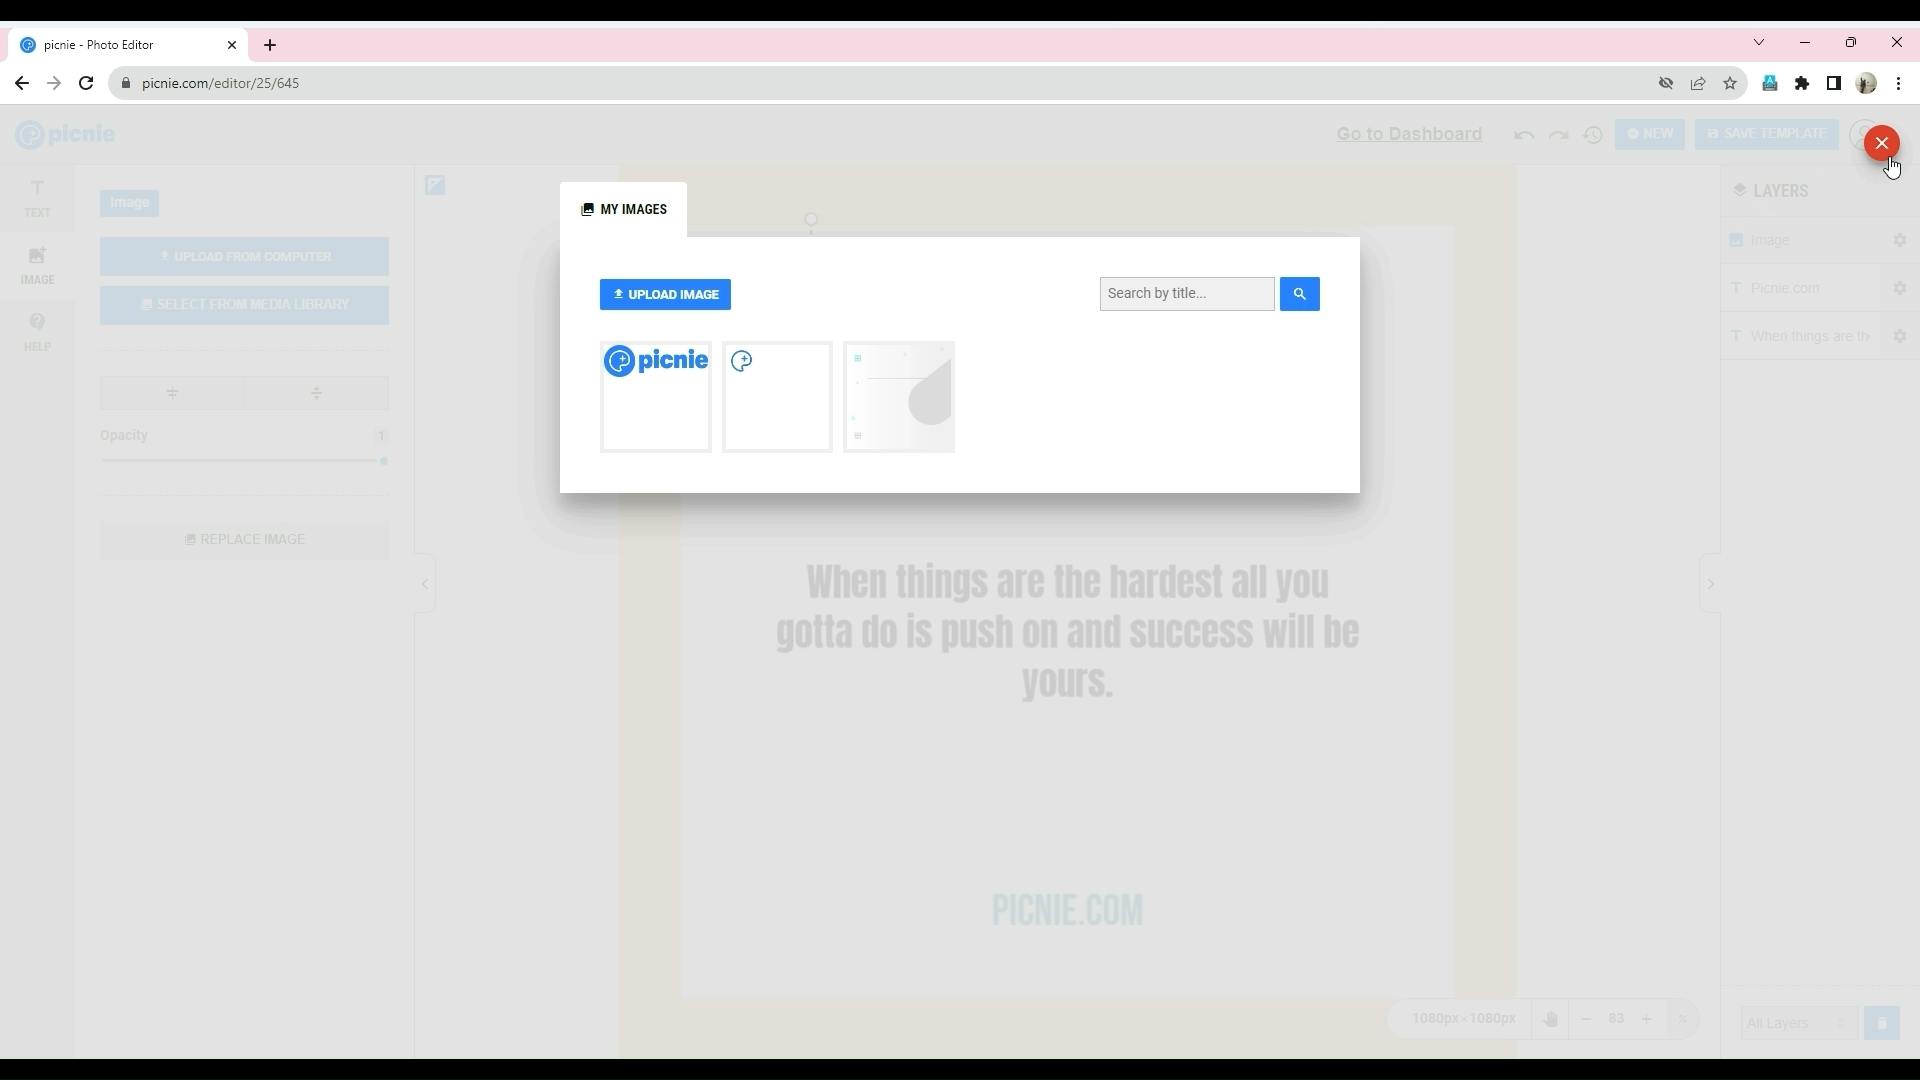
Step 6: Adding Images to the Template

Incorporating images:
Access the image options in the left sidebar.
Template Editor full video v1 - Made with Clipchamp.00_03_00_04.Still014.png
Upload images from your device or select images from the Media Library, where previously saved images are stored.
Template Editor full video v1 - Made with Clipchamp.00_03_14_06.Still015.png
Once uploaded, position images by dragging them on the template.
Template Editor full video v1 - Made with Clipchamp.00_03_20_00.Still016.png
Use alignment buttons for precise horizontal and vertical alignment.
Resize images by dragging their corners or sides.
Optionally, upload images to the Media Library for future use.
Template Editor full video v1 - Made with Clipchamp.00_03_22_27.Still017.png

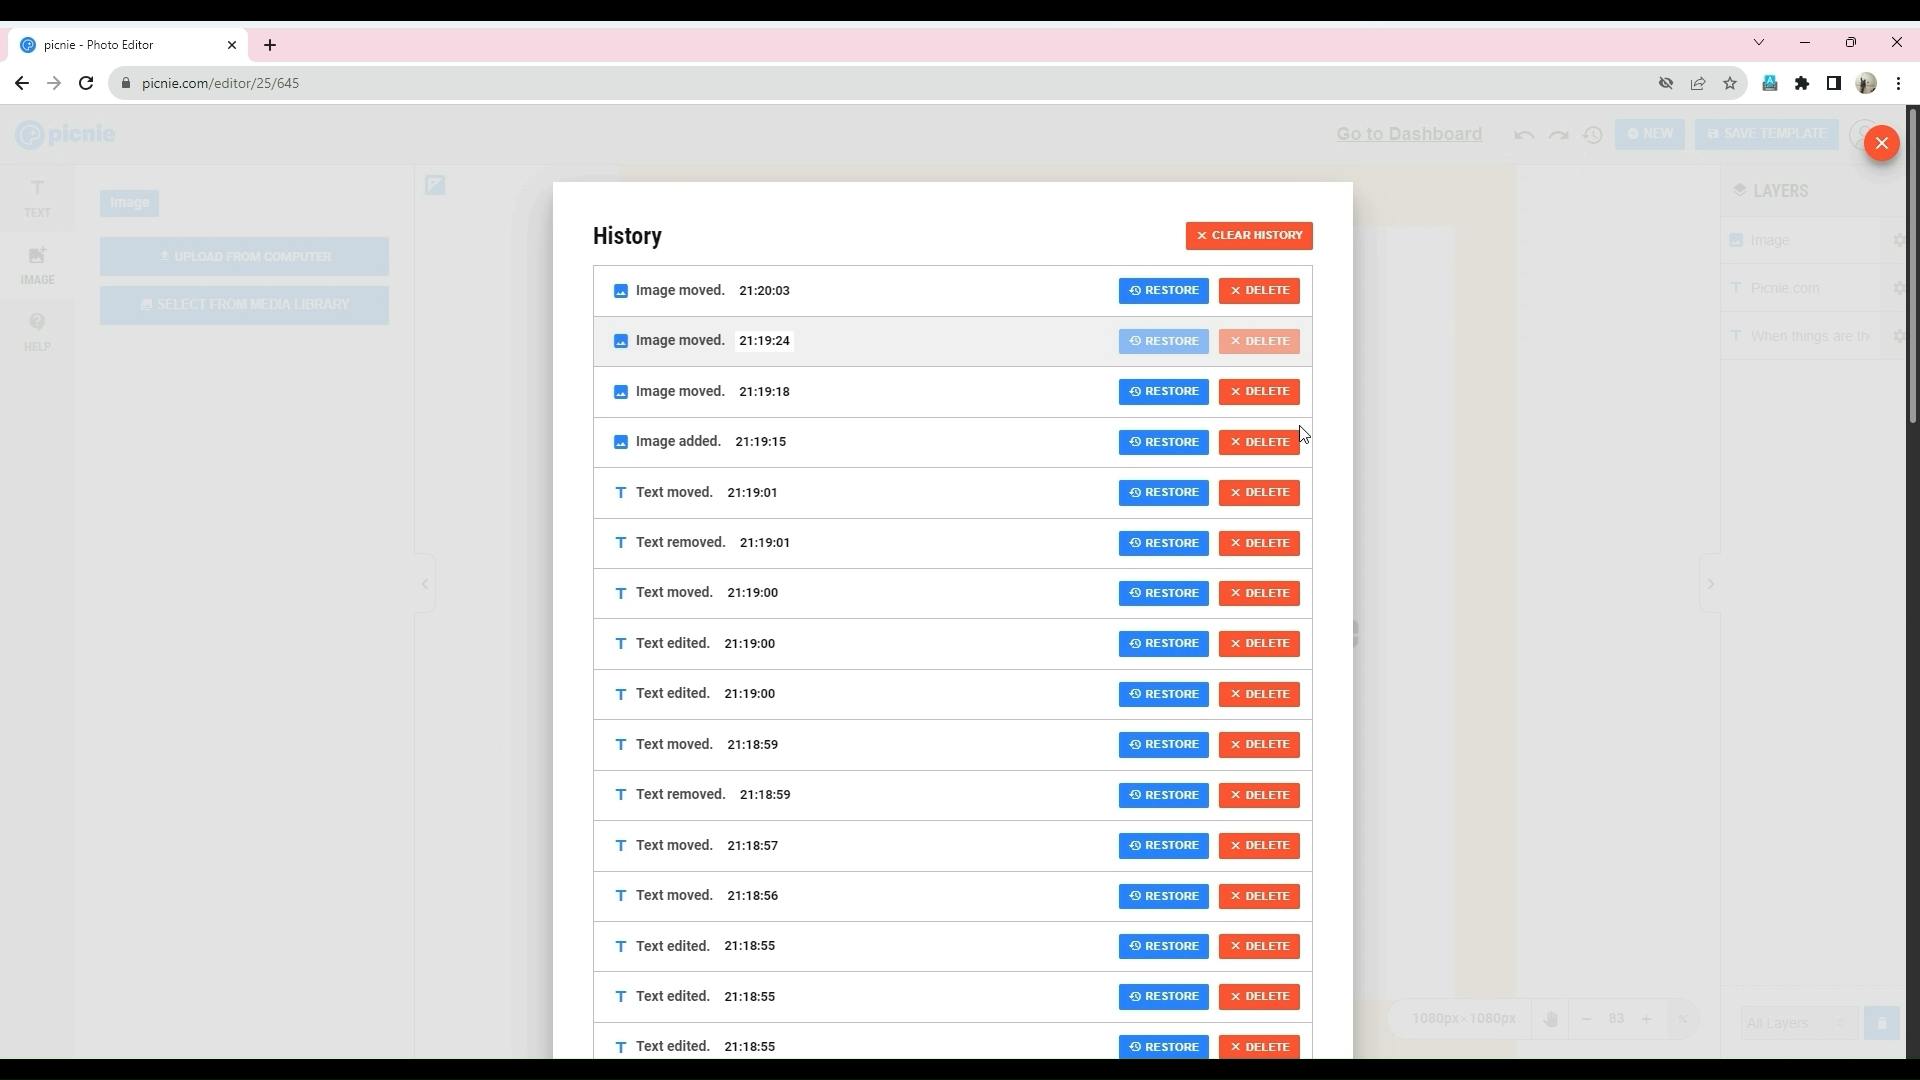
Step 7: Managing Design

If you make a mistake in your design, don't worry. You can undo the last action or access your activity history to restore a previous version.
Template Editor full video v1 - Made with Clipchamp.00_03_39_11.Still018.png
Template Editor full video v1 - Made with Clipchamp.00_03_49_02.Still019.png
In the right-side panel, you'll find the layers section. Note that you cannot edit the background. To change it, create a new template by uploading a new background image.
Use the layers section to hide or show specific elements, lock elements, remove them, and adjust their stacking order (z-index).
Template Editor full video v1 - Made with Clipchamp.00_04_18_12.Still021.png

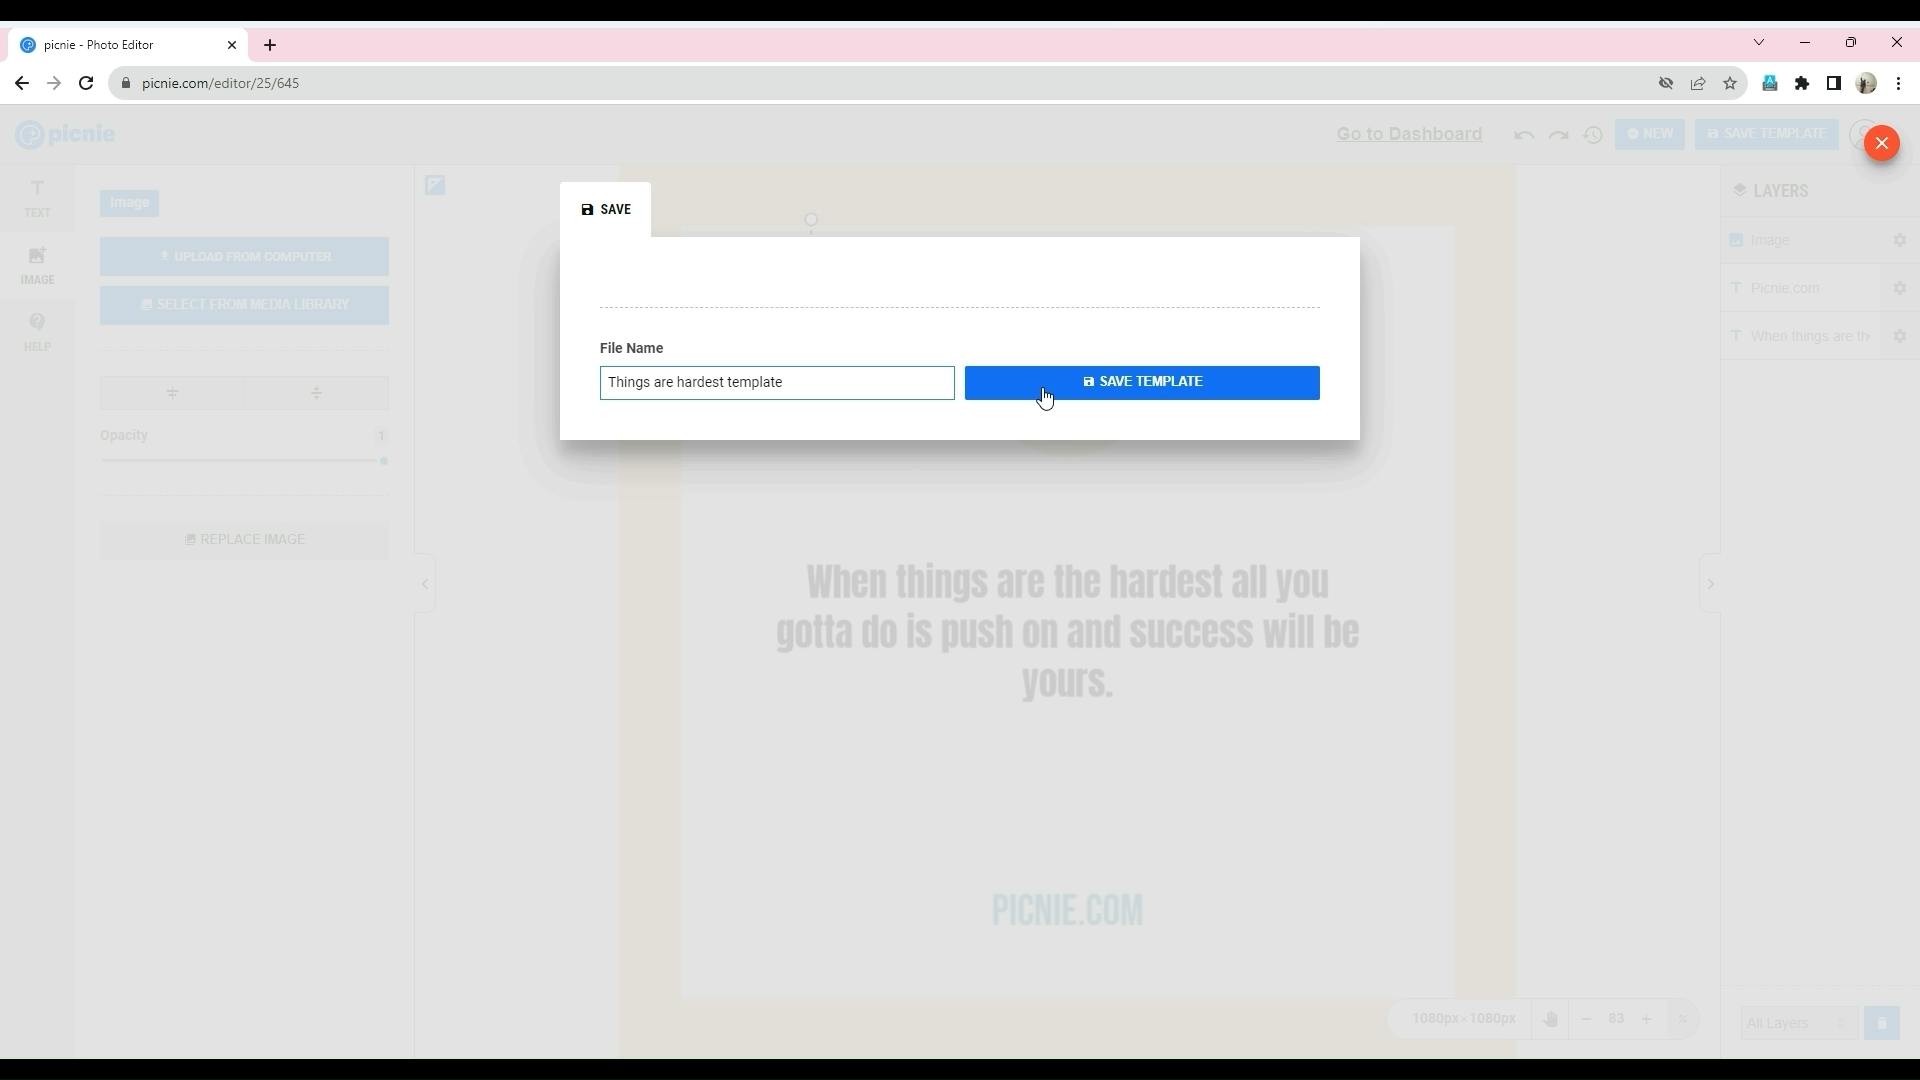
Step 8: Saving Your Template

To save your customized template, click the "Save Template" button.
Provide an appropriate name for your template and confirm by clicking "Save Template."
Template Editor full video v1 - Made with Clipchamp.00_05_00_18.Still024.png

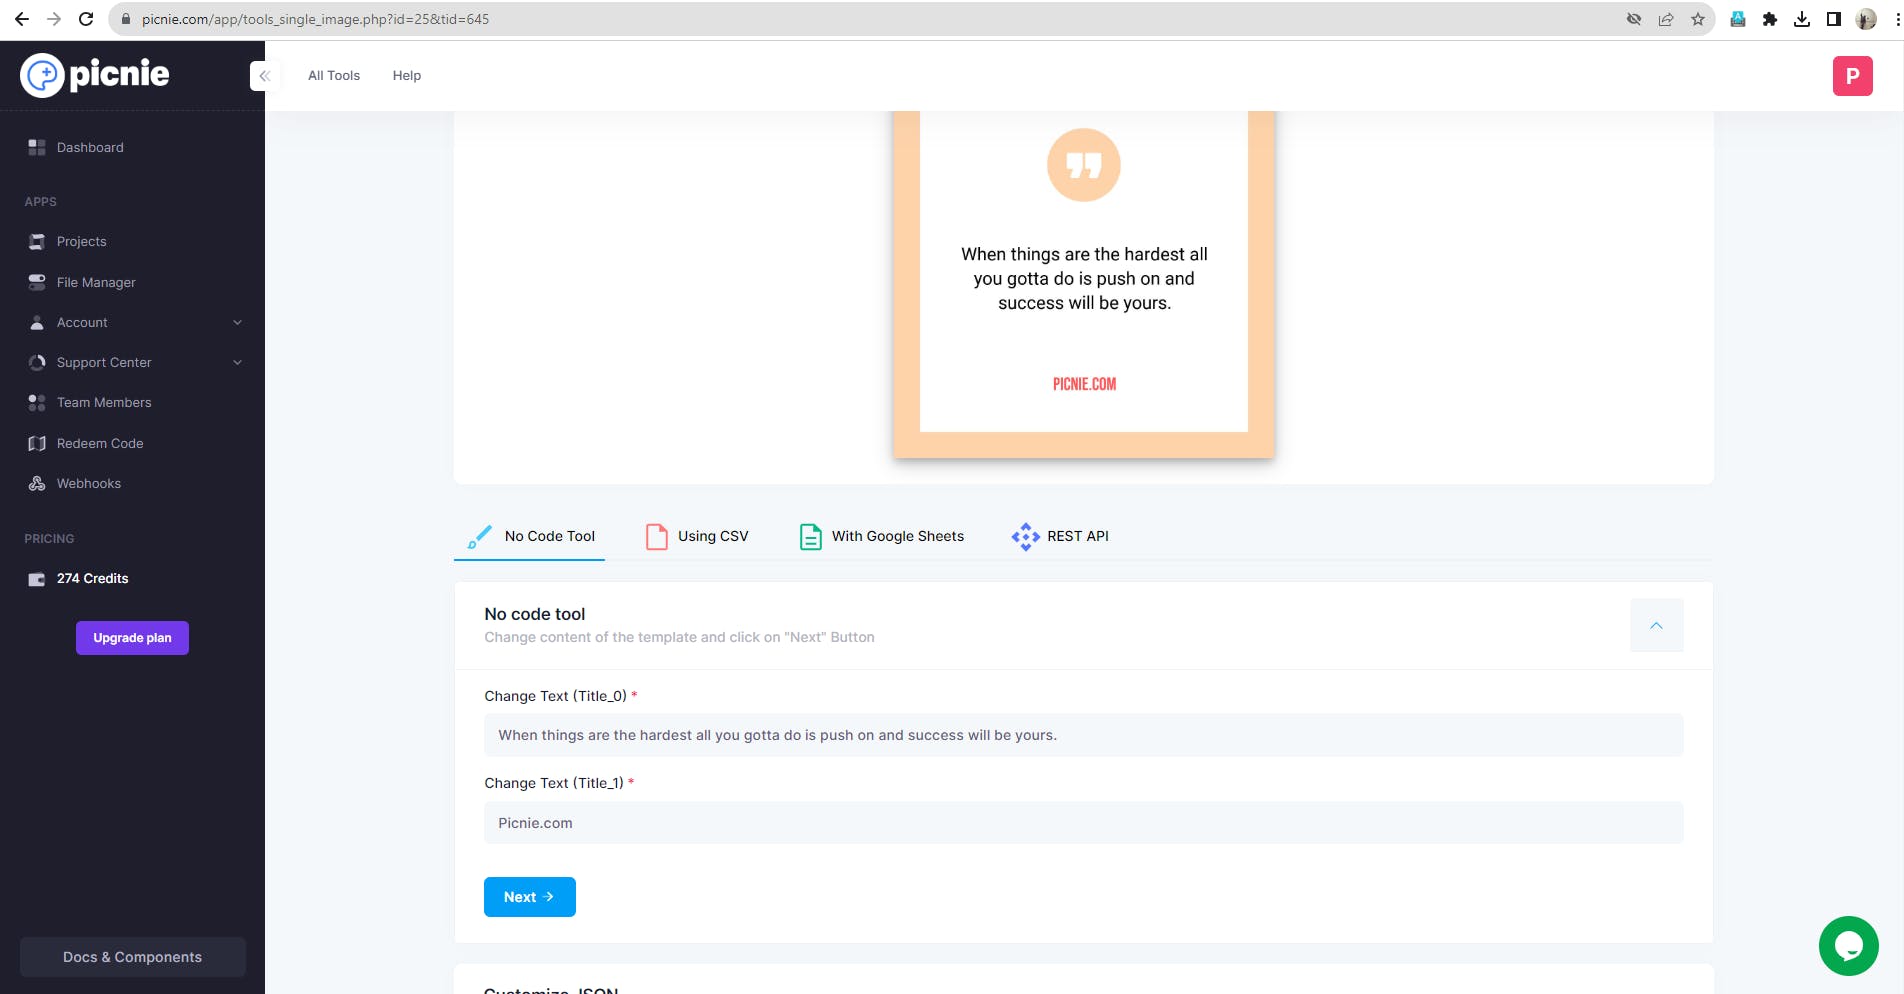
Step 9: Generating Images

After saving your template, you have several options for image generation:
- Use the No Code Tool for straightforward image generation.
- Utilize CSV bulk image generation.
- Use Google Sheets for image generation.
- Explore API options for advanced automation.
Screenshot 2023-09-02 112057.png

Step 10: Creating a New Template

To create a new template:
- Return to the templates page and click "New Template."
Screenshot 2023-09-02 105544.png
- Choose a background image, either by uploading one or selecting from the Media Library.
Template Editor full video v1 - Made with Clipchamp.00_06_07_13.Still029.png
- Alternatively, select a template from the Template Library or your own created templates.
Template Editor full video v1 - Made with Clipchamp.00_06_37_22.Still031.png

Step 11: Customizing the New Template

Customize the new template by adding text fields, changing fonts, adjusting positions, and incorporating images. Save the template with a suitable name.
Template Editor full video v1 - Made with Clipchamp.00_08_11_13.Still035.png

Conclusion:

Picnie's template editor offers a versatile and user-friendly platform for creating customized images at scale. With this comprehensive guide, you can harness the full potential of Picnie's template editor to meet your design and automation needs. As Picnie continues to integrate new features and tools, your creative possibilities are boundless. For further assistance, don't hesitate to contact Picnie's team. Happy designing!
Want to print your doc?
This is not the way.
Try clicking the ⋯ next to your doc name or using a keyboard shortcut (
CtrlP
) instead.