icon
Knowledge base - Picnie
Features

icon picker
Team Members

Collaboration at its finest! 👥
💡 In this section, we'll guide you through managing team members within Picnie. Learn how to invite, assign Credits, and streamline project management to ensure everything is under control. Whether you're leading a small team or a large enterprise, our Team Members features will help you foster a culture of seamless collaboration and shared success.

Introduction:

Picnie's Team Member feature is designed to enhance collaboration within your creative endeavors. With this feature, you can invite team members to join your workspace, enabling them to create projects, design templates, and generate images. As the owner, you have control over project management, access to generated graphics, and the ability to manage your team's privileges. In this step-by-step guide, we will walk you through how to use Picnie's Team Member feature effectively.

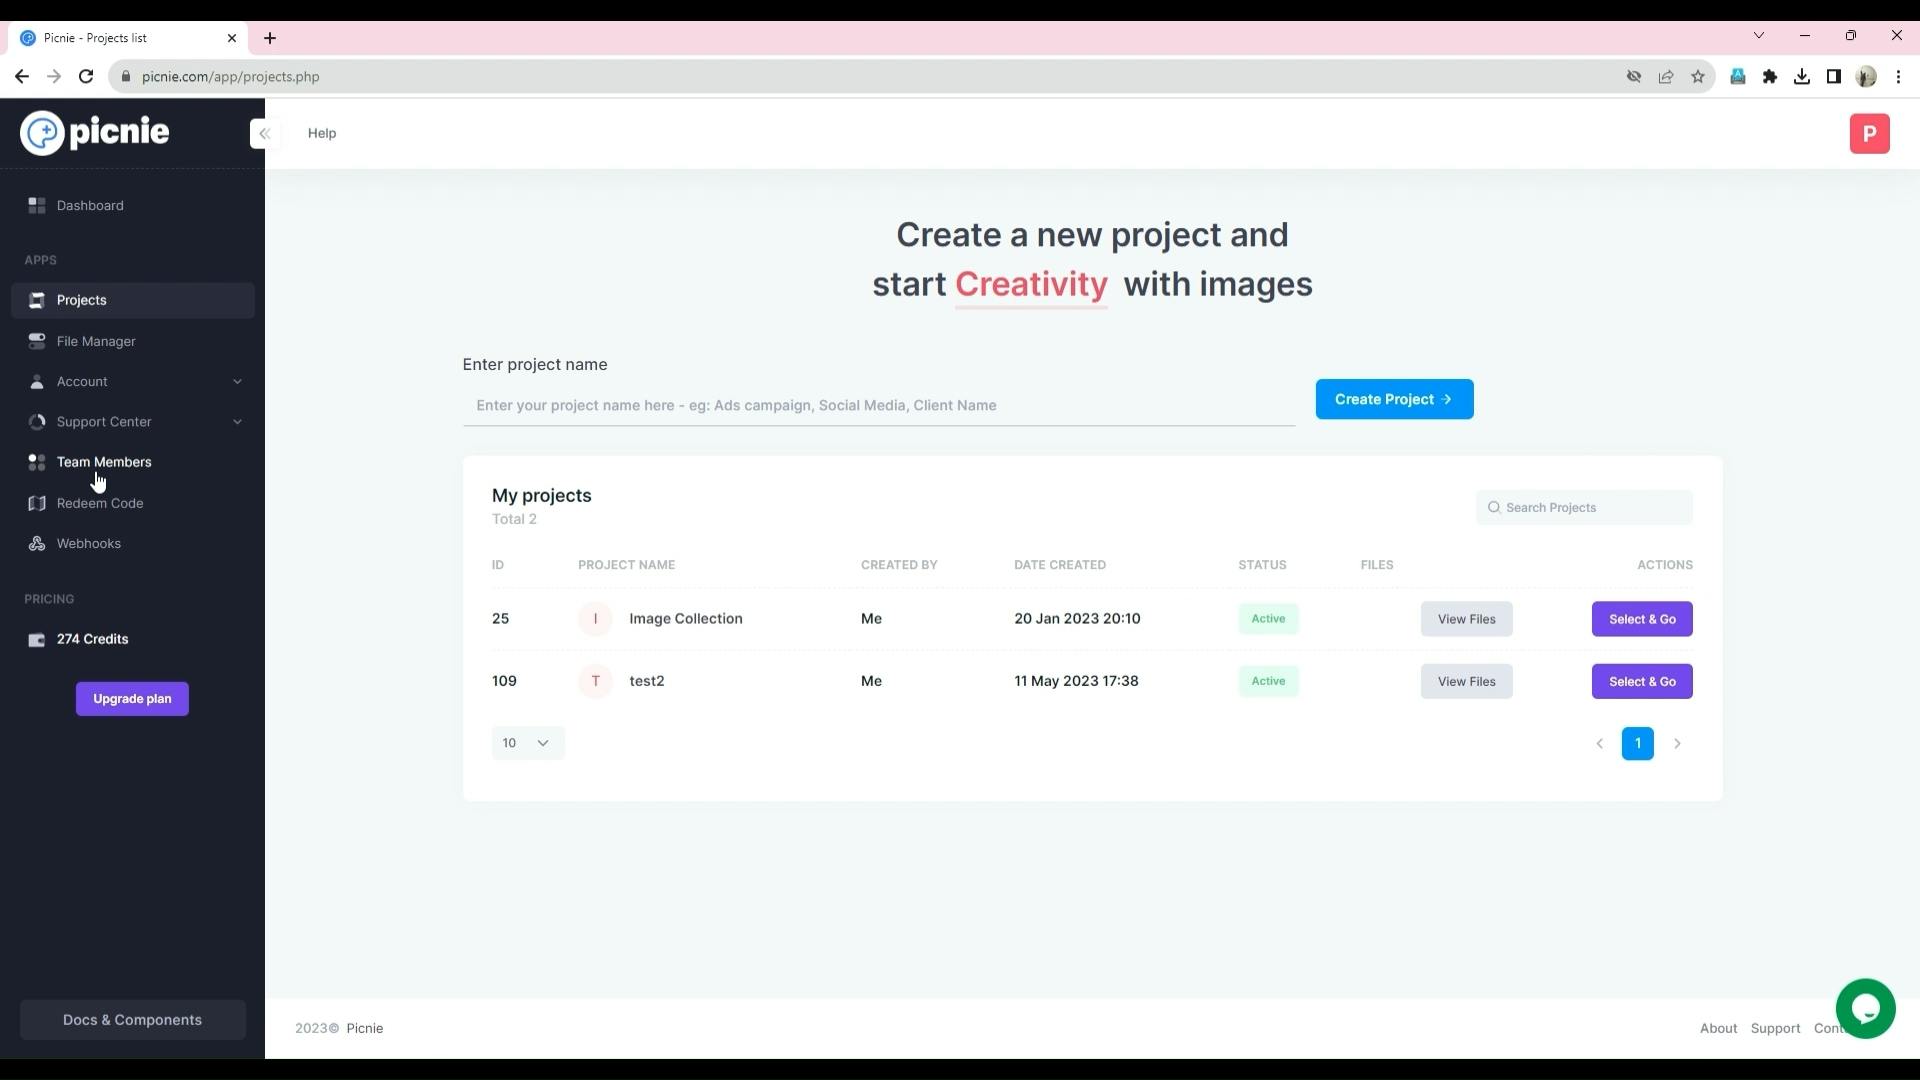
Step 1: Accessing the Team Member Feature

To begin, log in to your Picnie account and navigate to the left sidebar menu.
Template Editor full video v1 - Made with Clipchamp.00_00_21_21.Still001.png
Locate and click on the "Team Members" option. This will open the Team Member interface.
Picnie Intro video - Made with C.00_01_53_26.Still012.png

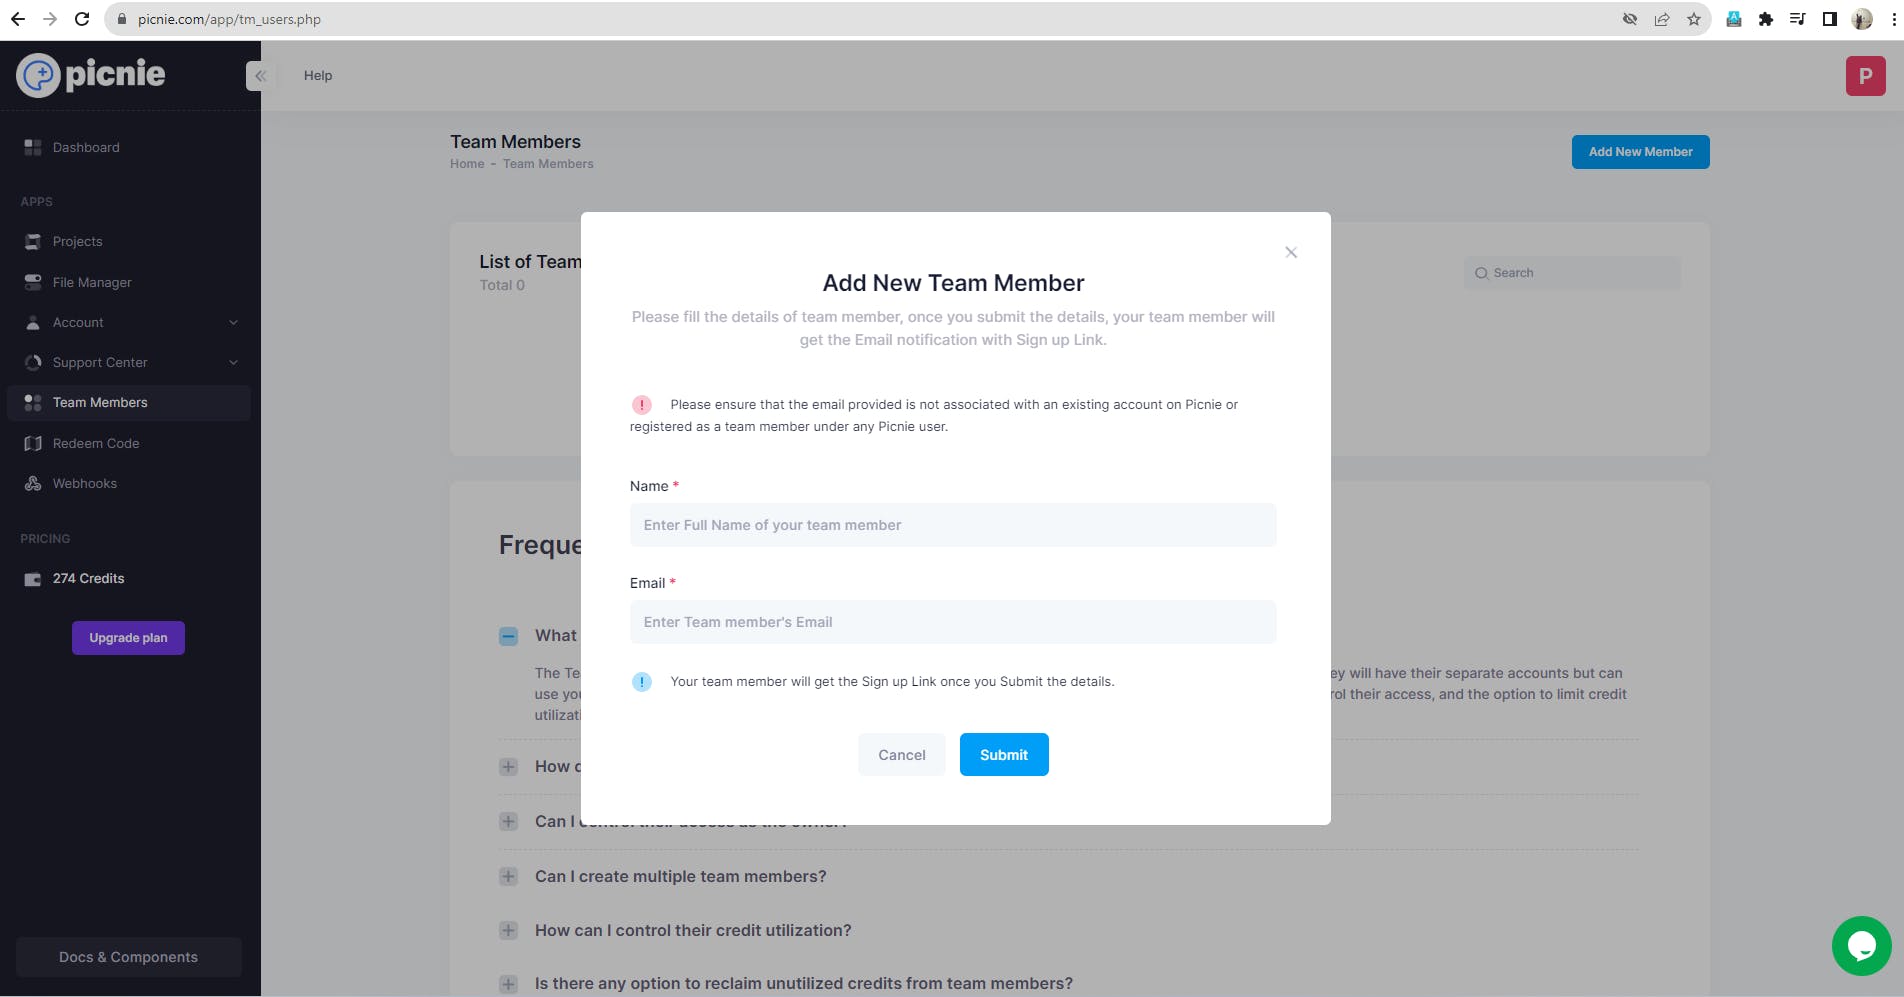
Step 2: Inviting Team Members

To invite a team member:
Look for the "Add New Member" button within the Team Member interface. Click it.
Picnie Intro video - Made with C.00_01_55_10.Still013.png
Enter the name and email address of the team member you wish to invite.
Screenshot 2023-09-02 172527.png
Submit the form, and the team member will receive an email notification.

Step 3: Team Member Accepts Invitation

The invited team member will receive an email invitation. They should click on the provided link to accept the invitation and create their Picnie account.
- Once accepted, they will have access to your workspace.

Step 4: Collaborating on Projects

Team members can create their own projects, design templates, and generate images within your workspace.
As the owner, you can view their projects, monitor their progress, and access their generated graphics.
Picnie Intro video - Made with C.00_01_53_26.Still012.png

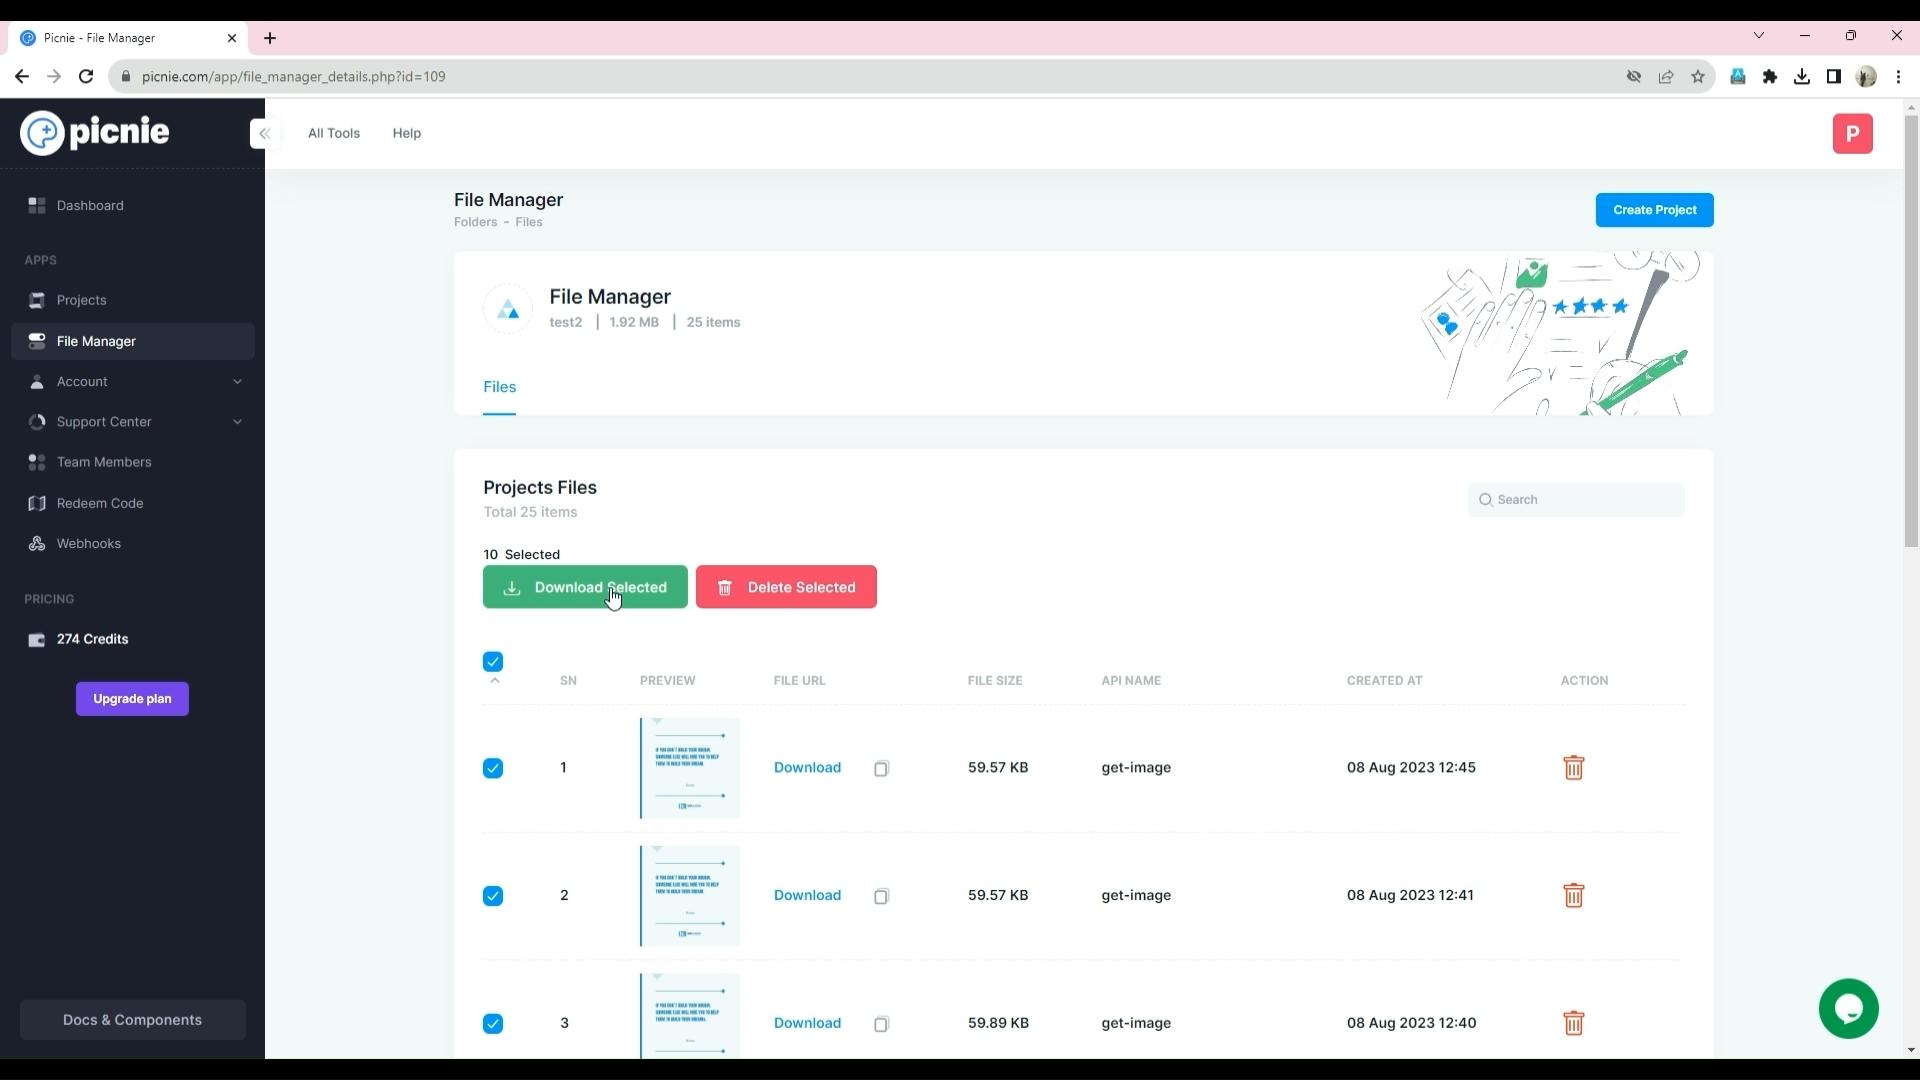
Step 5: Accessing and Managing Team Member Projects

As an owner, you can access thier projects and generated images.

Step 6: Downloading Team Member's Generated Graphics

As the owner, you can access and download the generated graphics of your team members.
Within a team member's project, find the generated graphics you wish to download.
Look for a "Download" option associated with each graphic and click it.
The graphics will be downloaded to your computer.
Picnie Intro video - Made with C.00_02_19_06.Still010.png

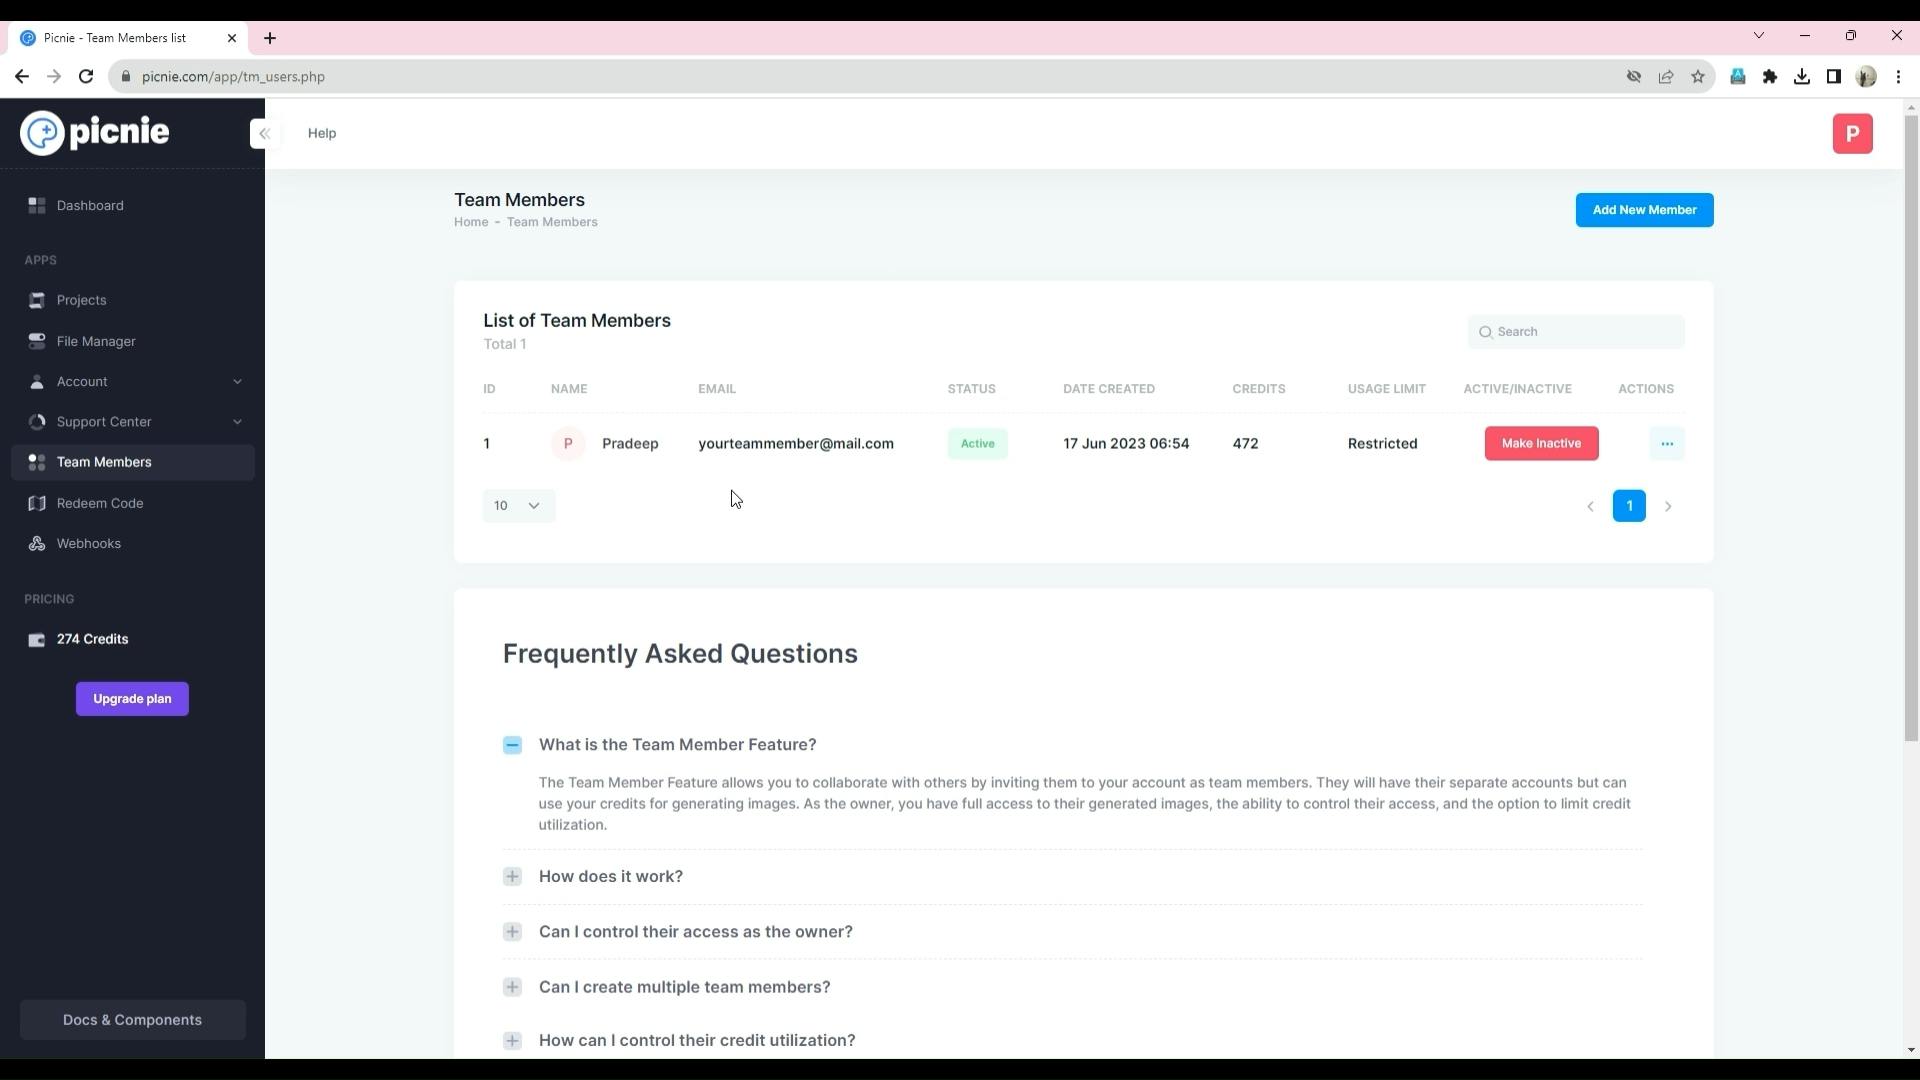
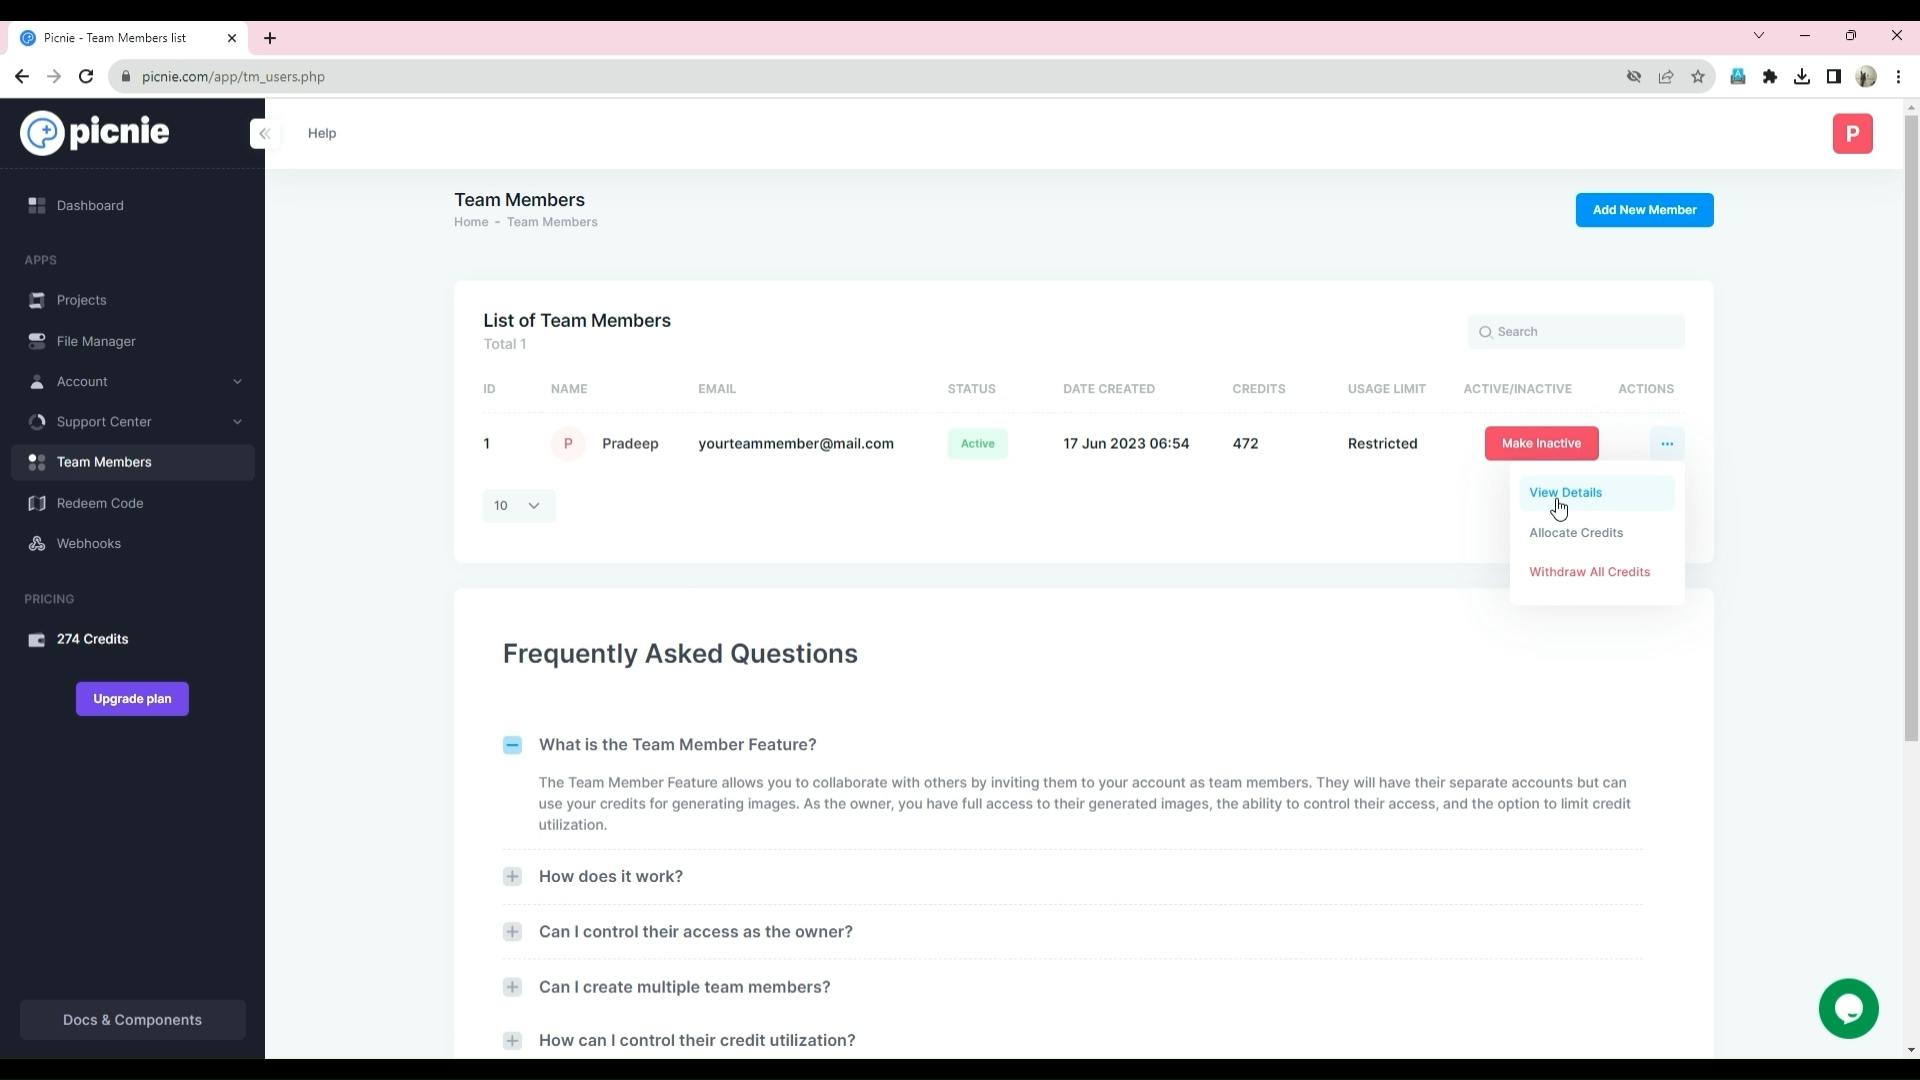
Step 7: Managing Team Member Access

You have control over your team member's access and privileges.
To manage access:
Within the Team Member interface, locate the team member you want to manage.
You can allocate credits, restrict access, or remove them from your workspace.
Picnie Intro video - Made with C.00_01_58_09.Still014.png

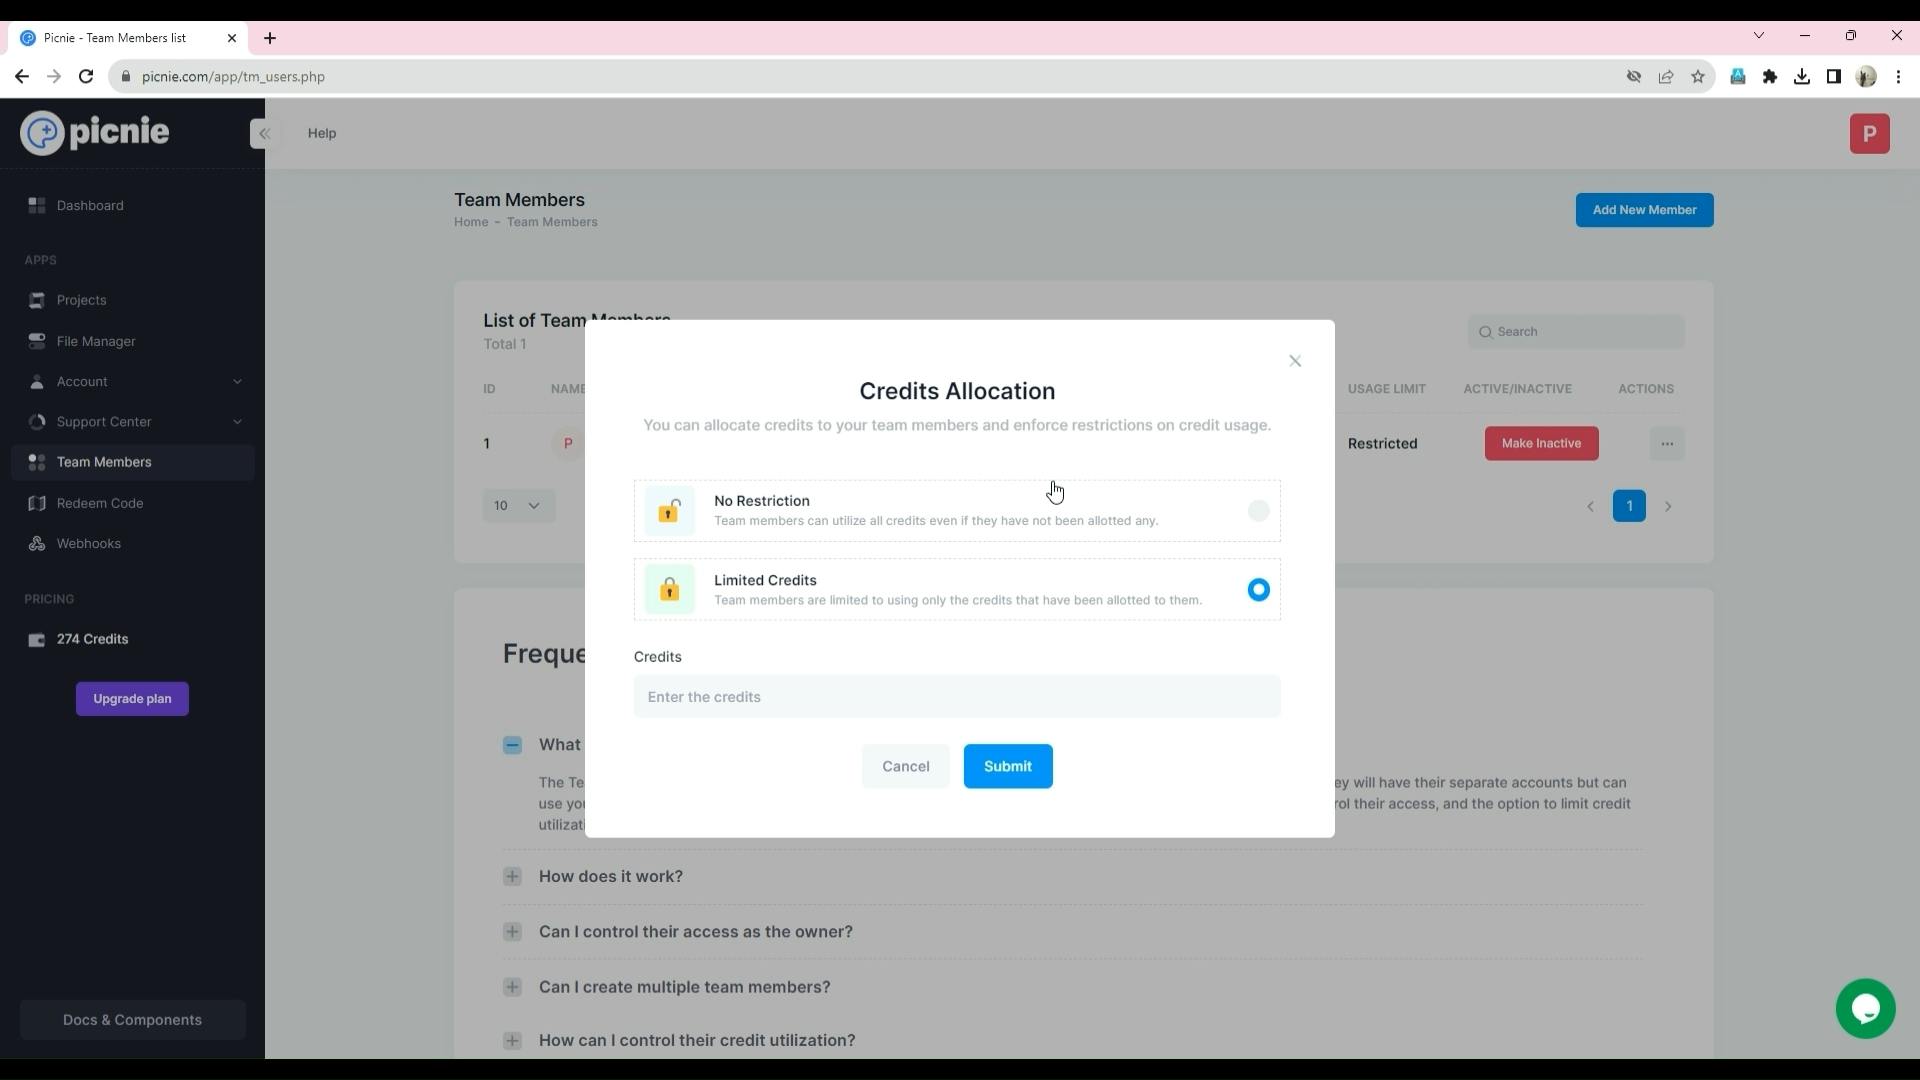
Step 8: Distributing Credits

Picnie allows you to allocate credits to your team members, limiting their credit usage.
To distribute credits:
In the Team Member interface, locate the team member to whom you want to allocate credits.
Picnie Intro video - Made with C.00_01_59_16.Still015.png

Conclusion:

Picnie's Team Member feature empowers collaborative design efforts by enabling team members to create projects, templates, and generate images within your workspace. As the owner, you can oversee their work, access their graphics, manage their access, and distribute credits as needed. By following this step-by-step guide, you can effectively utilize Picnie's Team Member feature to streamline and enhance your creative projects with your team.

Want to print your doc?
This is not the way.
Try clicking the ⋯ next to your doc name or using a keyboard shortcut (
CtrlP
) instead.