icon
Knowledge base - Picnie
Integrations

icon picker
Pabbly Connect

Seamless automation awaits you with our Pabbly Connect Integration! ⚙️
💡 In this section, we'll show you how to effortlessly connect Picnie with Pabbly Connect, allowing you to automate your workflows and create powerful, multi-app integrations. Say goodbye to manual tasks and hello to efficiency. Let's empower your projects to run on autopilot!

Introduction:

Welcome to Picnie, where we make image generation a seamless process. In this step-by-step guide, we will show you how to integrate Picnie with Pabbly Connect, allowing you to automate the storage of generated images in a Google Sheet. This integration opens up endless possibilities for sharing, tracking, and utilizing your visual content.

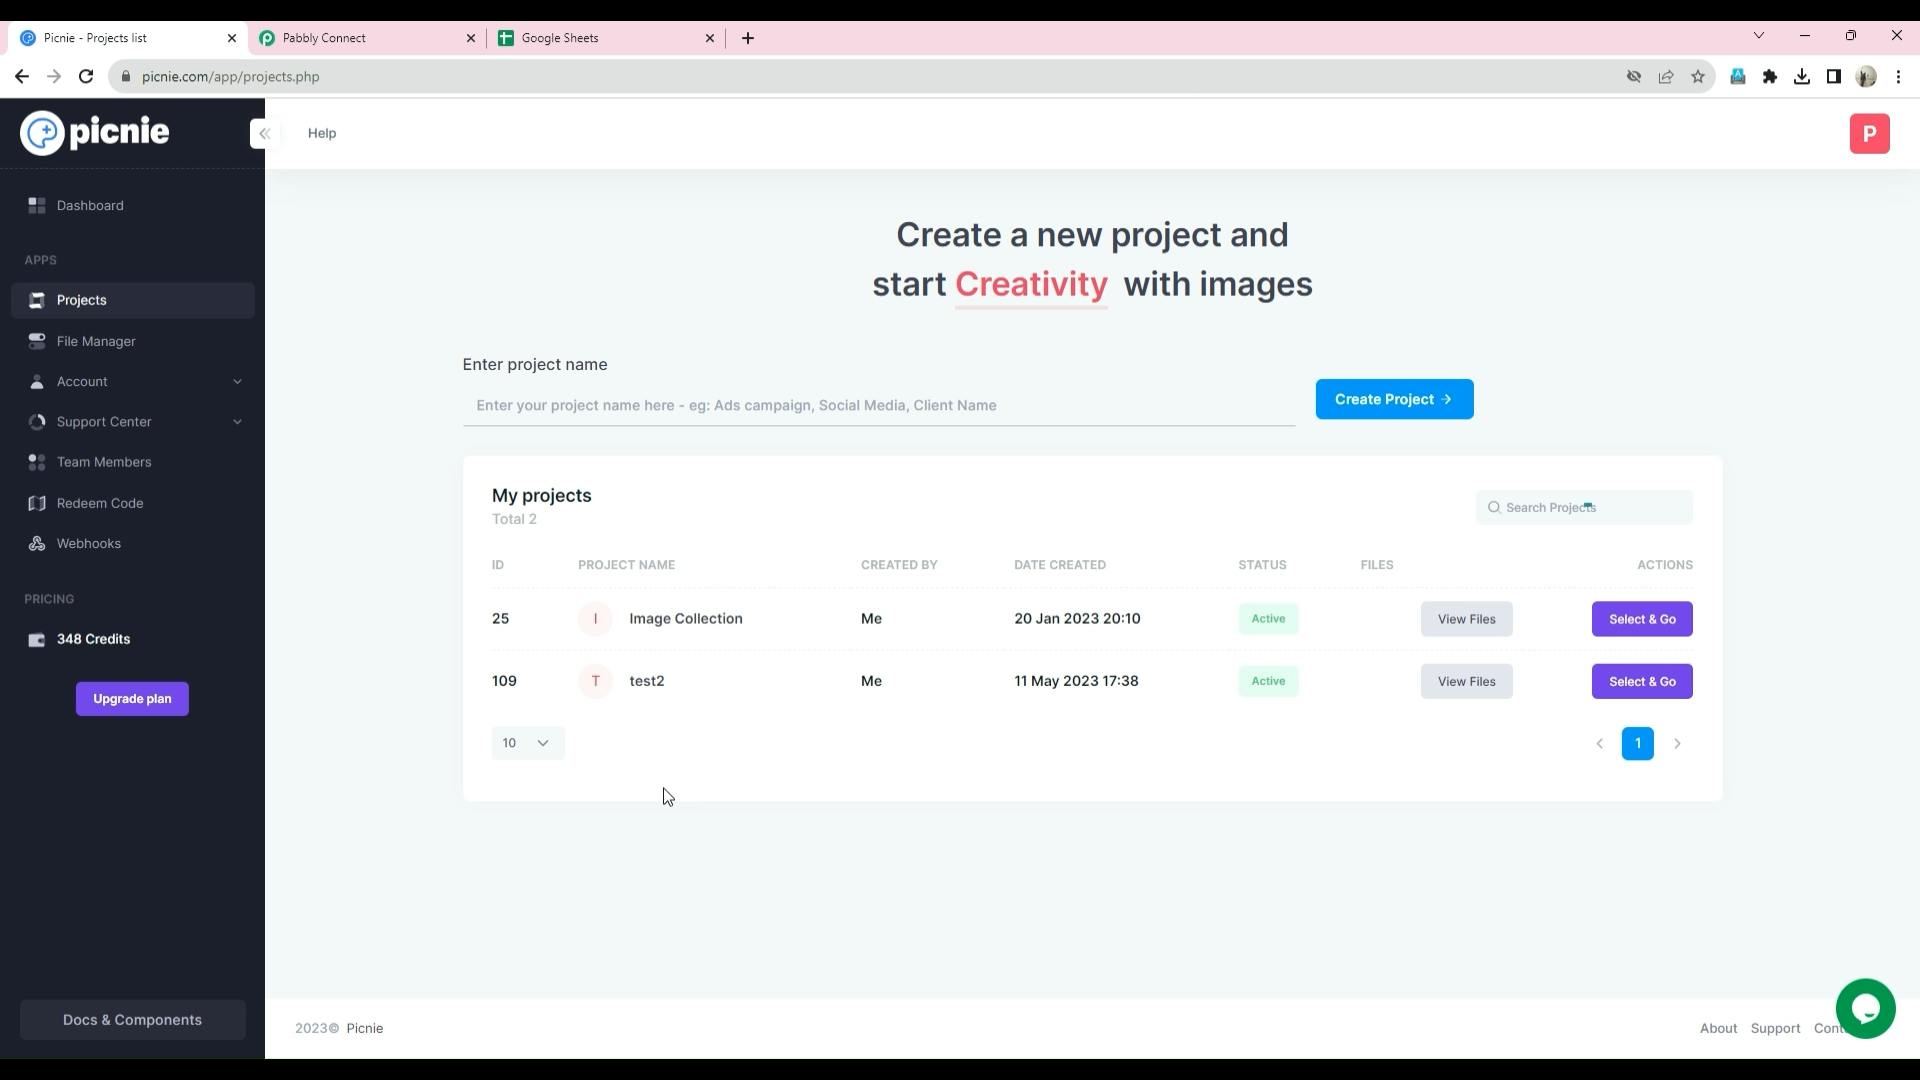
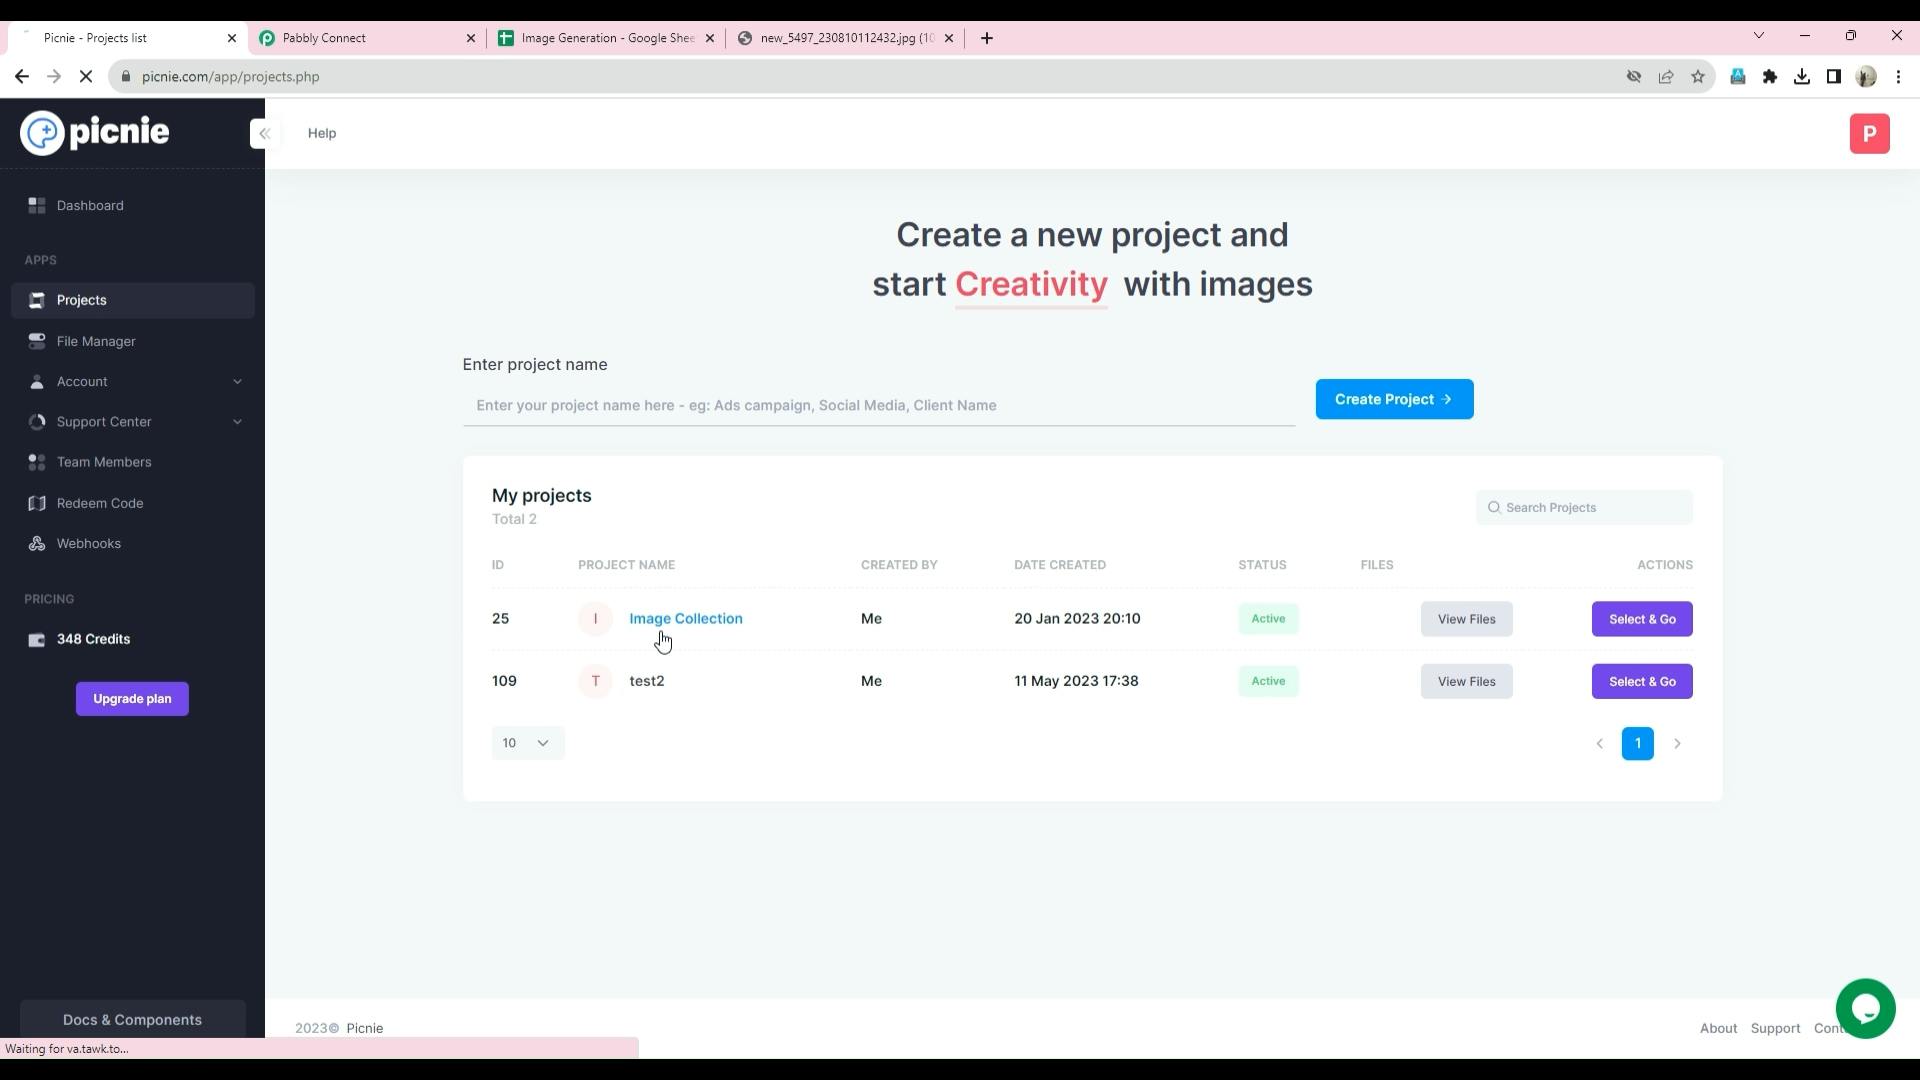
Step 1: Accessing Picnie Dashboard

Begin by logging in to your Picnie account. You can use your email and password or opt for the quick Google login option.
Sequence 01.00_00_07_11.Still002.png

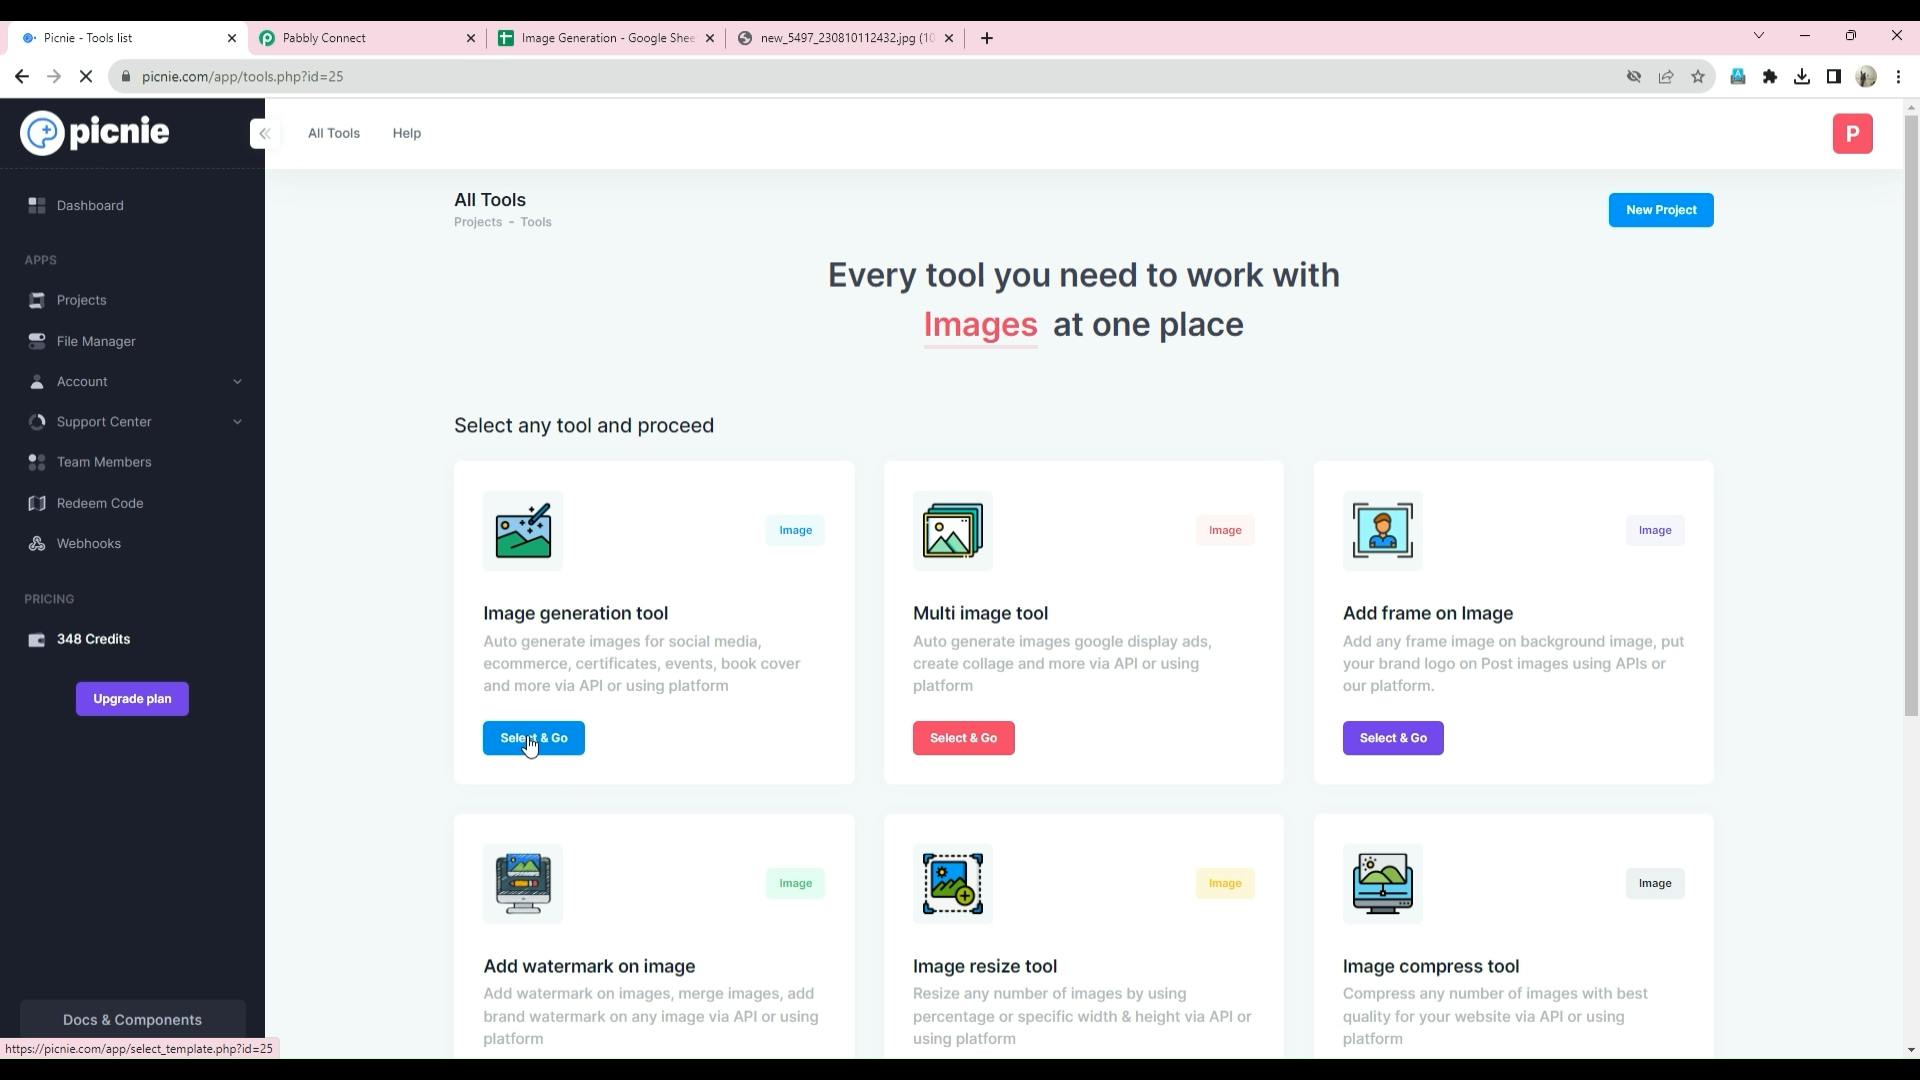
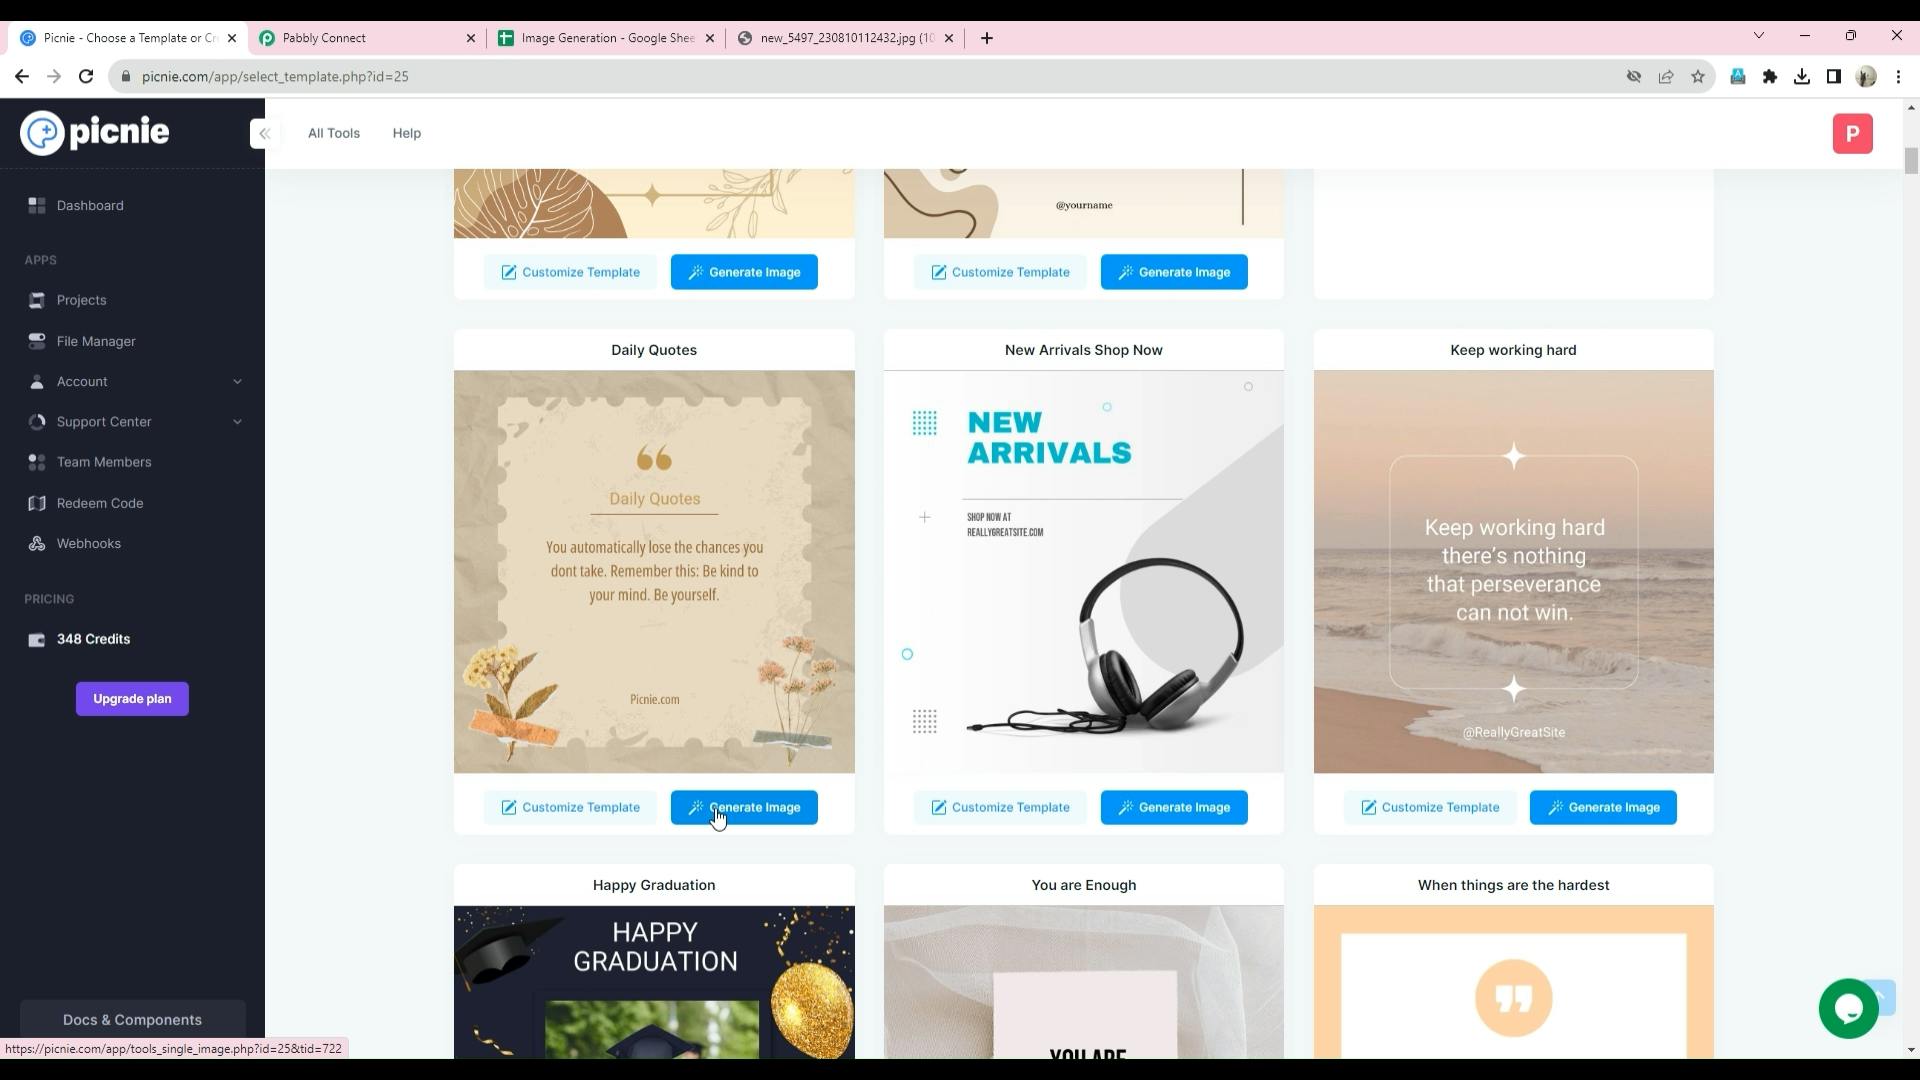
Step 2: Exploring the Picnie Dashboard

Once logged in, familiarize yourself with the Picnie dashboard. Our integration begins by setting up a webhook. To do this, locate the "Webhooks" option in the left sidebar menu.
Sequence 01.00_00_25_13.Still003.png

Step 3: Understanding Webhooks

Webhooks in Picnie serve as notification systems. When specific events occur within Picnie, they trigger HTTP POST requests to predefined URLs in other applications. These external applications process the data contained in the webhook payload and take actions accordingly.
Sequence 01.00_00_31_10.Still004.png

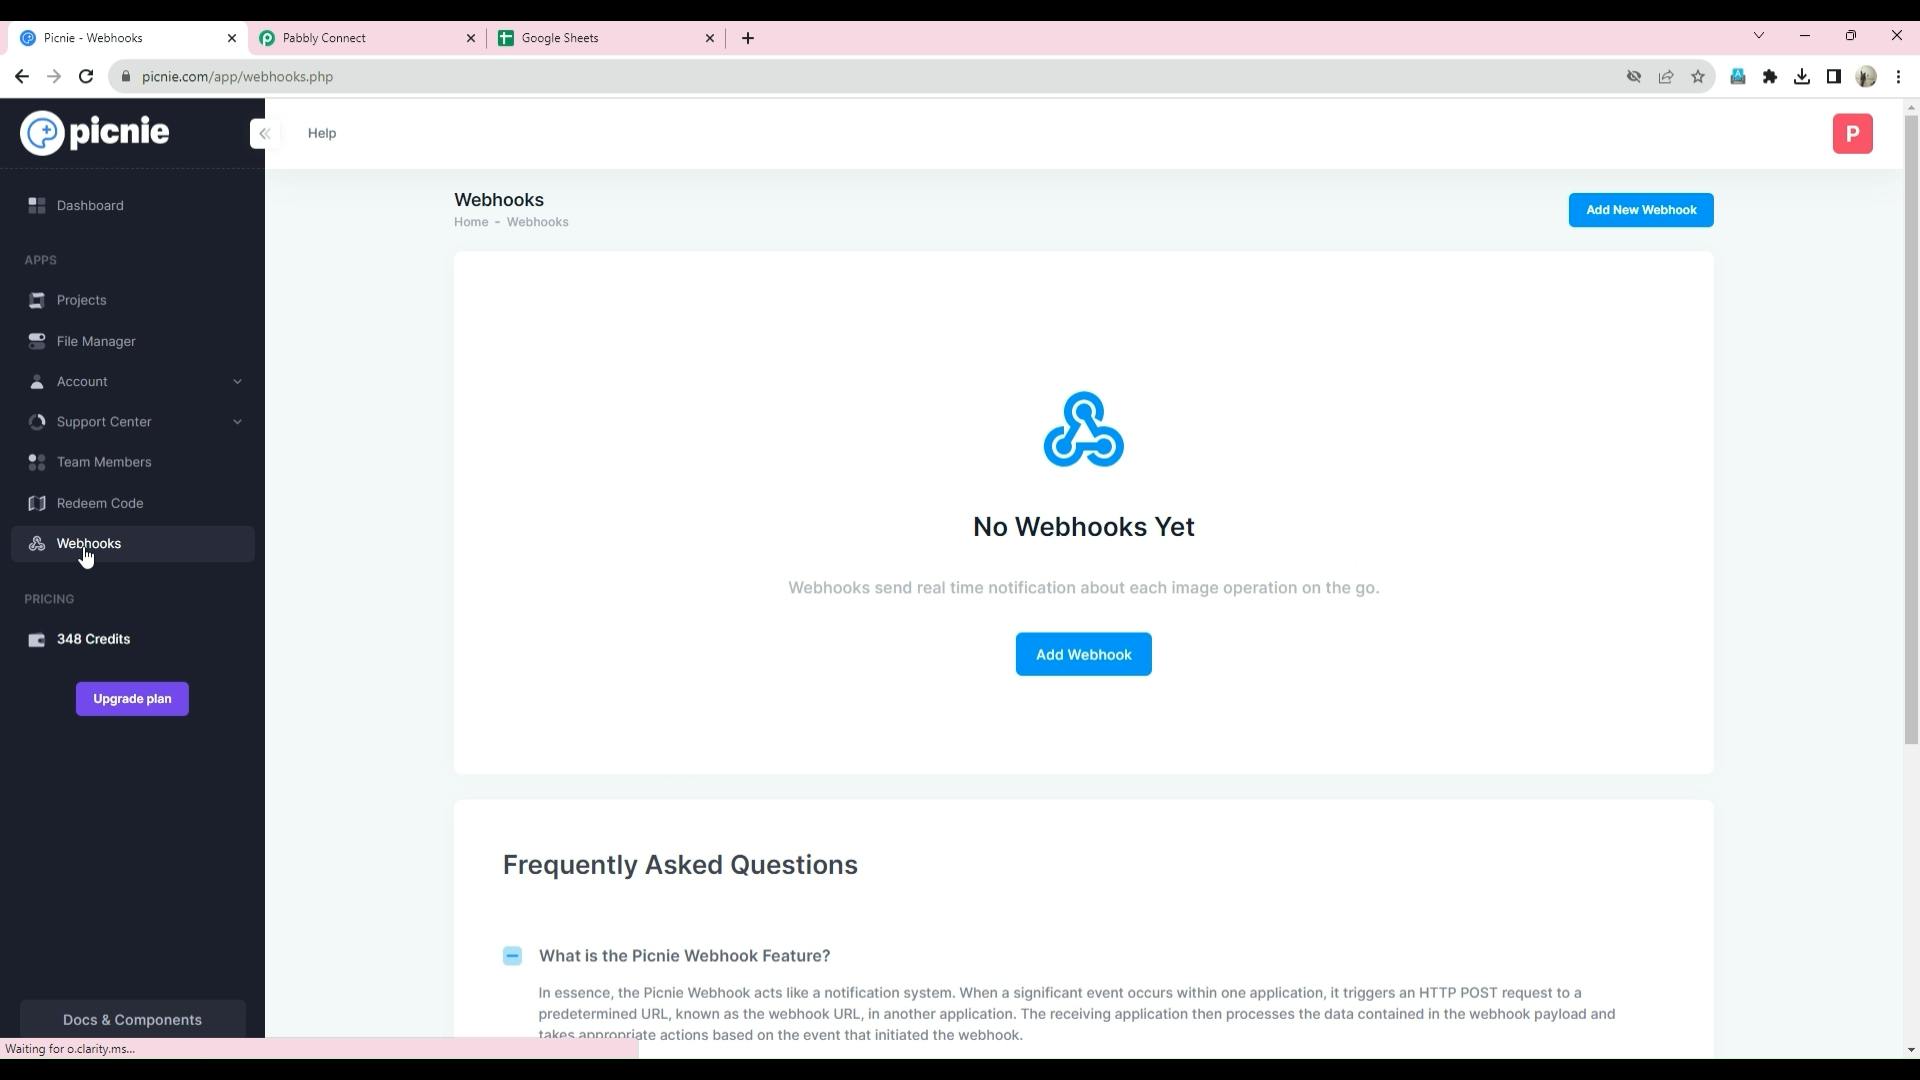
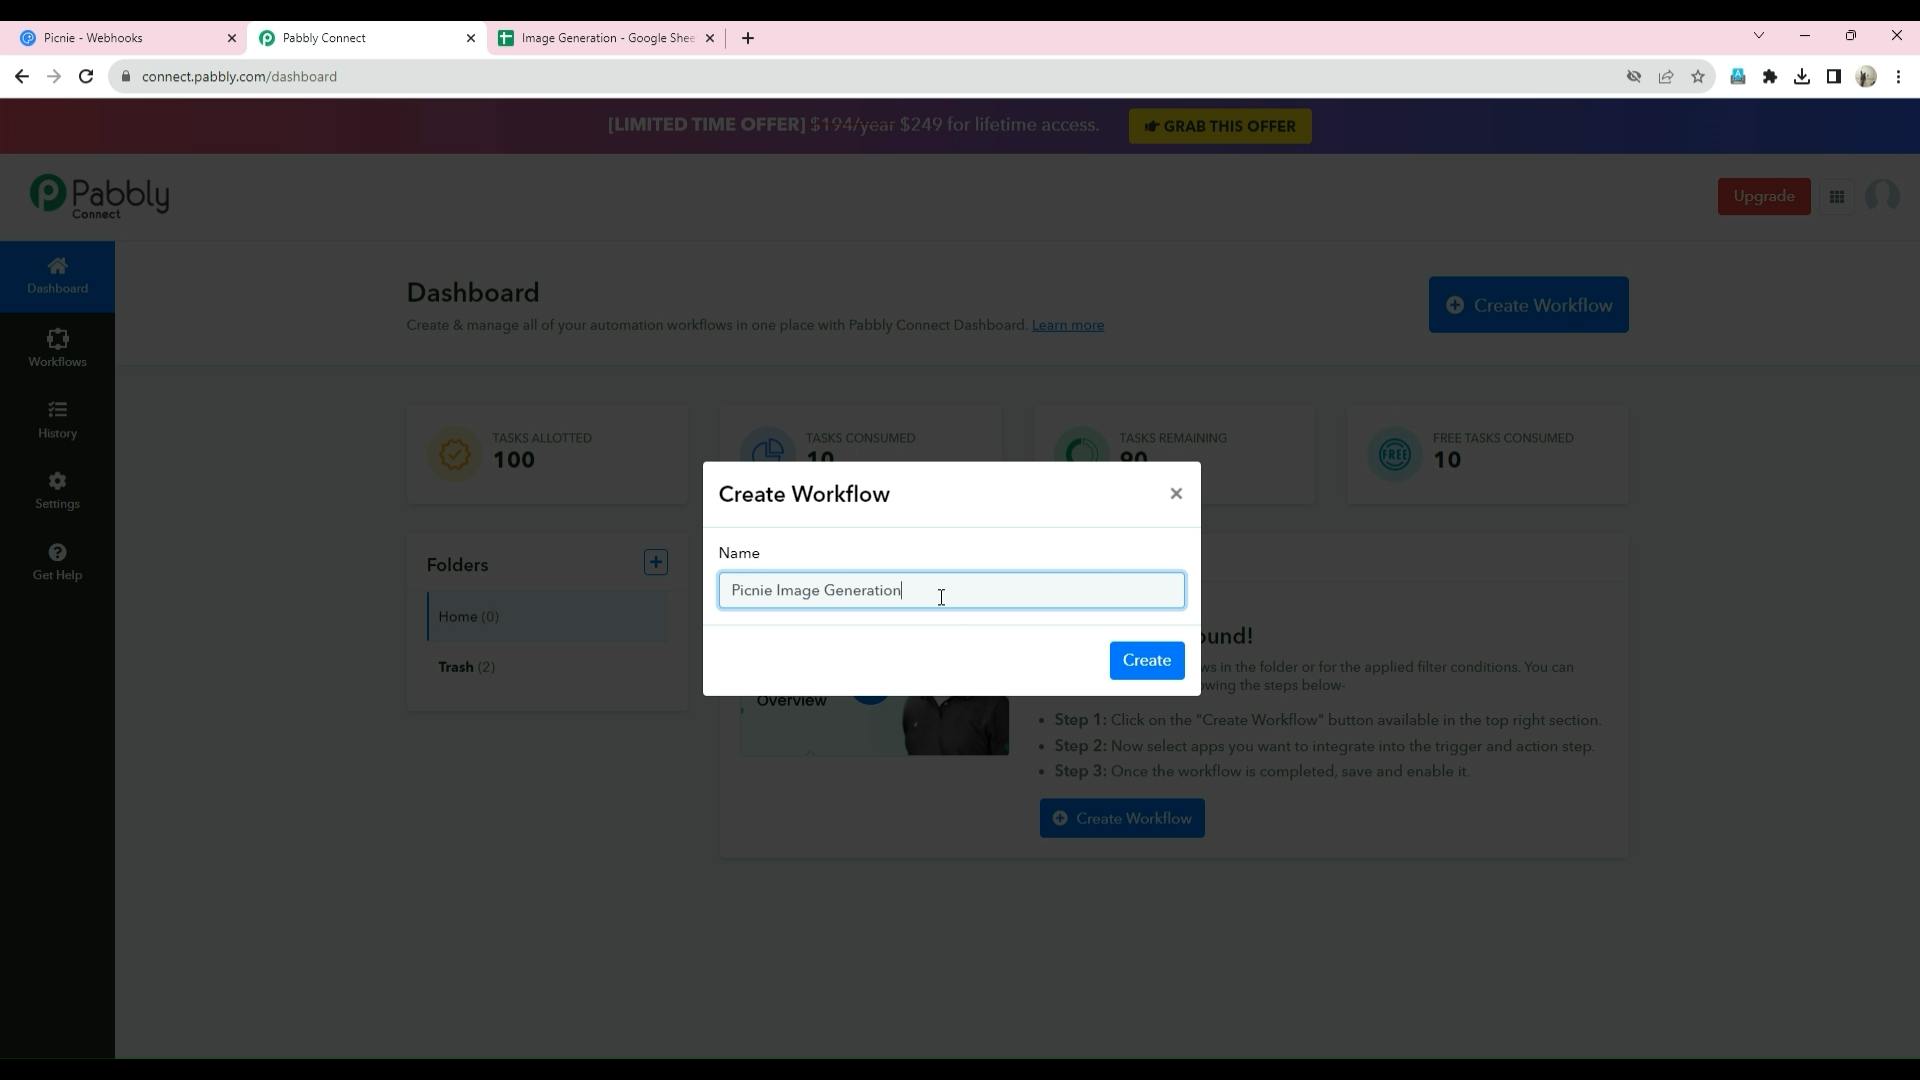
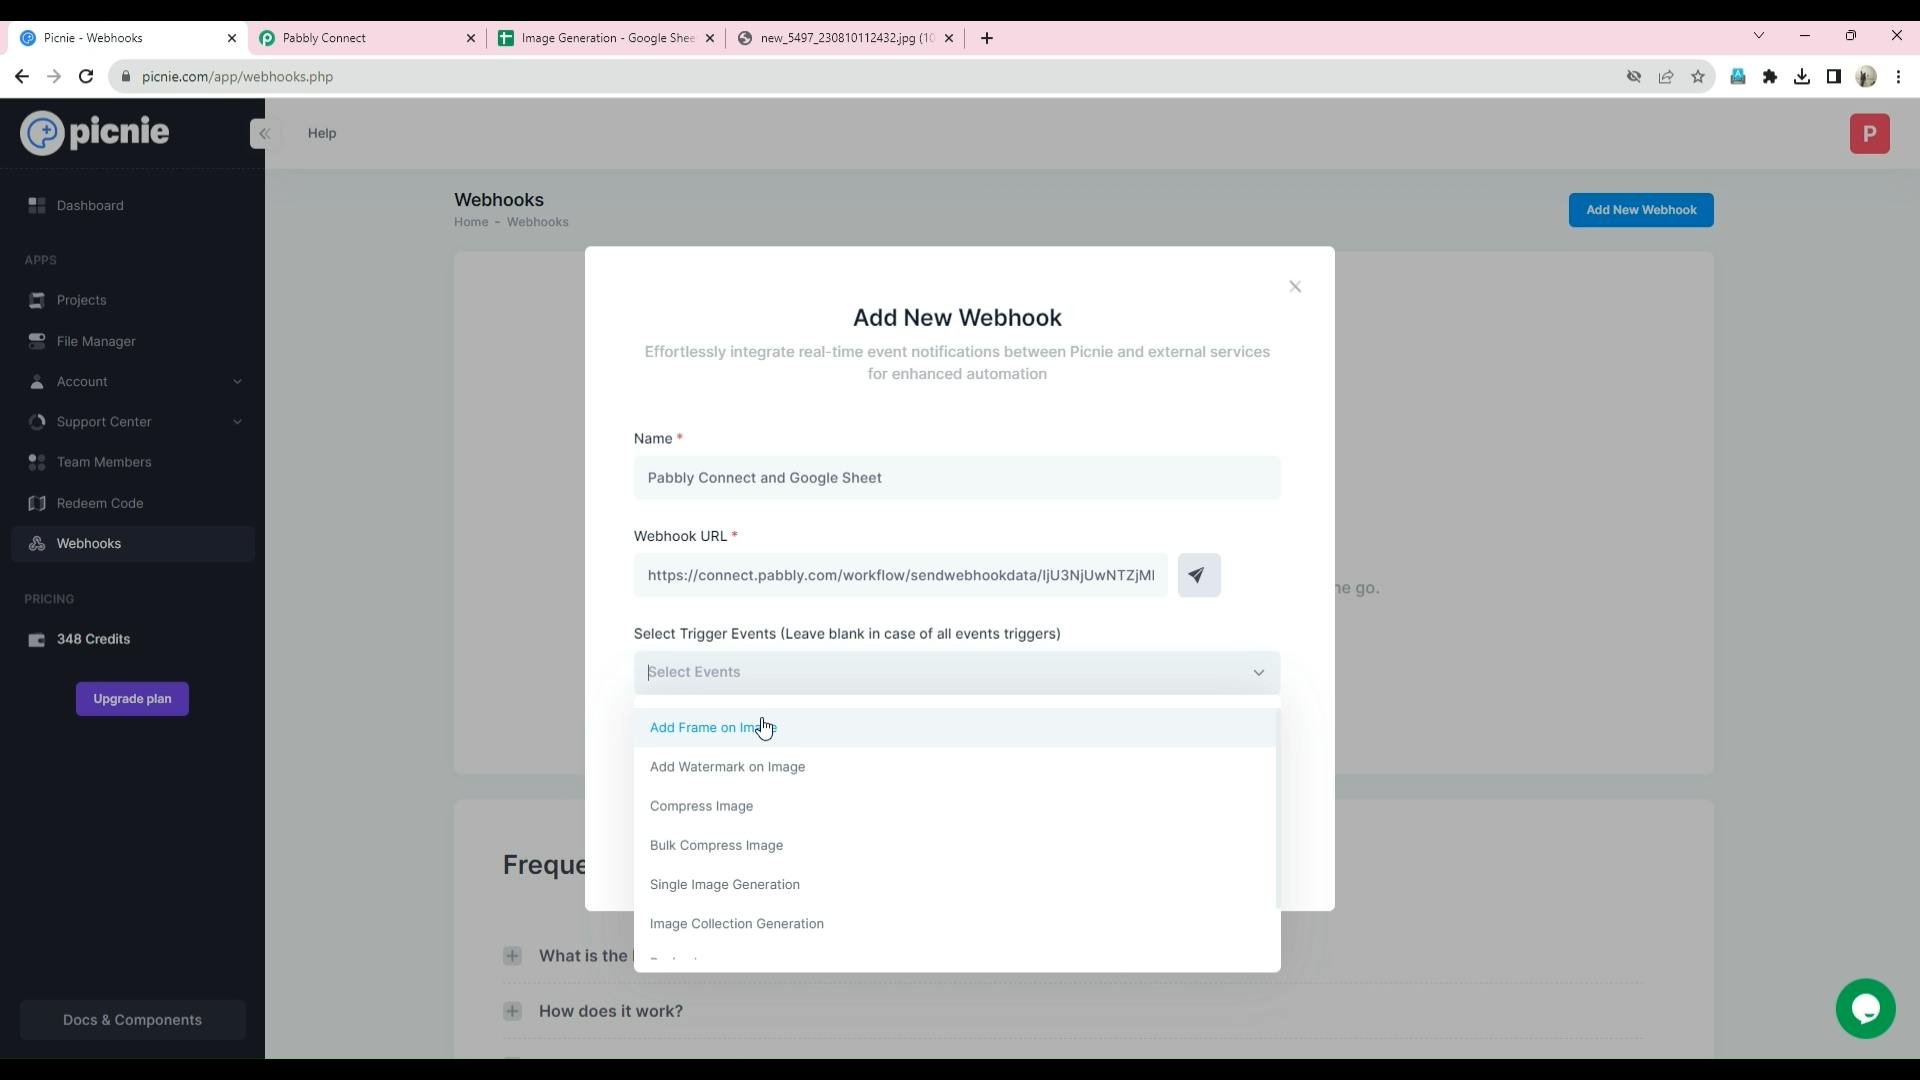
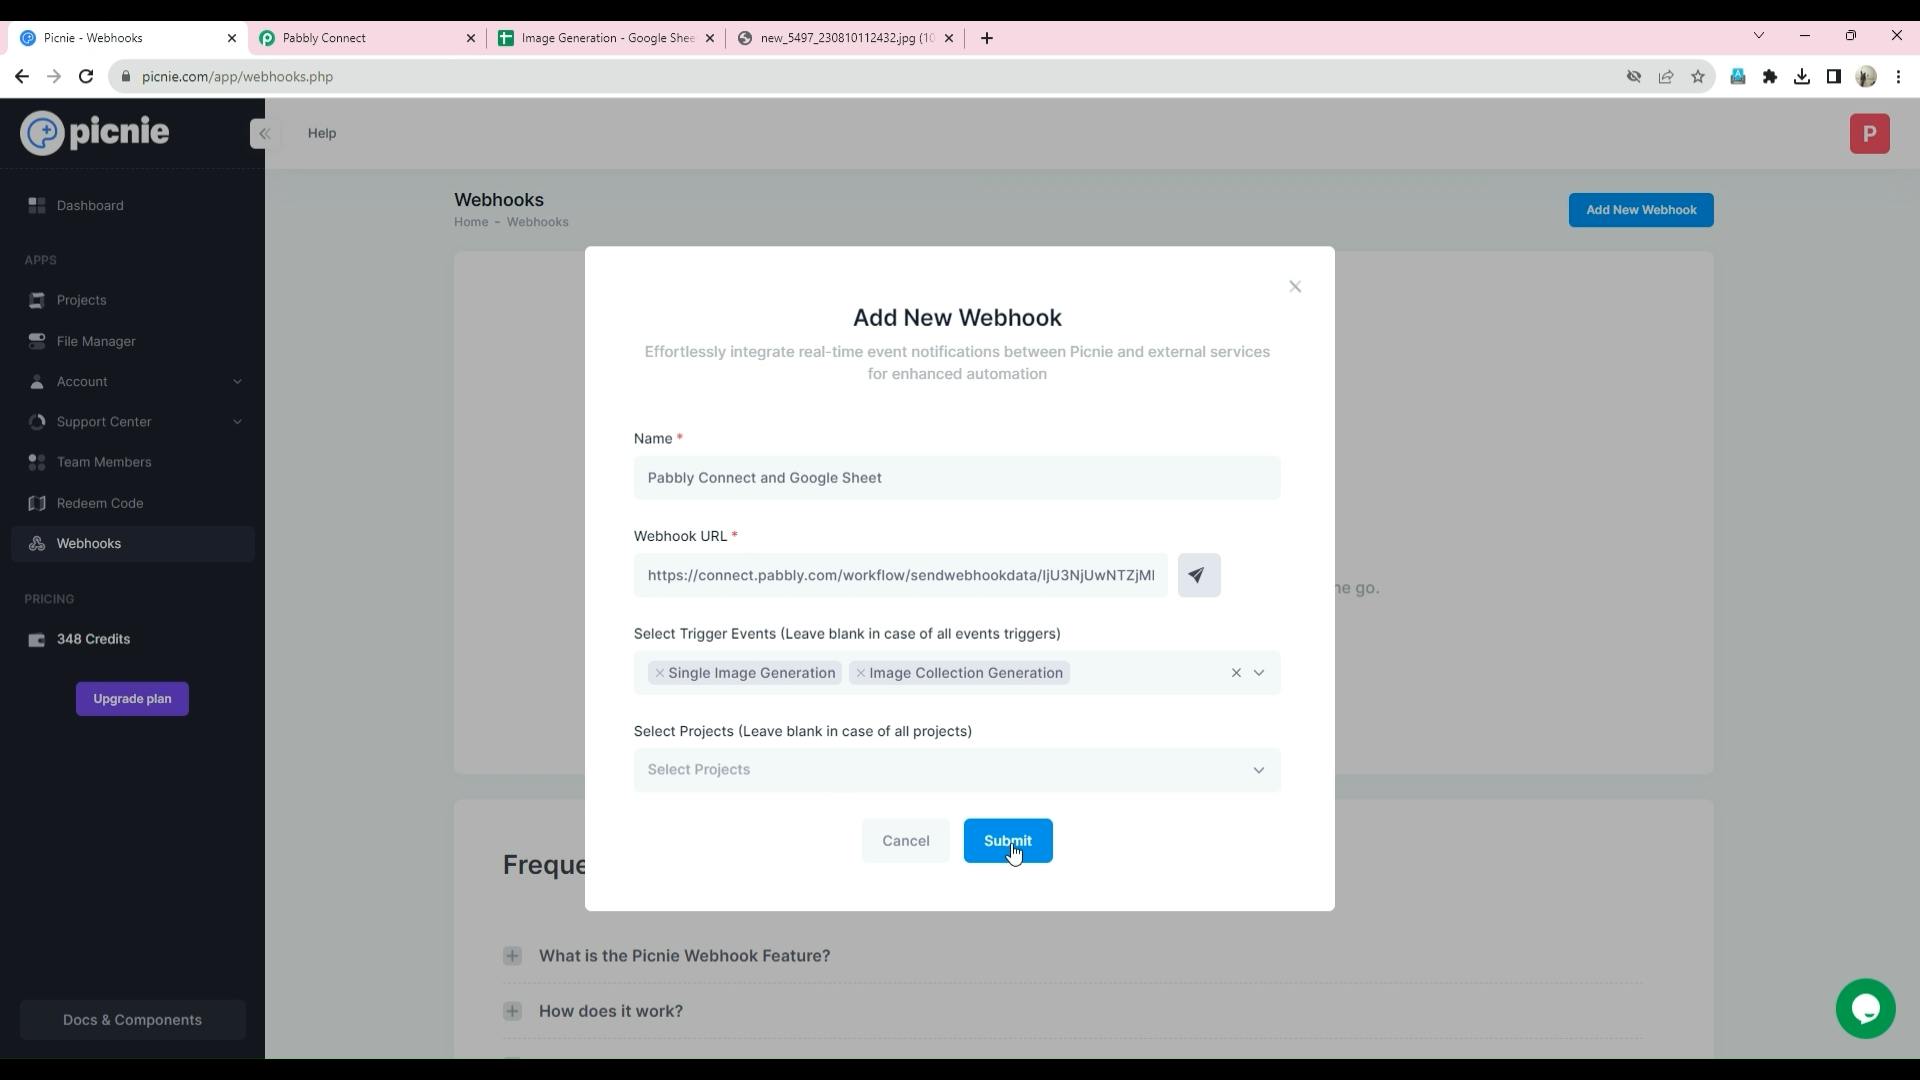
Step 4: Creating a Webhook

To create a webhook, click on the "Add Webhook" option and give it a meaningful name.
Sequence 01.00_01_00_13.Still007.png
In our case, we want to store data in Google Sheets, so let's create a Google Sheet with the relevant fields in a new tab.
Sequence 01.00_01_19_03.Still008.png

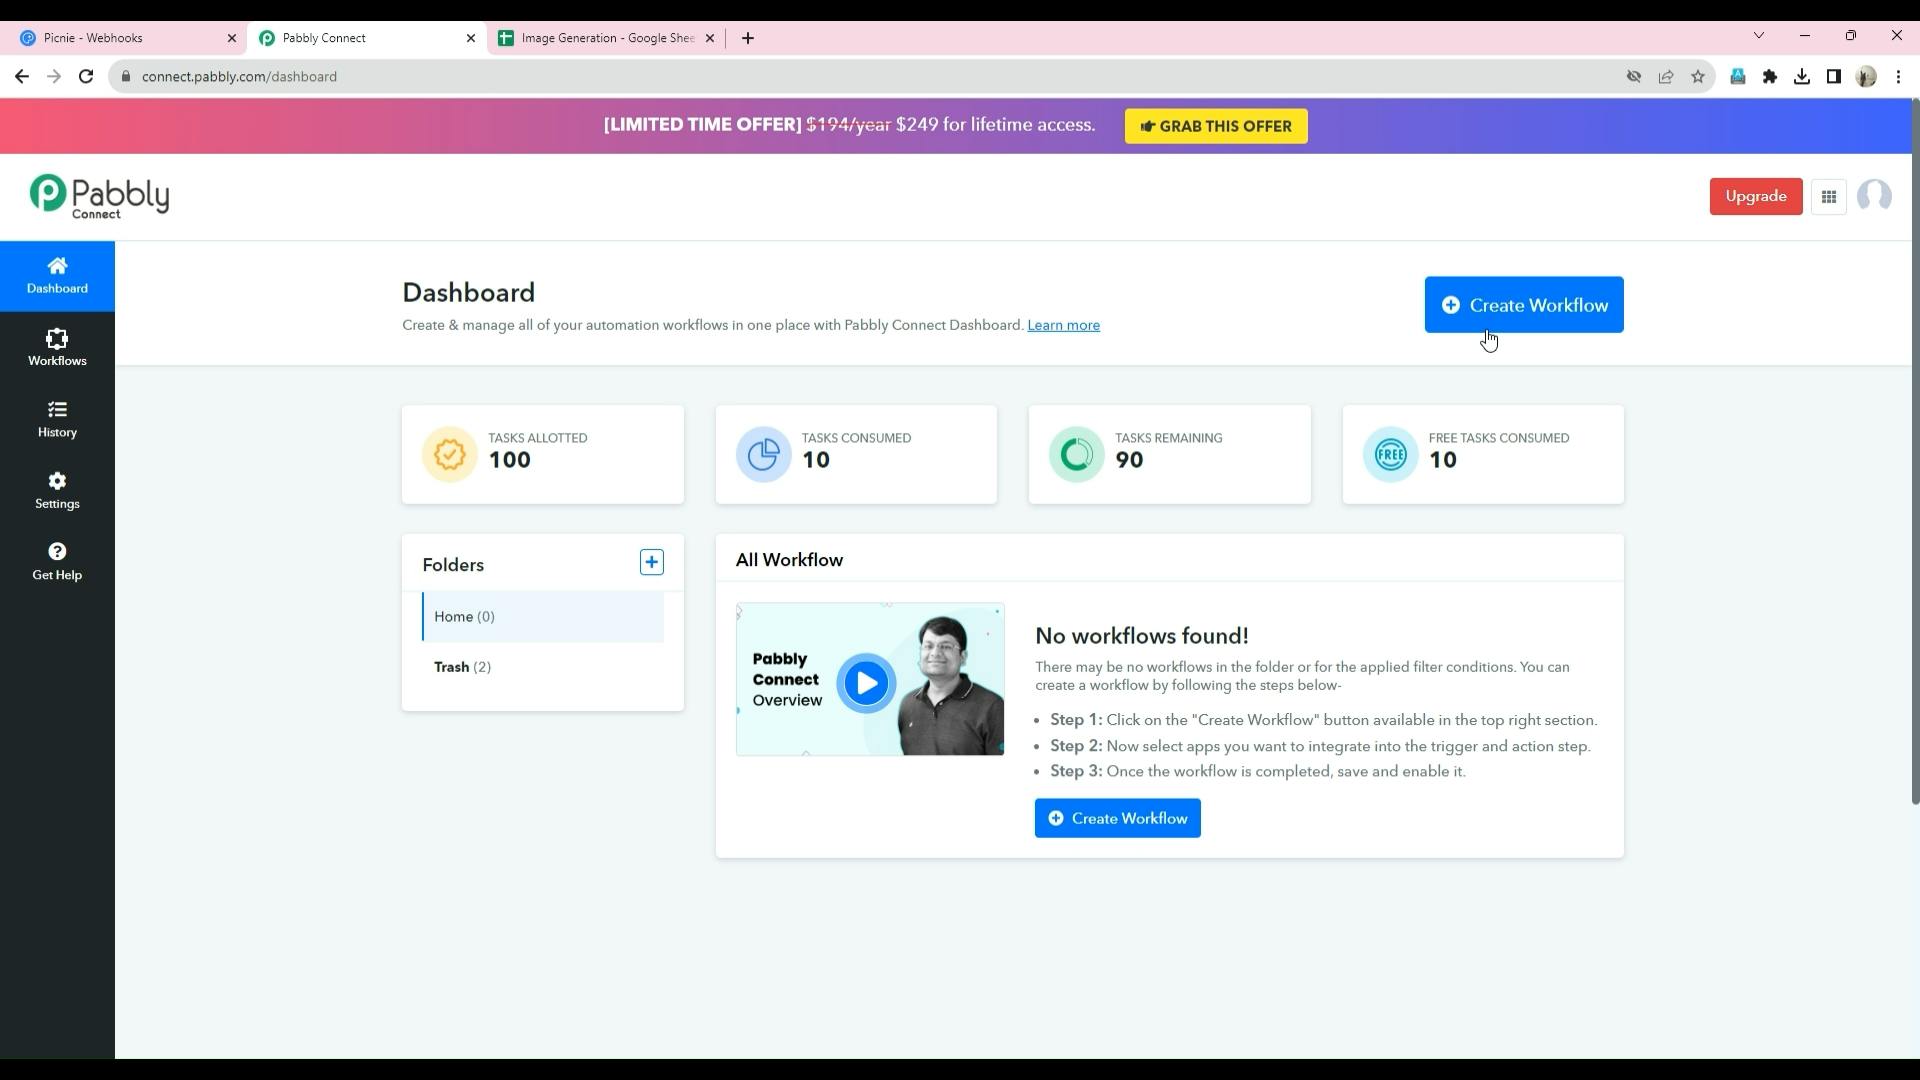
Step 5: Setting Up Pabbly Connect

Open a new tab and navigate to Pabbly Connect. In the Pabbly Connect dashboard, look for the option to create a workflow and click on it. Give your workflow a descriptive name.
Sequence 01.00_01_28_02.Still009.png
Sequence 01.00_01_39_19.Still010.png

Step 6: Configuring the Trigger

In the workflow setup, the first step is to set the trigger. Choose the "Webhook" option from the list of applications.
Sequence 01.00_01_50_23.Still011.png
Pabbly Connect will provide a webhook URL. Copy this URL to your clipboard.
Sequence 01.00_02_01_01.Still012.png

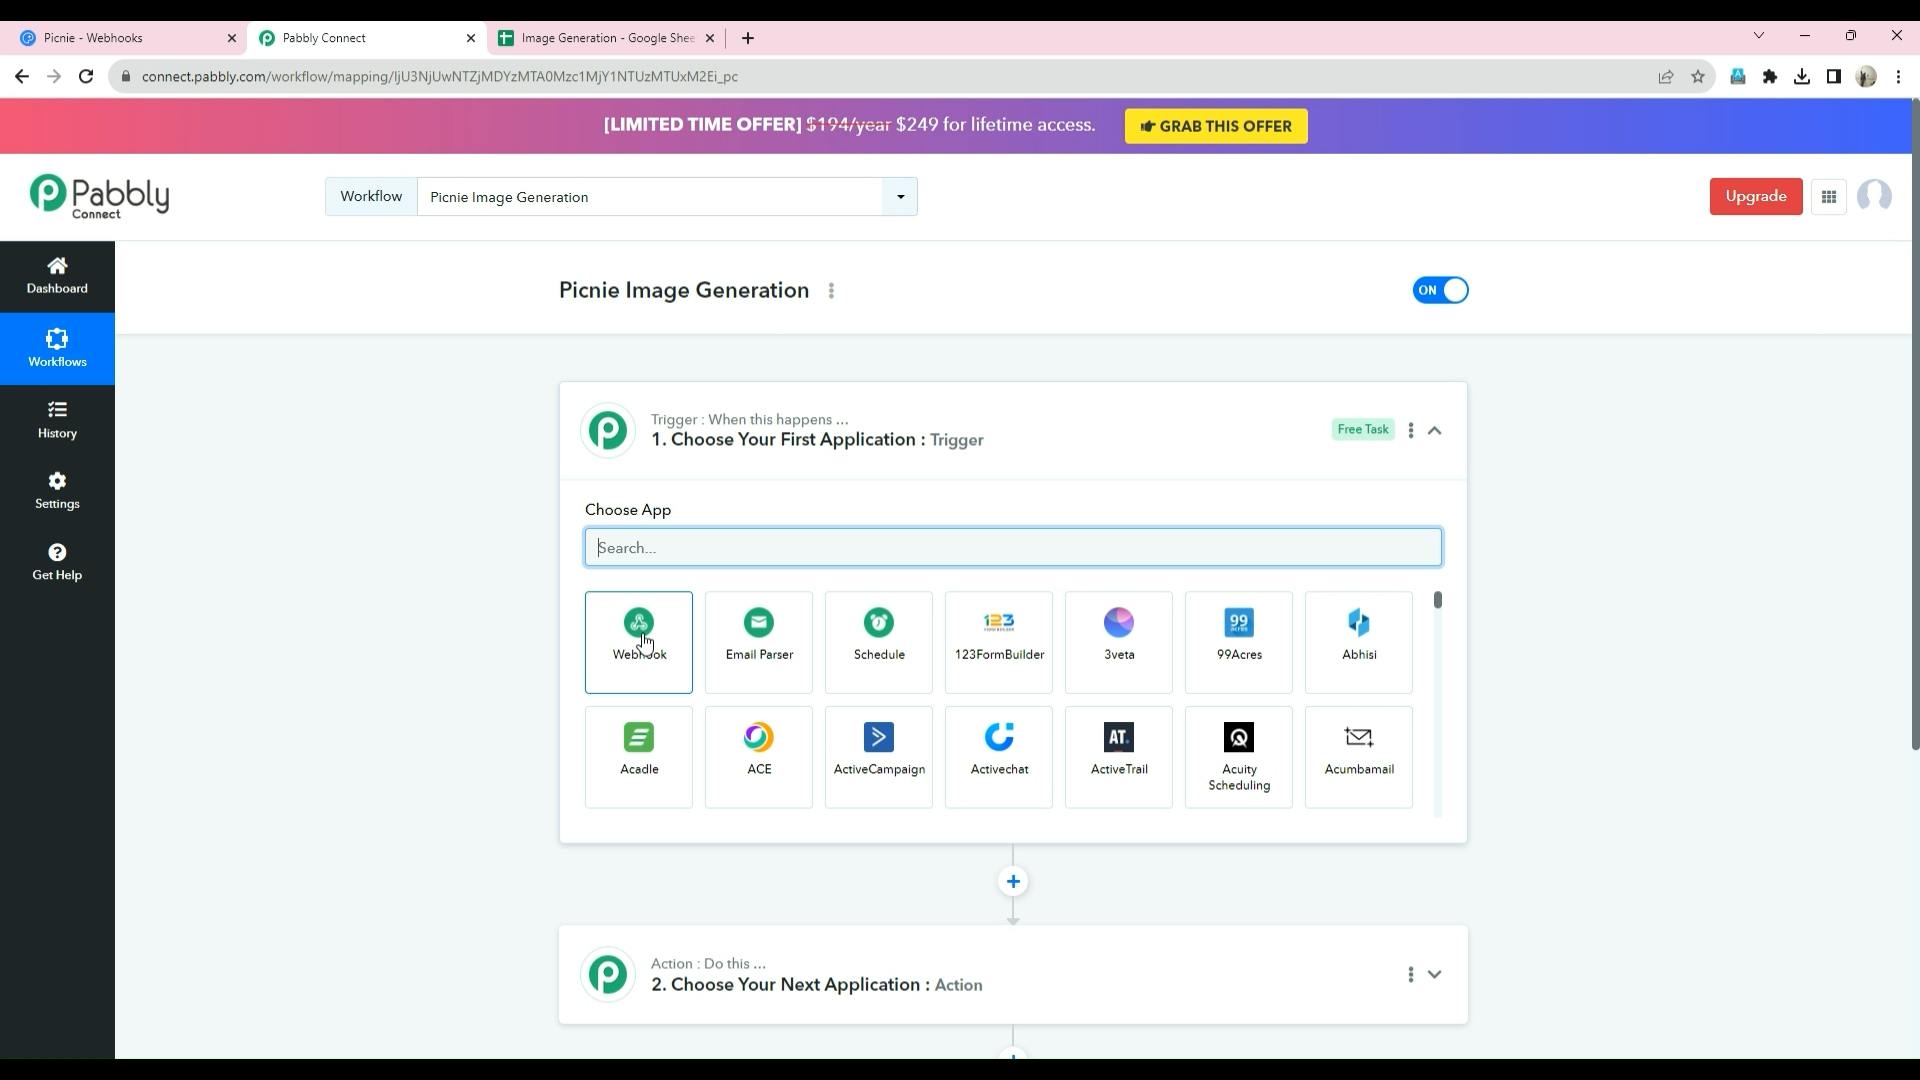
Step 7: Connecting Picnie to Pabbly Connect

Return to the Picnie dashboard, paste the webhook URL in the Webhook textbox.
Sequence 01.00_02_11_05.Still013.png
Test the connection by sending sample data to the webhook URL and check the sample response on the Pabbly Connect dashboard.
Sequence 01.00_02_18_15.Still014.png

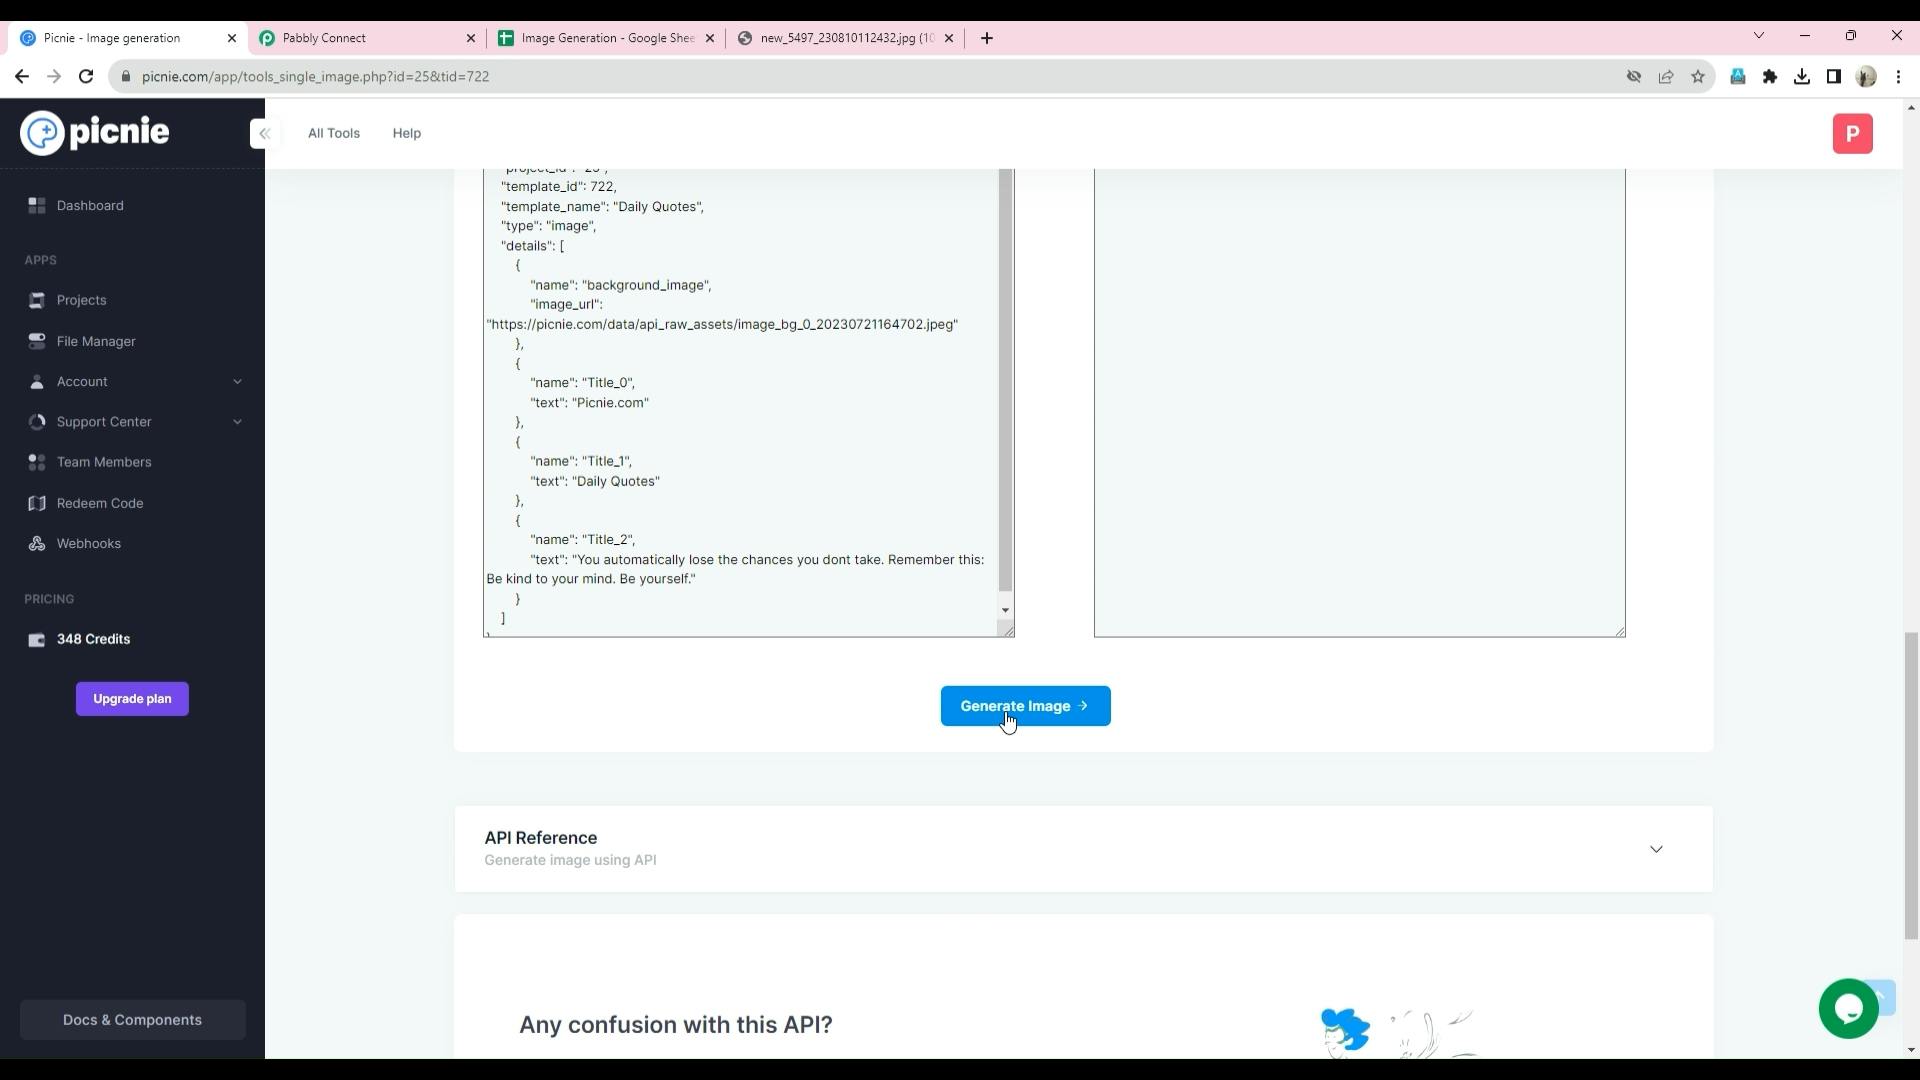
Step 8: Mapping Data

The Picnie webhook response includes three parameters: Error, Message, and URL. An Error value of 0 indicates that the API is functioning correctly, and the URL field contains the generated image URL.
Sequence 01.00_02_28_08.Still015.png
Map this data to Google Sheets. Search for "Google Sheets" among the available applications in Pabbly Connect. Select the "Add New Row" action event.
Click "Connect" and choose an existing Google account or connect a new one.
Sequence 01.00_02_54_18.Still017.png
Sequence 01.00_03_04_19.Still018.png
Sequence 01.00_03_17_02.Still020.png

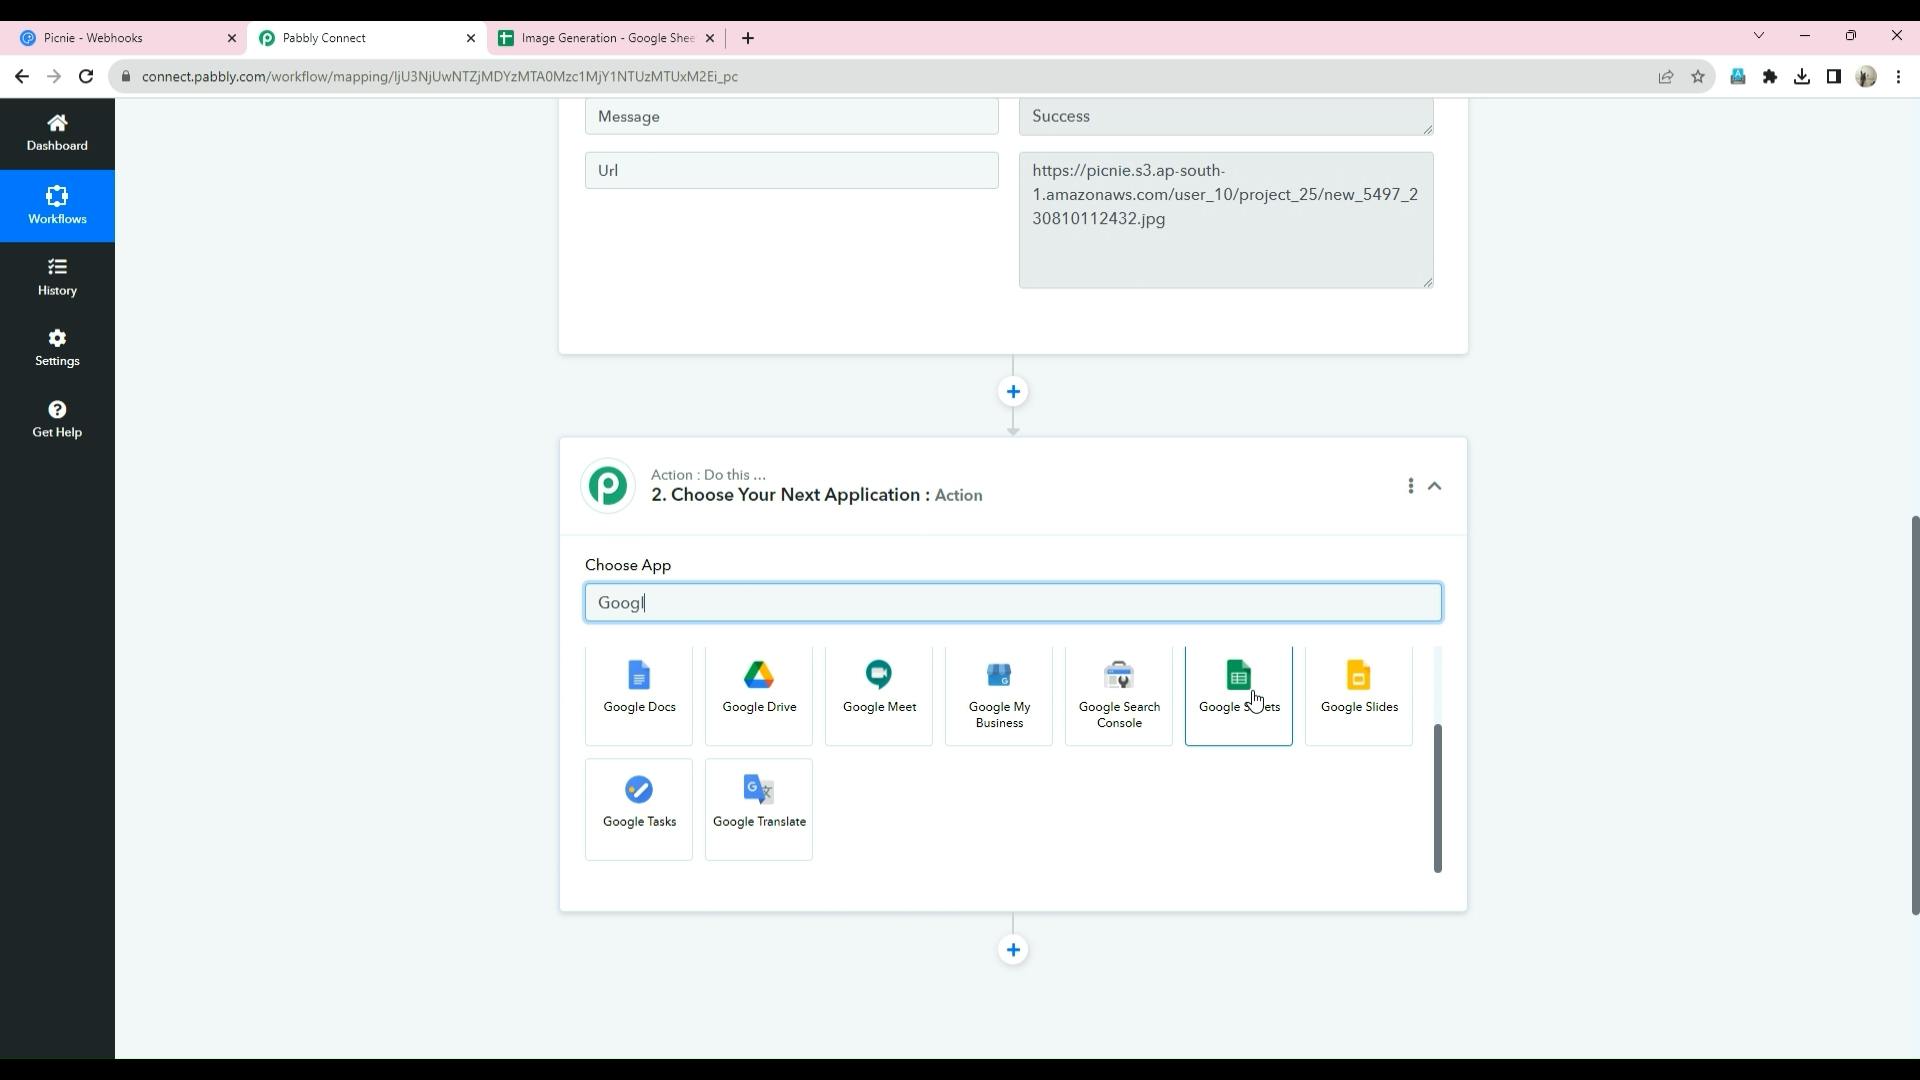
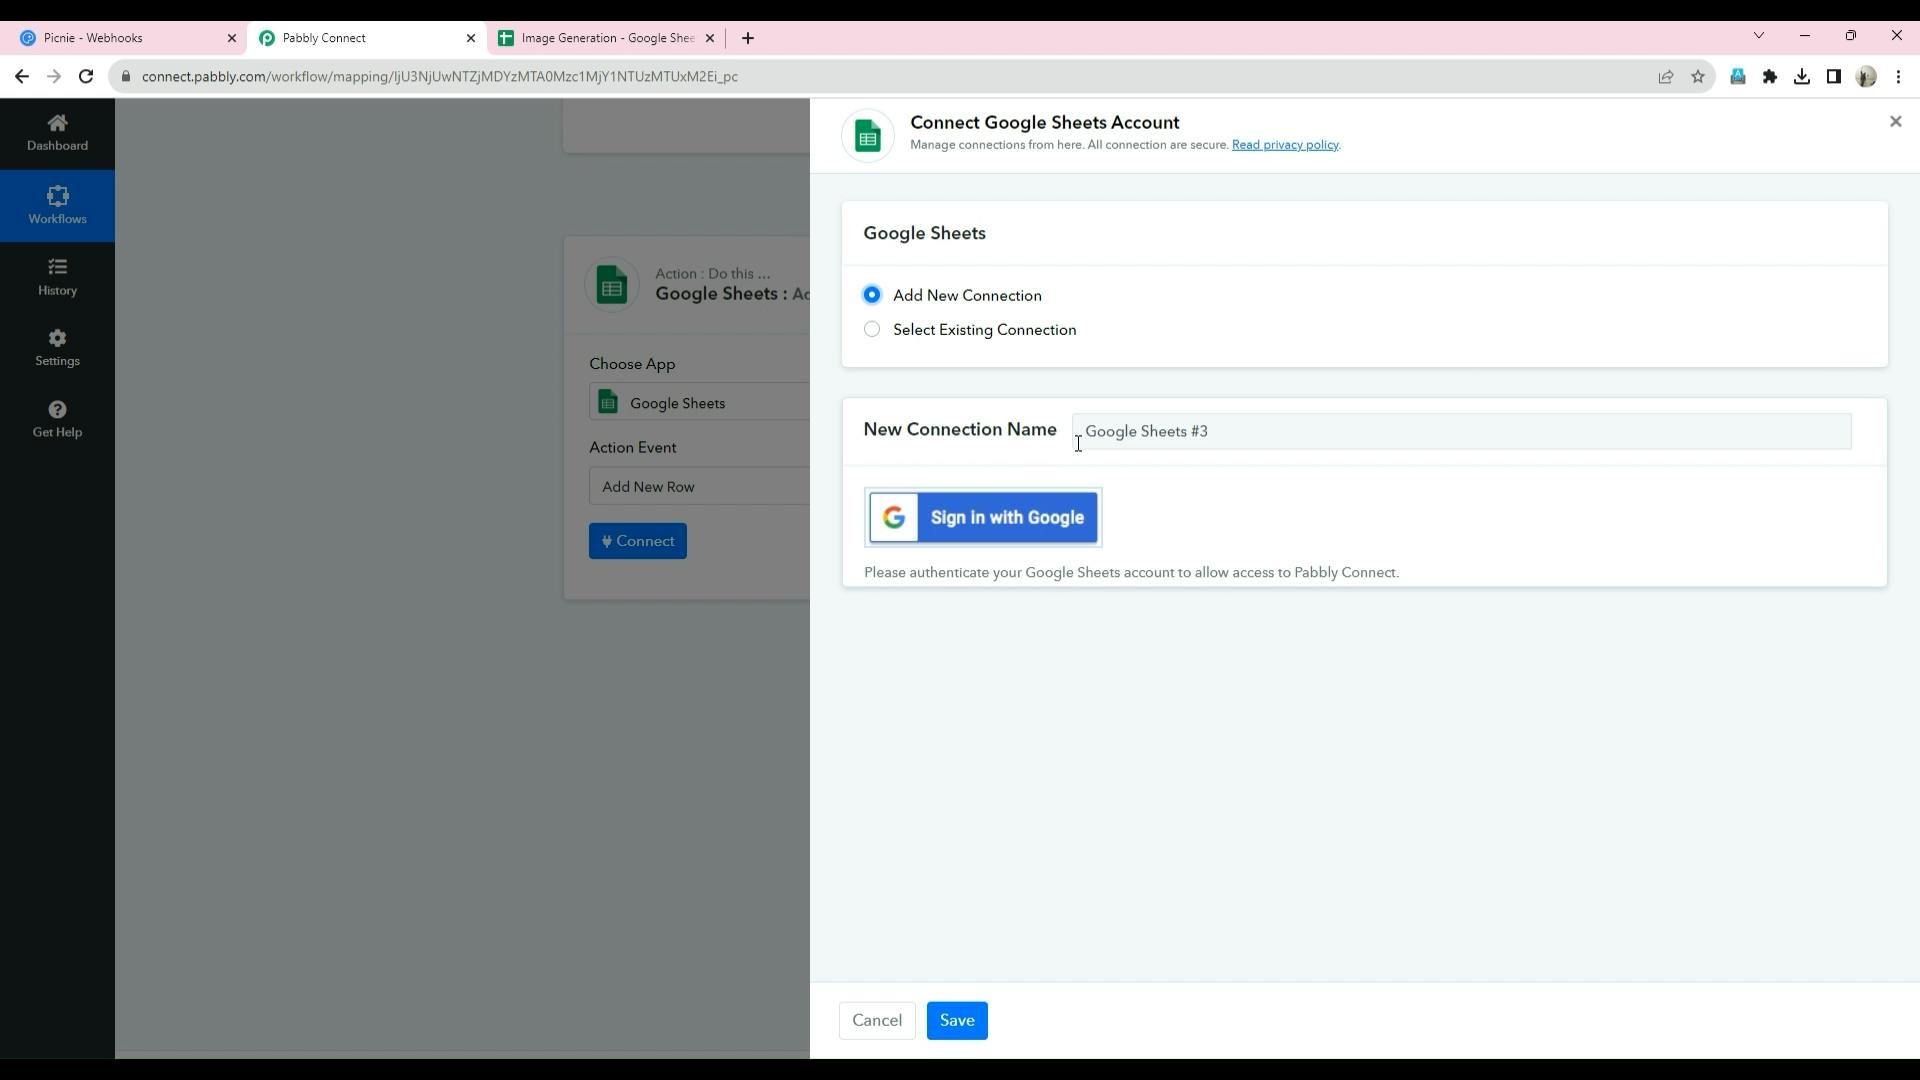
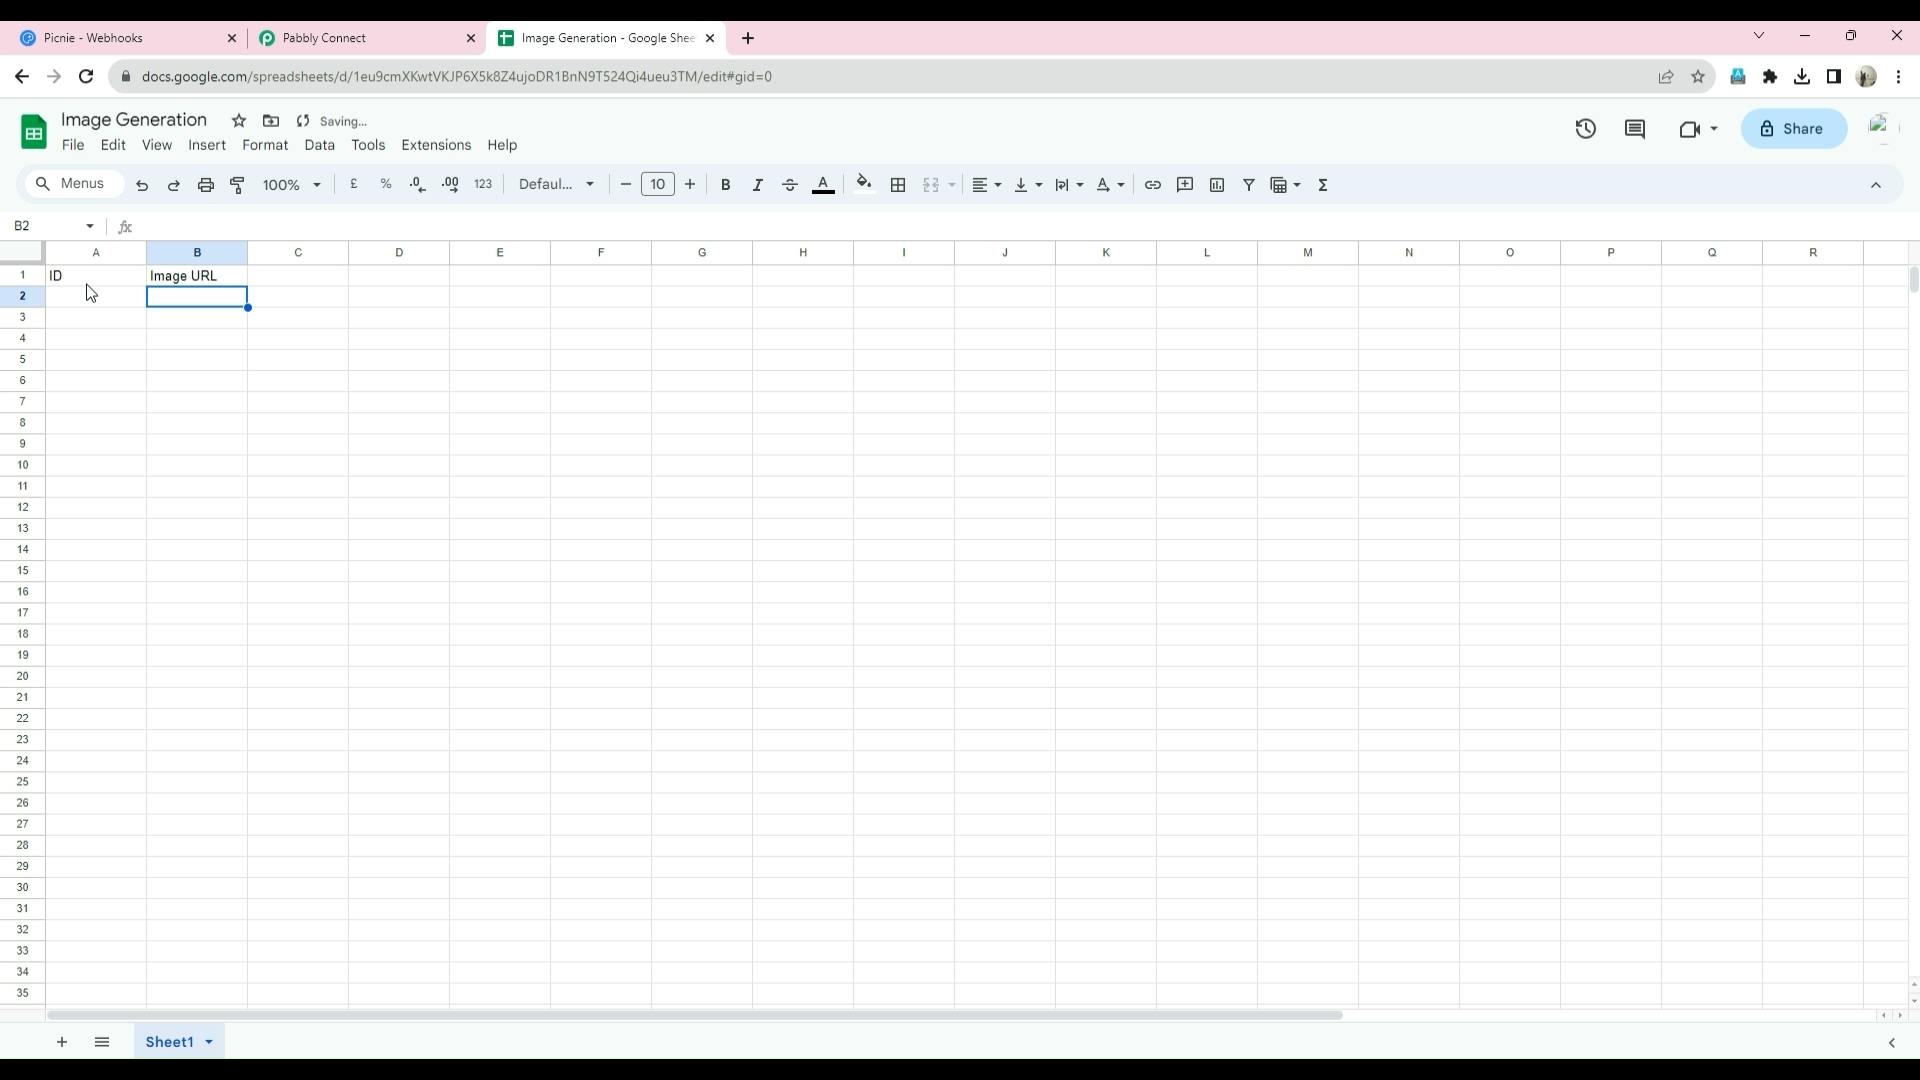
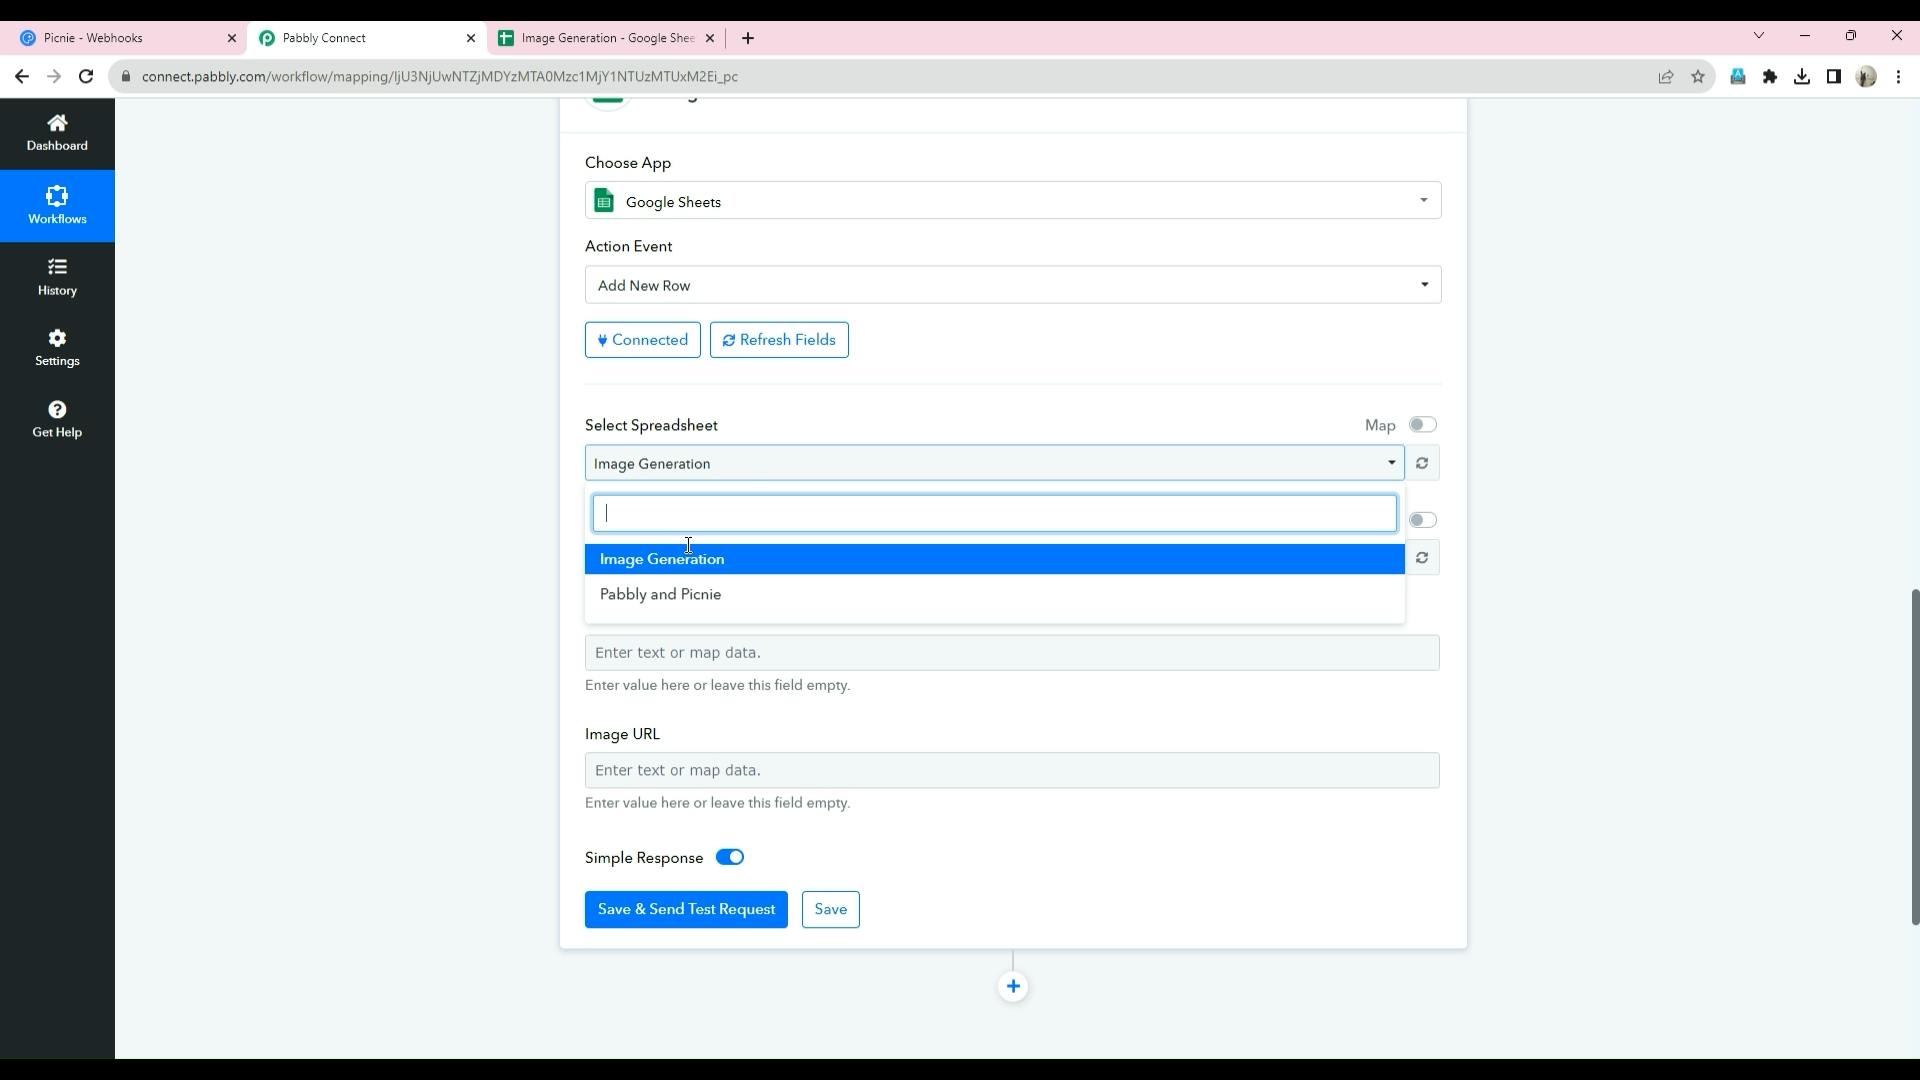
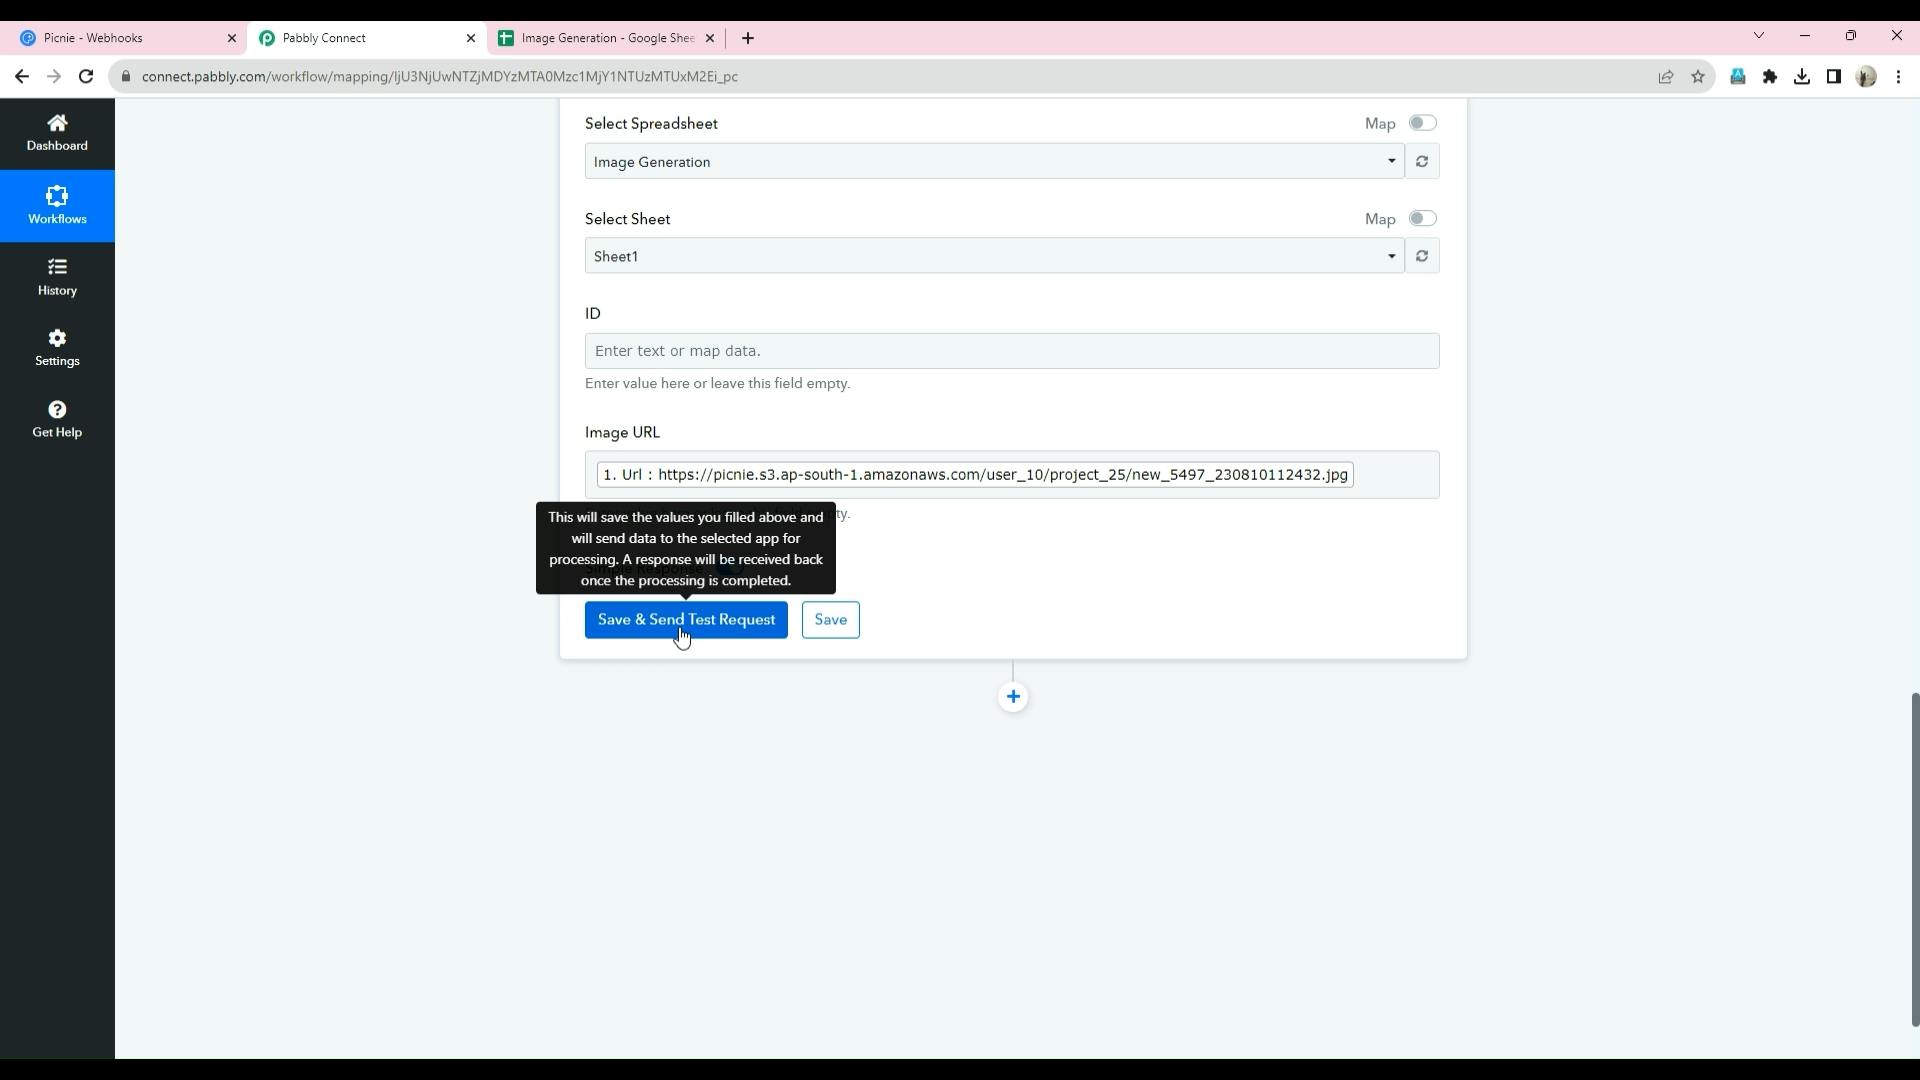
Step 9: Configuring Google Sheets Integration

Select the Google Sheet you created earlier.
Sequence 01.00_03_28_08.Still021.png
Map the columns in the Google Sheet to the fields from the Picnie webhook response. For instance, link the Image URL column to the URL field in the response.
Sequence 01.00_03_40_13.Still023.png

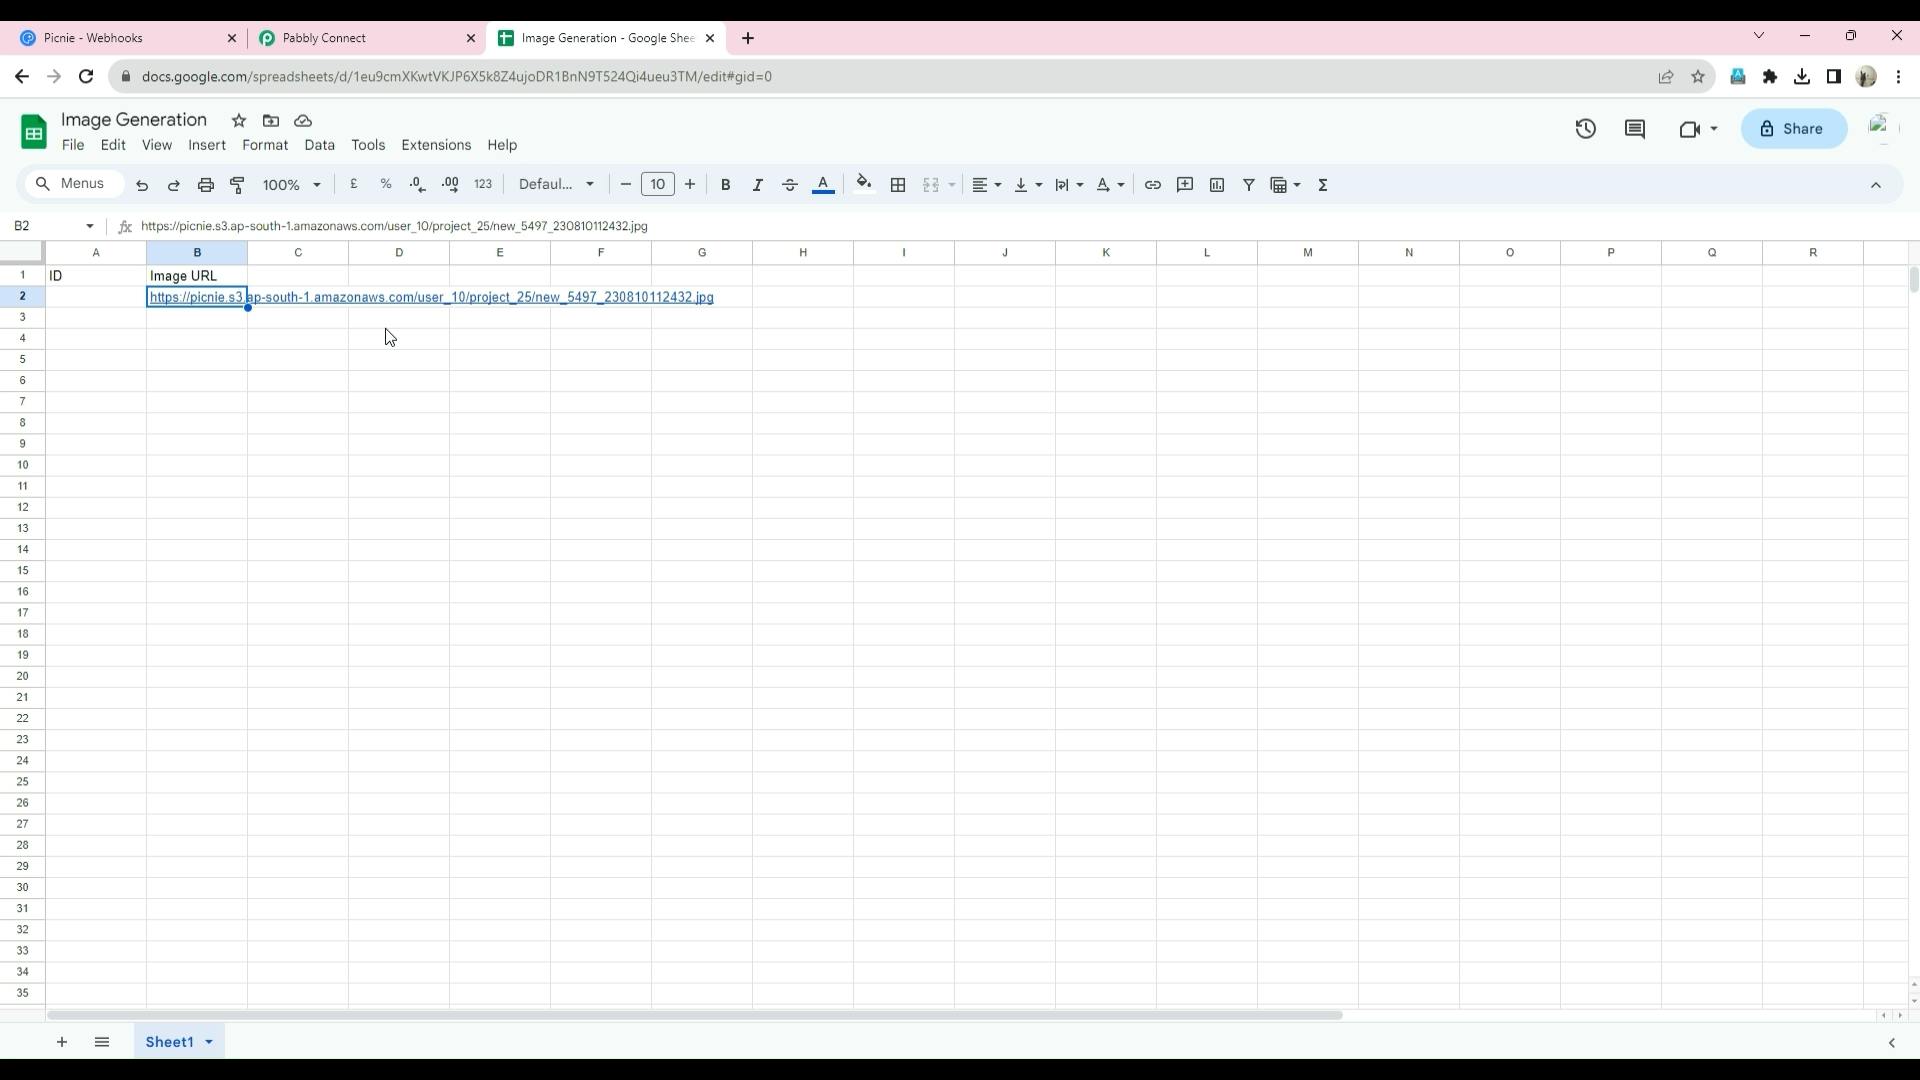
Step 10: Testing the Workflow

Click "Save & Send Test Request" to ensure everything is working as expected. This action will add a new row to your Google Sheet with the generated image URL.
Sequence 01.00_03_46_13.Still024.png
Sequence 01.00_03_55_07.Still026.png
Sequence 01.00_03_59_13.Still027.png

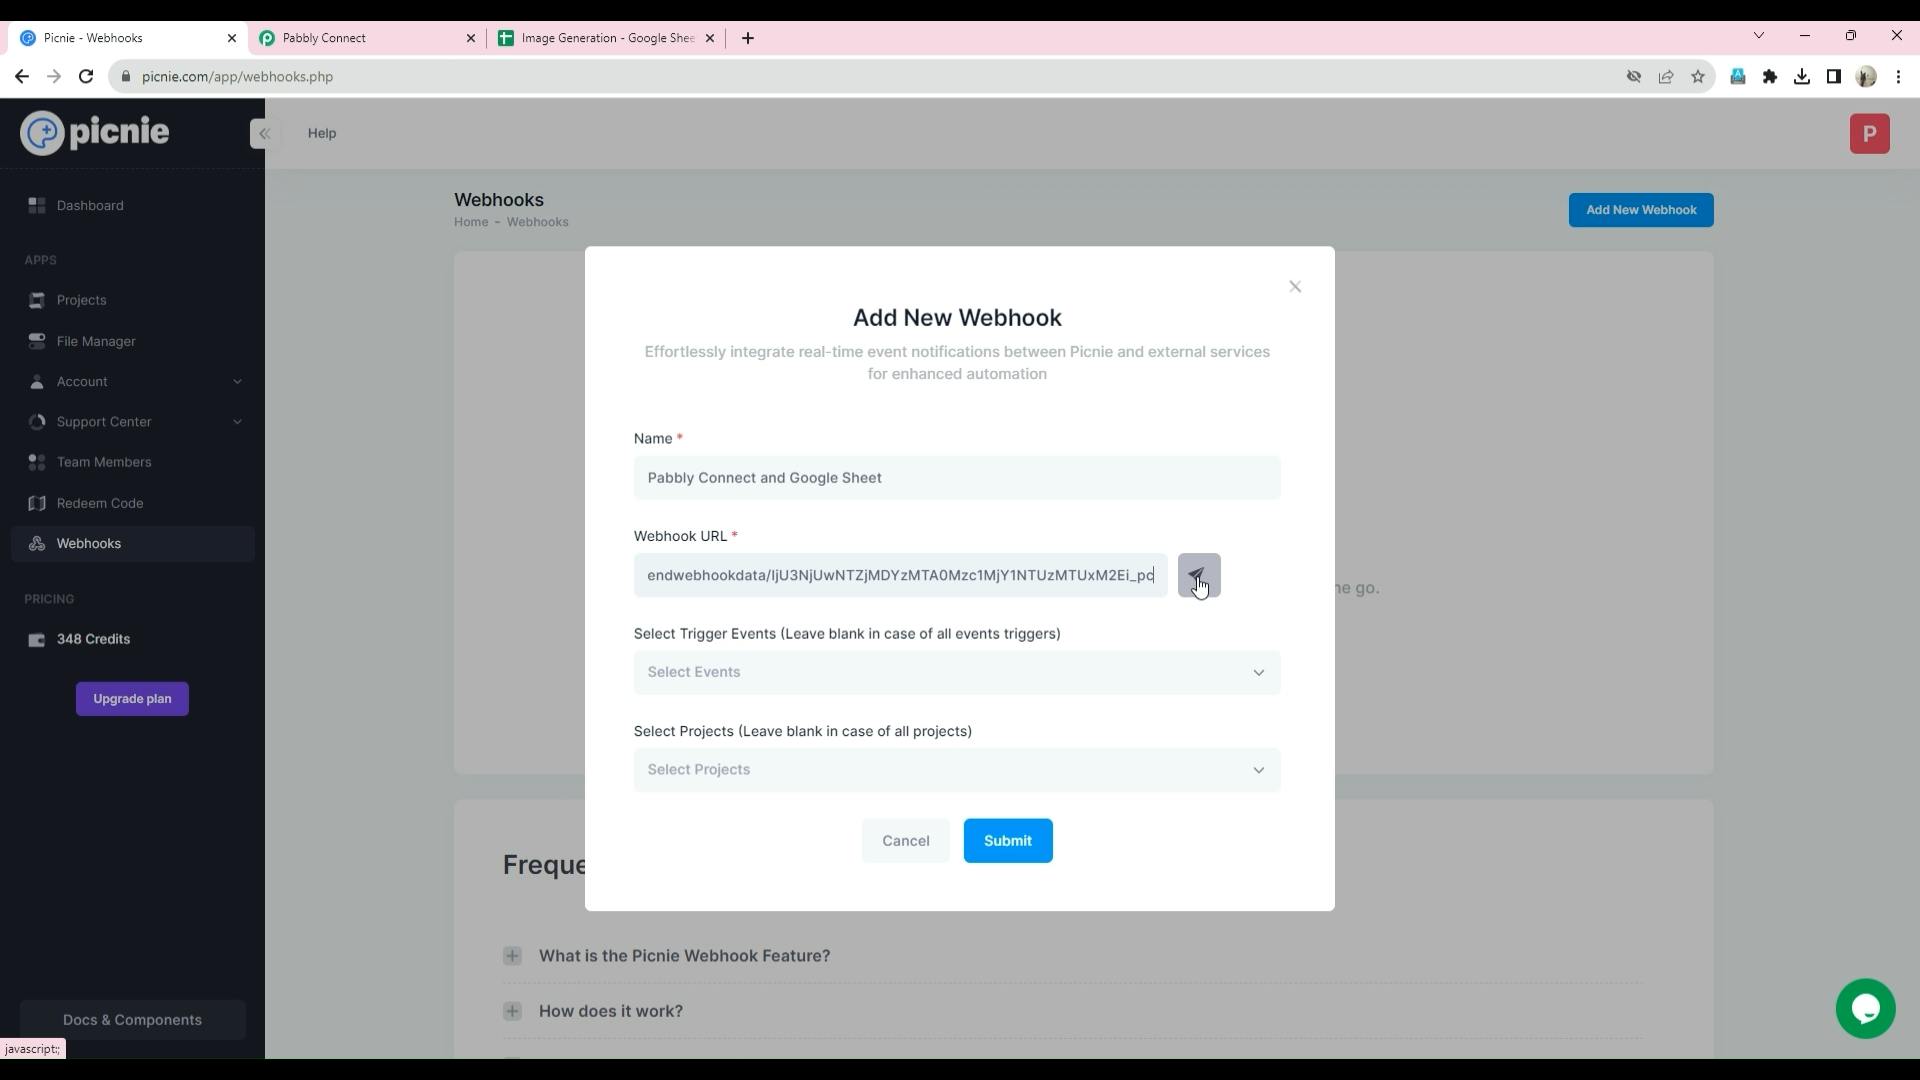
Step 11: Creating a Picnie Webhook

Return to the Picnie dashboard to set up your webhook. Choose the events that should trigger the webhook and specify the projects, or leave them blank for all events and projects.
Sequence 01.00_04_24_01.Still029.png
Sequence 01.00_04_40_19.Still030.png
Click "Submit" to create the webhook.
Sequence 01.00_04_46_14.Still031.png

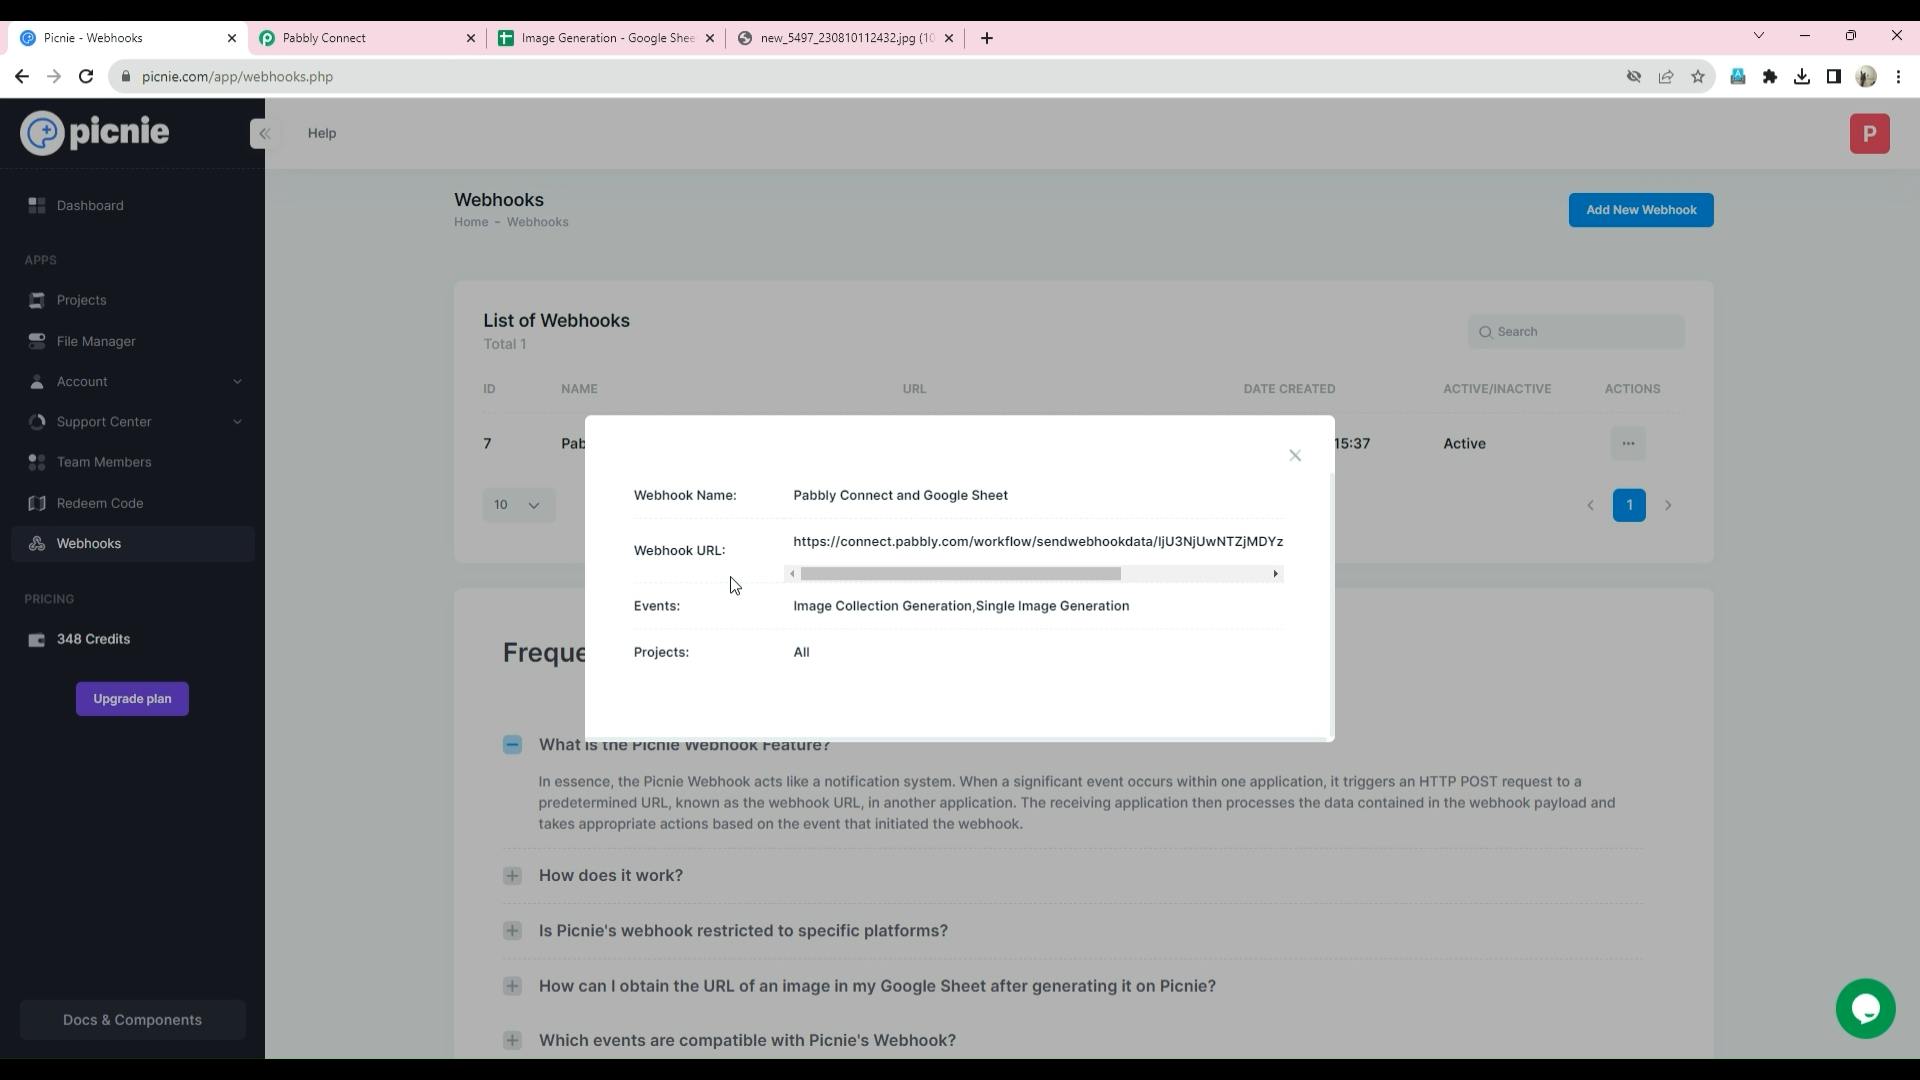
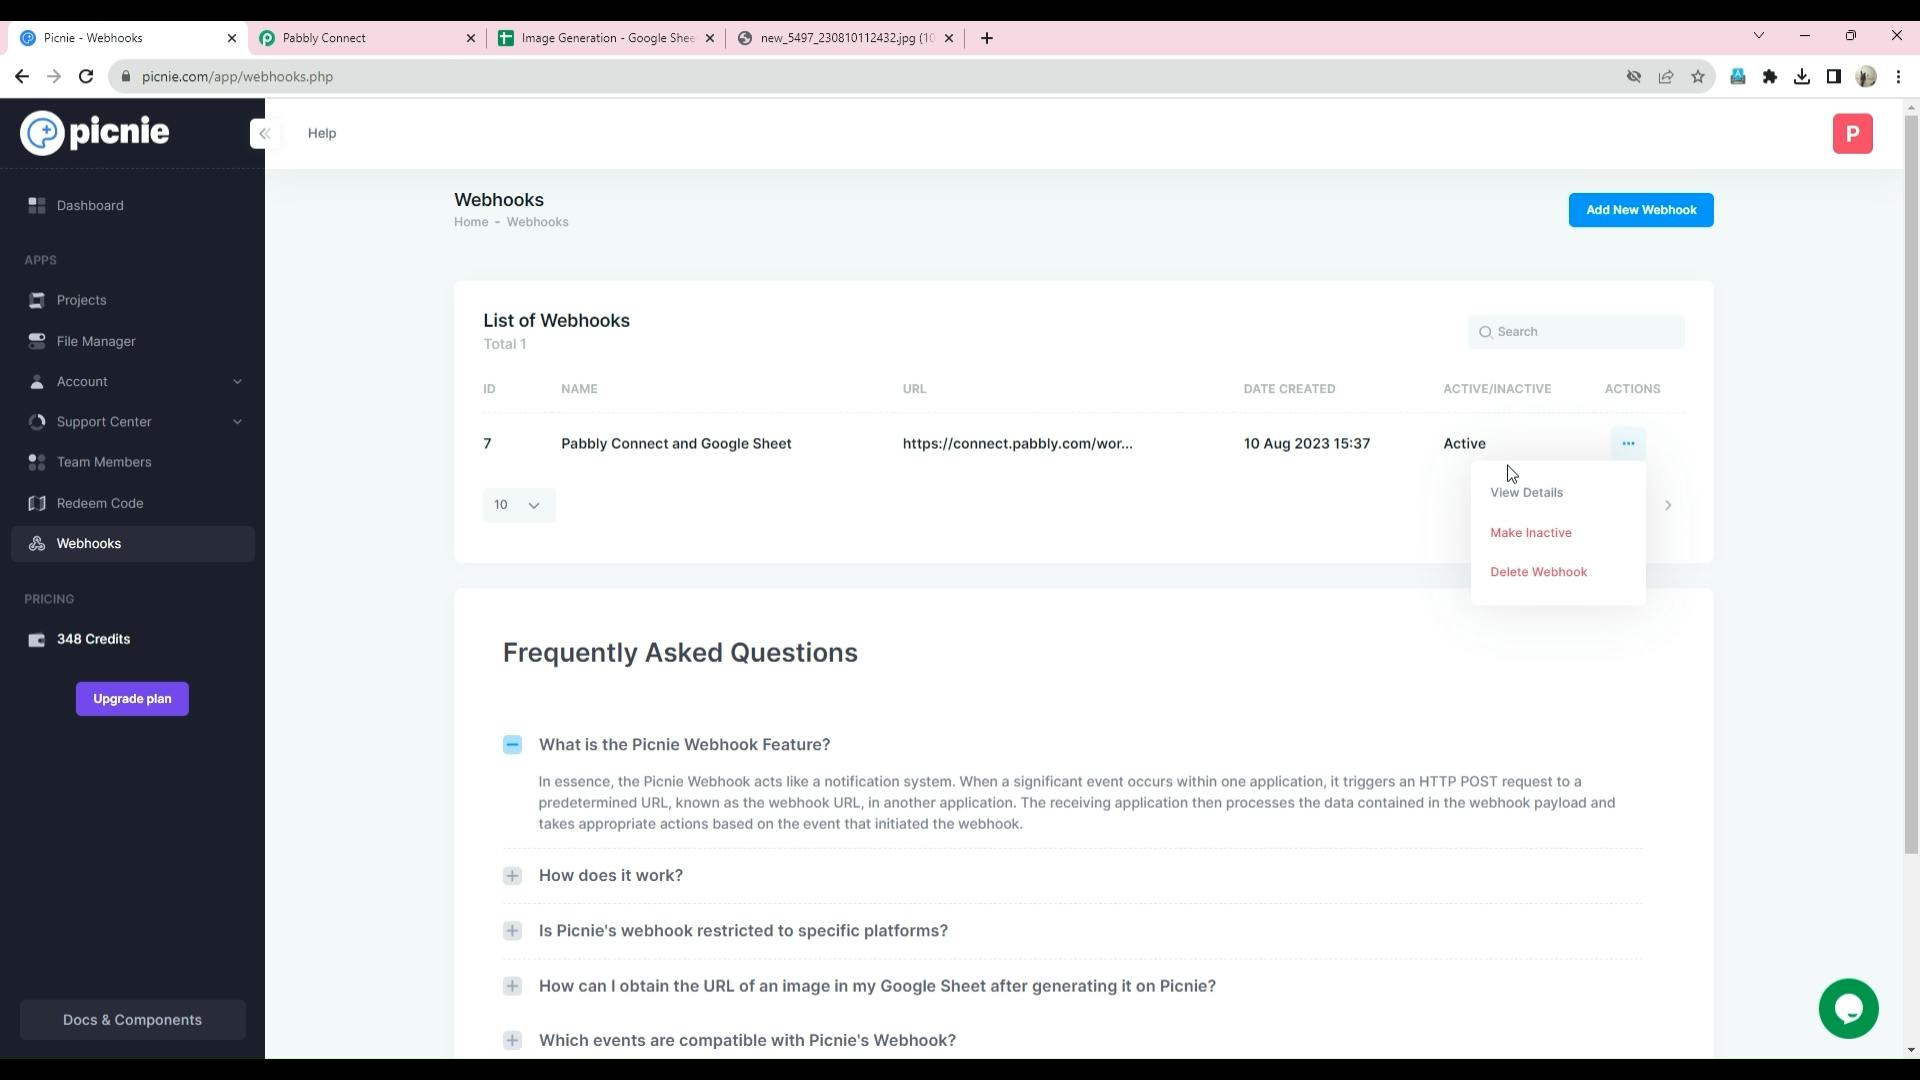
Step 12: Managing Webhooks

Your webhook is now created. In the Action button menu, you can access more details about the webhook, including its complete URL, events, and project settings.
Sequence 01.00_05_02_17.Still034.png
You also have the option to disable/enable, or delete the webhook as needed.
Sequence 01.00_04_59_07.Still033.png

Step 13: Testing the Flow

To test the complete flow, navigate to the project screen, select a project, and access the Image Generation Tool.
Sequence 01.00_05_24_15.Still035.png
Sequence 01.00_05_25_20.Still036.png
Choose a template and generate an image. You will see the generated image URL added as a new row in your Google Sheet.
Sequence 01.00_05_35_05.Still037.png
Sequence 01.00_05_43_20.Still038.png
Sequence 01.00_05_49_11.Still039.png
Sequence 01.00_05_53_16.Still040.png

Step 14: Expanding to Other Platforms

Similarly, if you want to share generated images on other platforms, search for the desired application within Pabbly Connect and create connections to automate the process. You can easily post images to Instagram, Facebook, and various social platforms.

Conclusion:

With the integration of Picnie and Pabbly Connect, image generation becomes a streamlined, automated process. Images can be stored, shared, and utilized effortlessly. This guide has empowered you to connect multiple applications, automate image generation, and take your creative endeavours to the next level. Thank you for joining us on this journey with Picnie!

Want to print your doc?
This is not the way.
Try clicking the ⋯ next to your doc name or using a keyboard shortcut (
CtrlP
) instead.