icon
Knowledge base - Picnie
Features

icon picker
Media Library

Hub for your customized visual assets! 📷
💡 Here, you'll learn how to manage and organize your graphics and image media files seamlessly. From creating to downloading and deleting, this section has everything you need to keep your media assets in order and ready to enhance your projects. Let's make your projects management smooth!

Introduction:

Picnie's File Manager is your hub for organizing, accessing, and utilizing all your generated graphic projects. This feature allows you to keep your files neatly sorted by projects and provides convenient options for downloading, deleting, and copying image URLs. In this step-by-step guide, we will walk you through how to use Picnie's File Manager effectively.

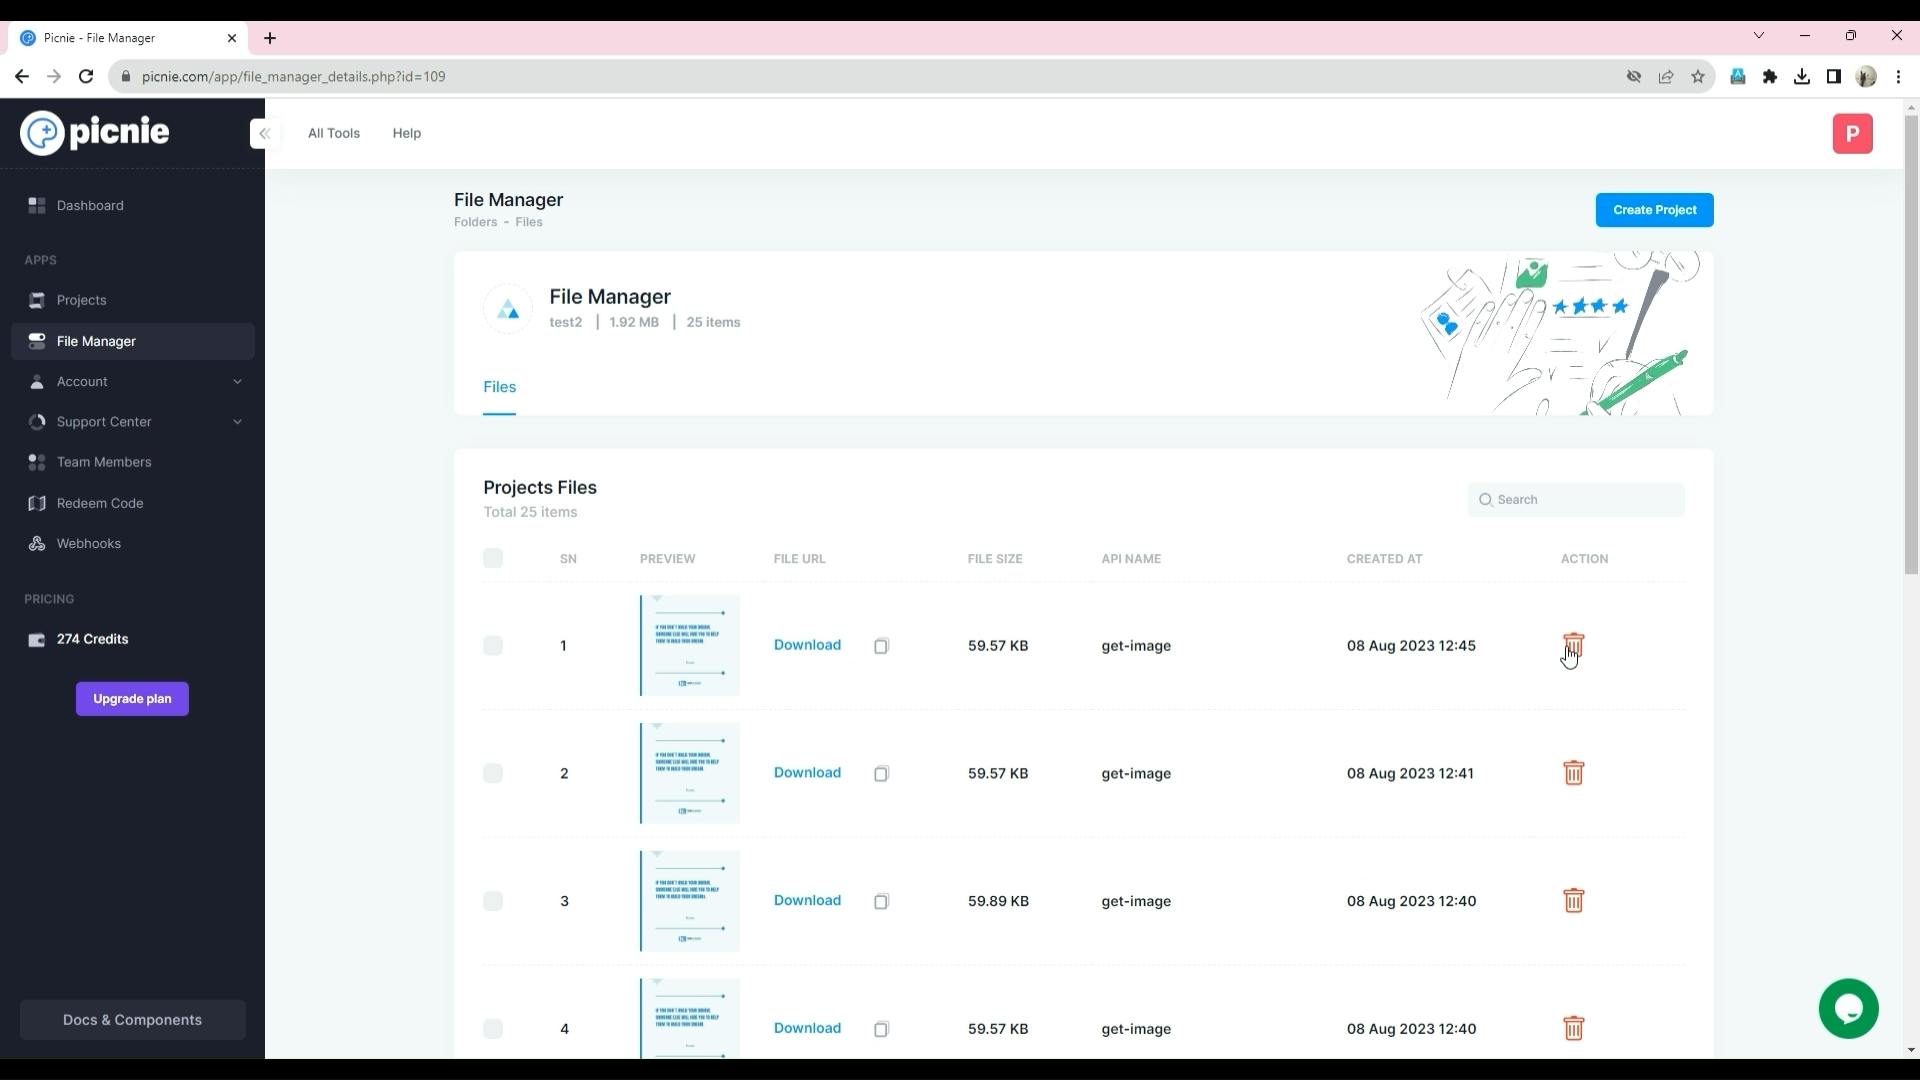
Step 1: Accessing the File Manager

To get started, log in to your Picnie account and navigate to the left sidebar menu.
Template Editor full video v1 - Made with Clipchamp.00_00_21_21.Still001.png
Locate and click on the "File Manager" option. This will open the File Manager interface.
Picnie Intro video - Made with C.00_02_08_18.Still005.png

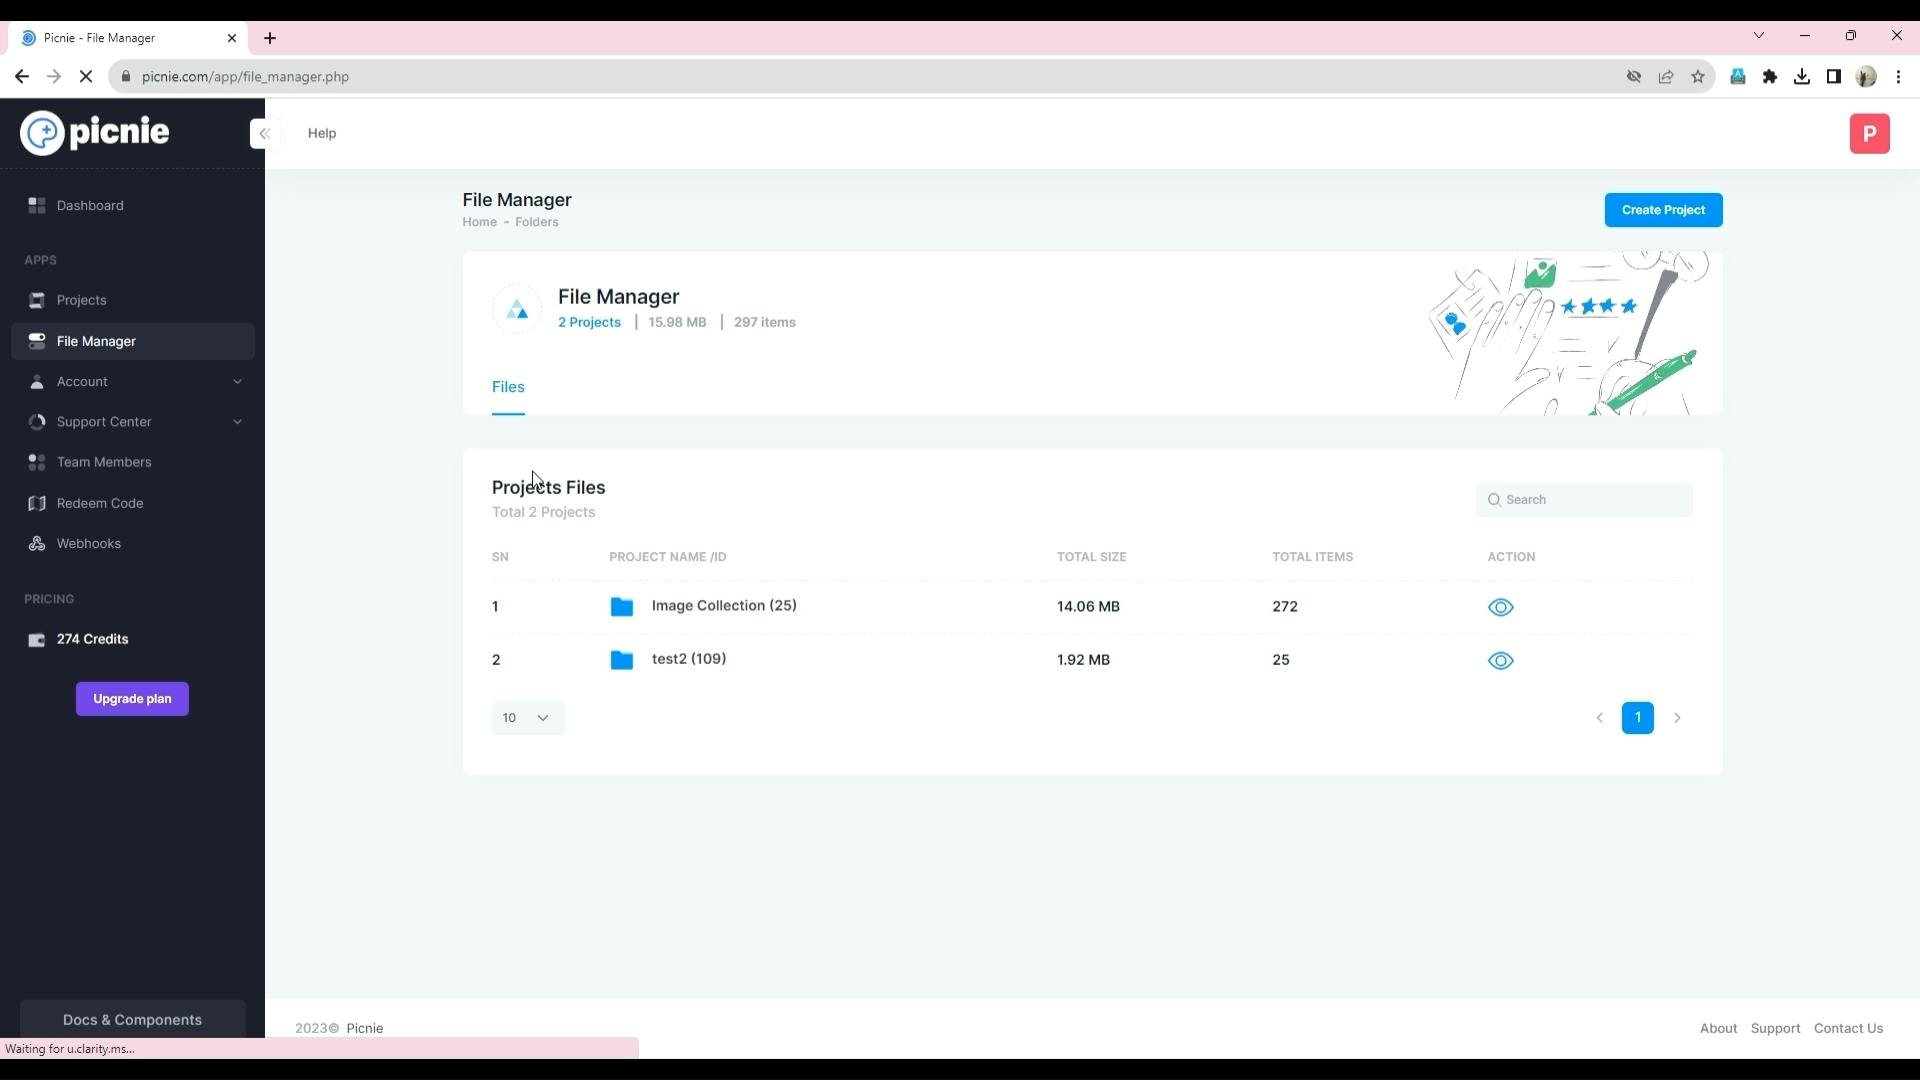
Step 2: Viewing Projects

In the File Manager, you will find a list of your projects, each containing files generated by you.
Click on the specific project you wish to explore further. This action will take you to the Images list for that project.
Picnie Intro video - Made with C.00_02_13_03.Still006.png

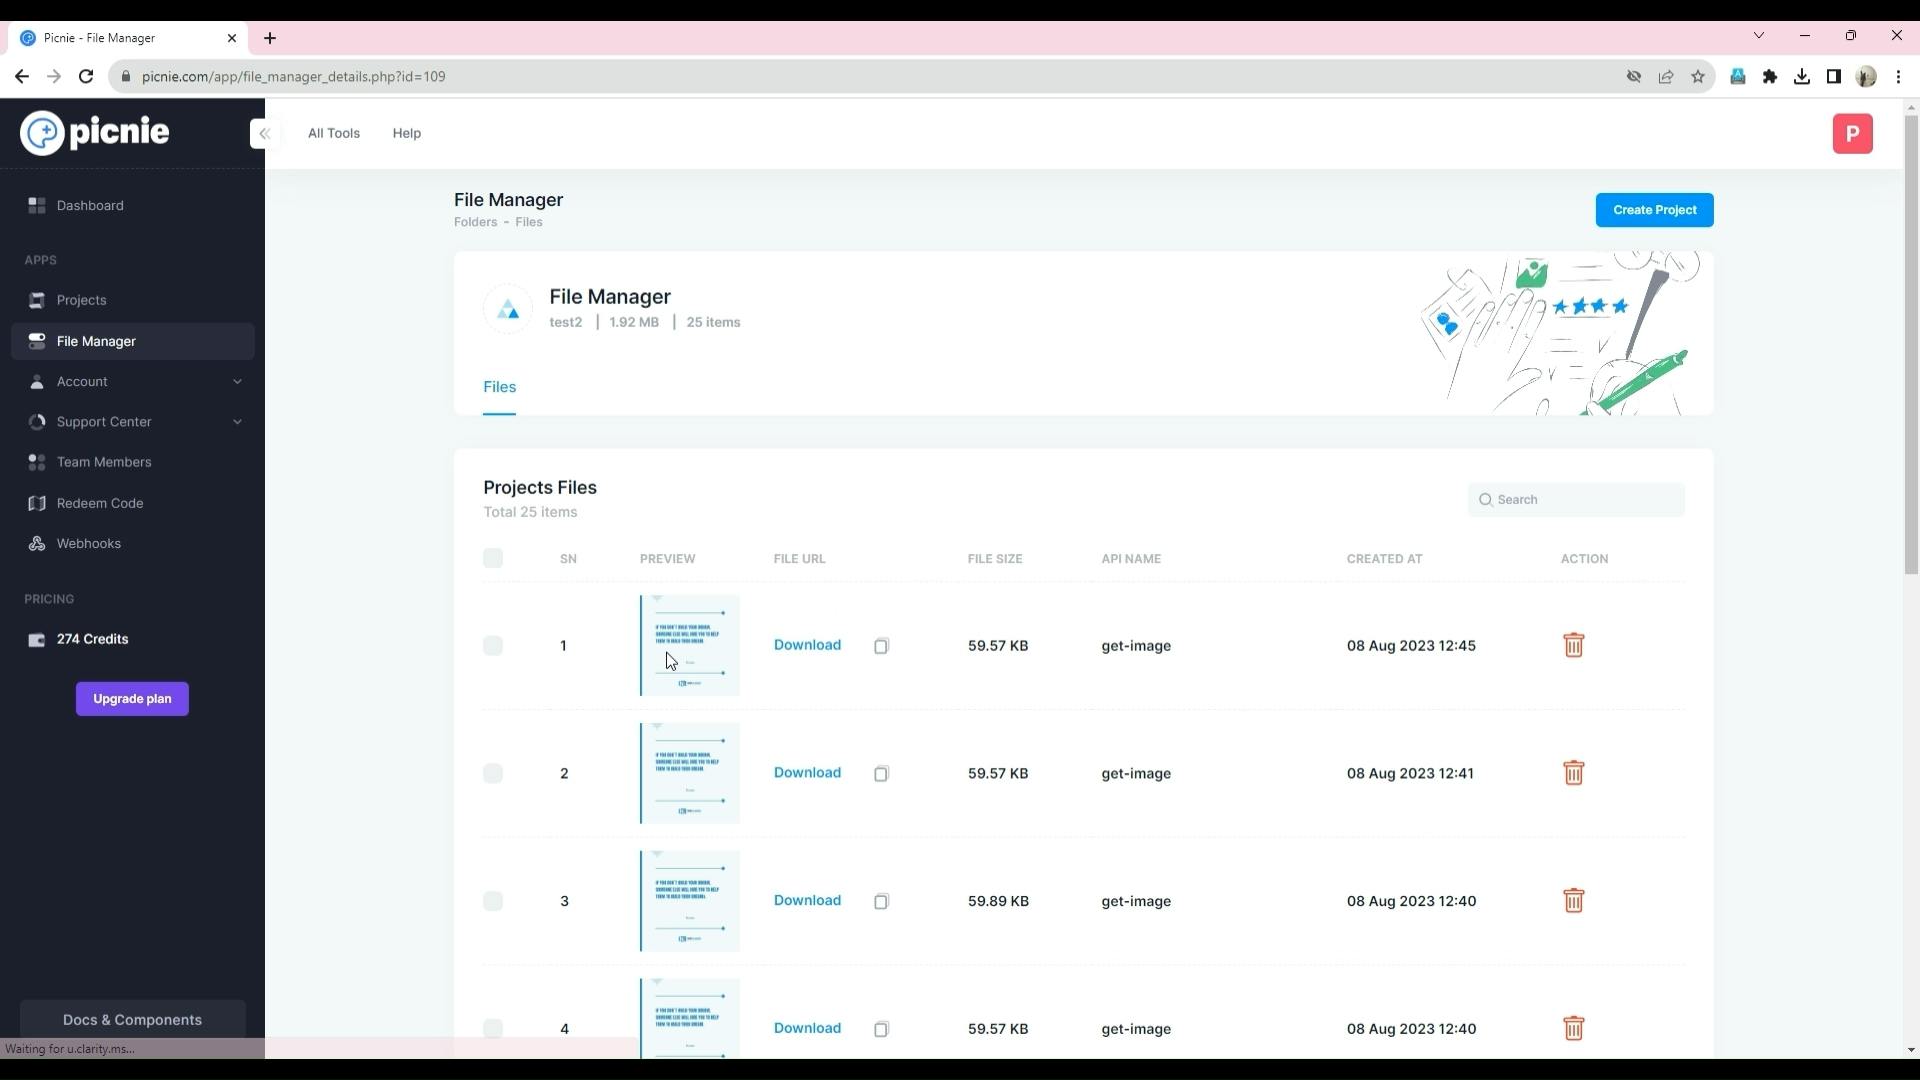
Step 3: Managing Images

Within the Images list for your selected project, you have several options for managing your images.

Downloading Single Images:

To download a single image, click on the download button to download.
The image will be downloaded to your computer's default download location.
Picnie Intro video - Made with C.00_02_13_03.Still006.png

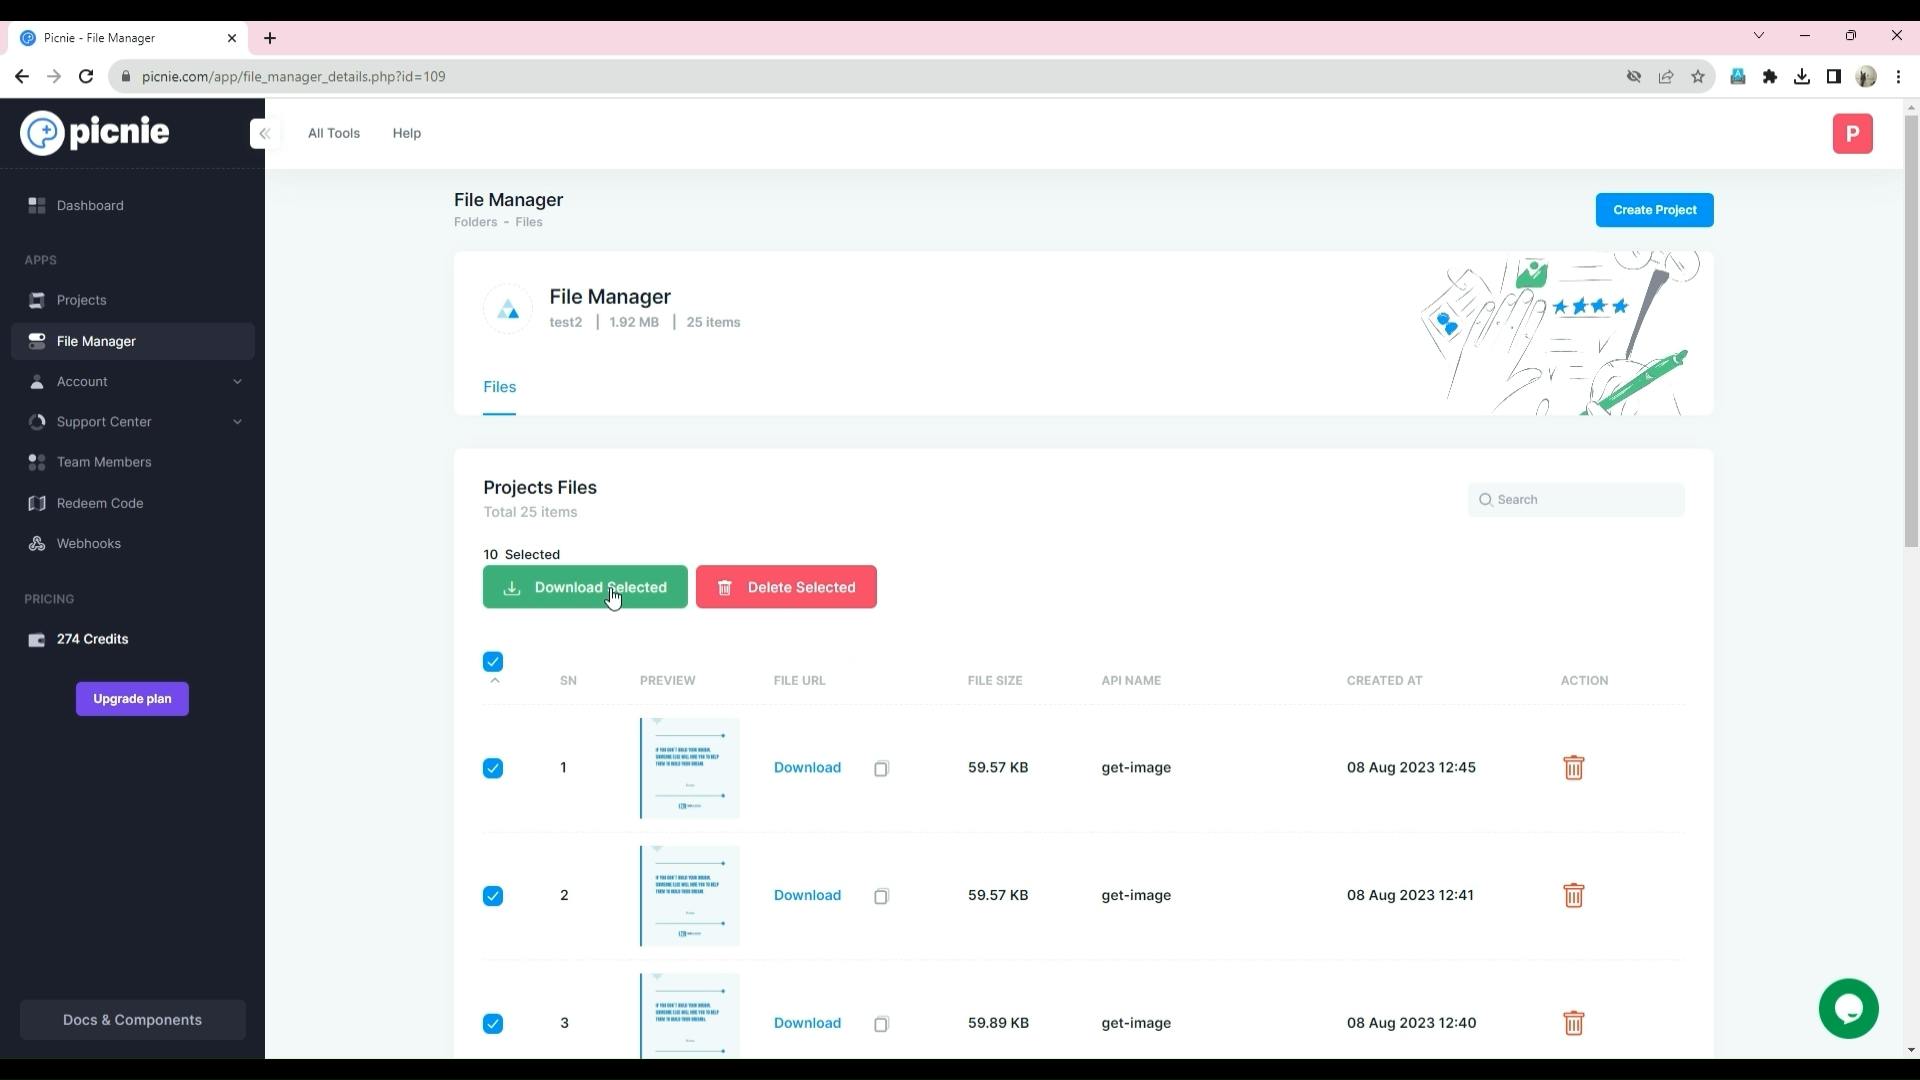
Step 4: Downloading Multiple Images

If you need to download multiple images at once, Picnie makes it effortless:
Select the images you want to download by clicking on each image's checkbox.
After selecting all the desired images, look for a "Download Selected" button.
Click the button, and all the chosen images will be downloaded as a zip file to your computer.
Picnie Intro video - Made with C.00_02_19_06.Still010.png

Step 5: Deleting Images

Picnie's File Manager also allows you to declutter your workspace by deleting unnecessary images:
To delete a single image, click on the trash icon button to remove.
Confirm the deletion when prompted.
Picnie Intro video - Made with C.00_02_16_18.Still008.png

Step 6: Deleting Multiple Images

To delete multiple images simultaneously:
Select the images you wish to delete by clicking on each image's checkbox.
After selecting all the images you want to remove, find the "Delete Selected" button.
Click the button, and Picnie will remove the chosen images.
Picnie Intro video - Made with C.00_02_19_12.Still011.png

Step 7: Copying Image URLs

Picnie's File Manager simplifies sharing your images or using them elsewhere by offering a convenient way to copy image URLs:
- To obtain the URL of an image, find the image you want to copy the URL for.
- Click on the Copy icon, and the image URL will be copied to your clipboard, ready to be pasted wherever you need it.
Picnie Intro video - Made with C.00_02_14_04.Still007.png

Conclusion:

Picnie's File Manager streamlines the organization and accessibility of your generated graphics. With the ability to manage images project-wise, download files individually or in bulk, delete files when needed, and copy image URLs for easy sharing, Picnie empowers you to maintain a tidy and efficient workspace. By following this step-by-step guide, you can effectively utilize Picnie's File Manager to enhance your design workflow.

Want to print your doc?
This is not the way.
Try clicking the ⋯ next to your doc name or using a keyboard shortcut (
CtrlP
) instead.